

Hello, I am back after a bit of a rest!
I am so happy to be able to share here how to easily and cheaply personalize a blank T-shirt.
For this project I used the following:
Sizzix Big Shot
Sizzix Bigz XL Alphabet Die - Block Talk - 658563
Sizzix Bigz Die w/Bonus Textured Impressions - Union Jack - 658296
Basic Grey Hello Luscious Fabric, Jelly Rolls
Heat & Bond Ultra Hold Iron On adhesive

In this case I wanted to do one for my nephew. He is a lovely one year old boy but as he lives in Vancouver, Canada, we dont see him often enough. As I want him to remember his aunt an oncle living in the UK, I thought a T-shirt with the Union Jack die could be a good idea. I selected the materials I wanted to use, I thought it would be nice to have some soft colours with small patterns perfect for die cutting.

I hate waste, so I cut small (approx. 6" by 6") pieces of the material and iron them onto the exposed side of the Heat & Bond Ultra which is the best option of a fusible interfacing that I have found for die cutting.
As I am not the world best sewer so I I decided to use the Ultra instead of the Lite version of the Heat & Bond because I knew I would not enjoy the sewing afterwards. Hopefully, the Ultra version should withstand machine washing, something essential for a toddler!

Once the Heat and Bond has cooled down completely - very important - I die cut the Union Jack motive placing the fabric side down.

I placed the cut outs on the front of the T-Shirt. I like to make sure the colours and patterns work well.

I remove the backing - from the Heat and Bond, place the cross first as centred as possible on the front and then I iron it on following the instructions from the adhesive manufacturer.

I then die cut a scrap piece of coloured card using the Union Jack to use as a template. I tested its resistance to heat before hand! The template is essential to position the small pieces in the right place.

Then I iron them all in place through the template, so nothing moves.

And voila, there you have it! The fabric pieces are perfectly attached to the T shirt. If you are a good sewer, unlike me, and you would like to sew the pieces I would then recommend to use the Heat & Bond Lite version instead.
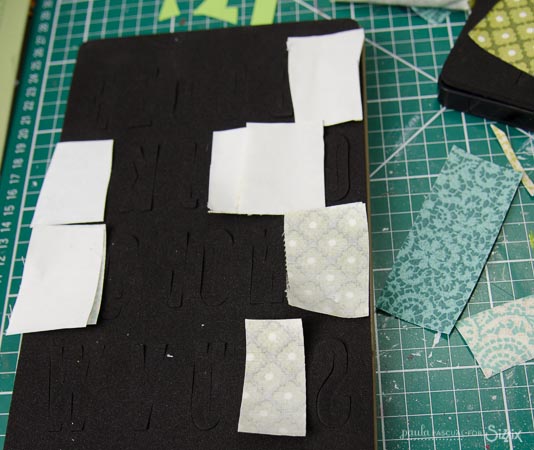
Then I proceed to cut the letters to really personalised the back of the T-Shirt. I used the fantastic Block Talk Bigz XL die. It is fantastic for fabric die cutting as well as for tradicional paper crafting.

I laid the letters on and iron them out. And that was it.

All in all, it didn't take long to make at all once I knew what I wanted to do and what dies with which materials. So know I can repeat this project changing the patterns and colours to suit my nieces tastes.


