Showing posts with label girl. Show all posts

Sunday, 3 May 2015

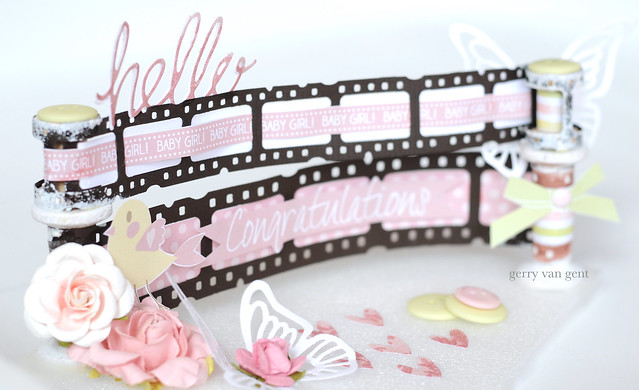
"Hello Baby Girl" By Gerry van Gent

Happy Sunday everyone!

Today I am sharing a cute project that I created for a new-born baby girl.
This time I decided to create something special instead of a traditional card.
I used the Free New Baby Paper Downloads and
I mixed some old and new Sizzix dies. 

Hello baby Girl_gerry

Sizzix-rebrand-logo-low-res
660515 Sizzix Big Shot Plus Starter Kit Machine
660473 Sizzix Thinlits Die Set Decorative Trim #2
660804 Sizzix Thinlits Die Set Happiness Phrases
658551 Sizzix Sizzlits Dec. Strip Die Mini Filmstrip & Mini Tickets
656621 Sizzix Sizzlits Dec. Strip Die Filmstrip Frames

billboard
*         *        *

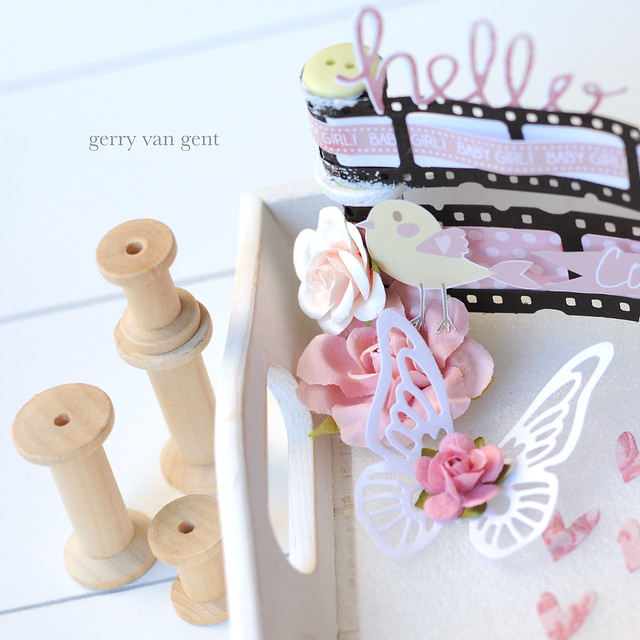
To create this project I used two different sizes wooden spools 
which were my base to attach the die-cut filmstrips.
Filmstrips were die cut from dark brown cardstock and adhered
around the wooden spools. Then I treated a bit with gesso & ink.
1

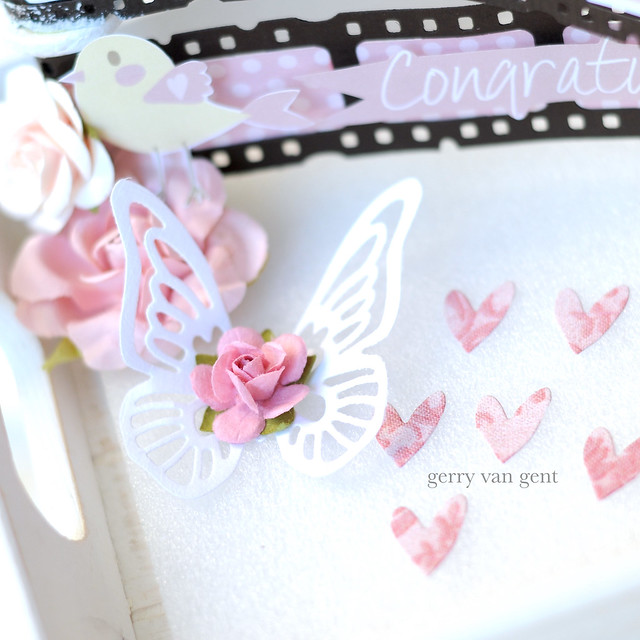
I used one of the gorgeous butterfly dies included in the Sizzix Plus Starter Kit.
It was die cut from white cardstock and decorated with a mini paper rose.

Cute little hearts come from the Heart border (Decorative Trim #2).
I cut separately each heart and glued on the styrofoam.
2

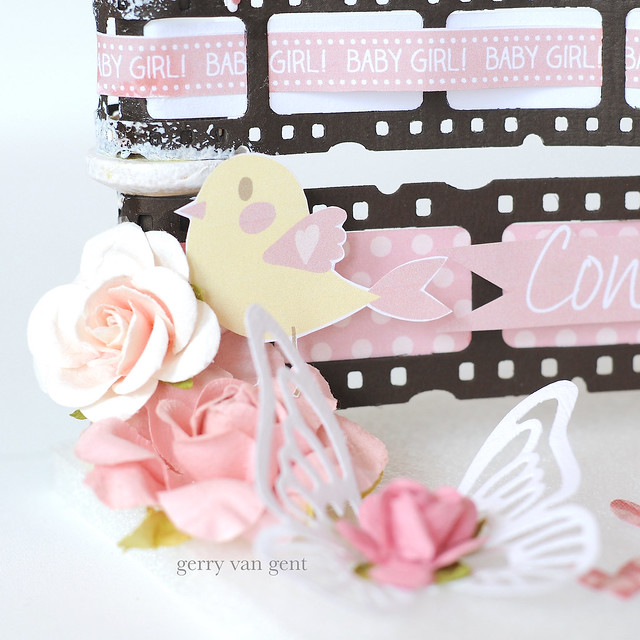
Don't you just love that cute little bird from Free New Baby Paper Downloads?
3

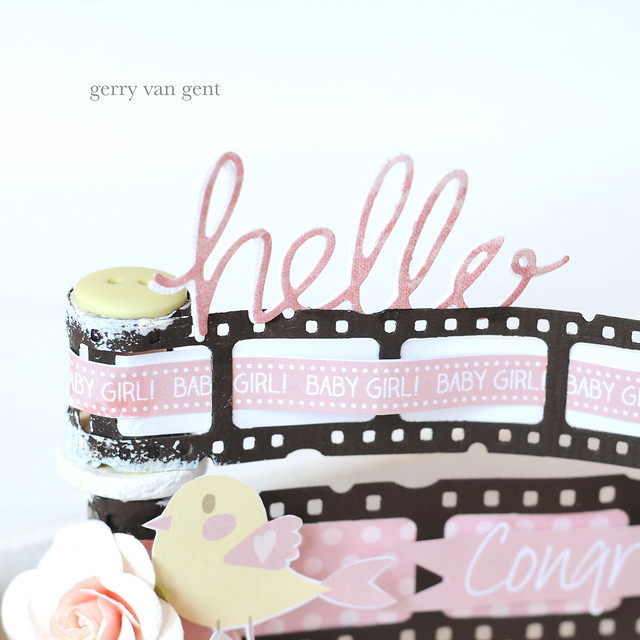
"Hello" phrase was die cut twice - once from white cardstock and
once from the pattern paper. 
4

From "Congratulations" phrase I made a banner by
cutting a small triangles at both ends.
I attached to filmstrip with foam squares for more dimension.
5

6

My project was adhered on a piece of styrofoam and
then adhered on a wooden tray.
7

8

Hello baby Girl 2

Have a creative Sunday!

Thursday, 30 April 2015

Tessellations for fun


I’ve been very busy this weekend, but I haven’t finished the quilt from the last blog. I’ve been a little distracted because I suddenly thought that I need to get some quilts finished for my grandchildren – before the next one is born ( due around 20th May)!!
You see I’ve made one for Oona the youngest, and Daniel, the eldest already has a couple of quilts, but Kieron and Abi  are still waiting for me to complete theirs, and I haven’t started one for Eve – until today.
So I hope you’ll bear with me.
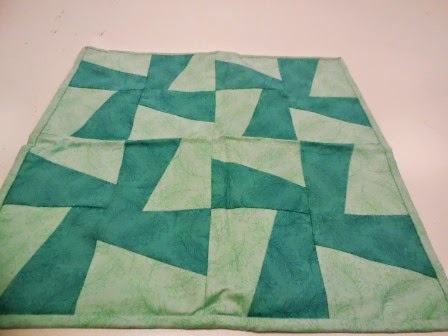
I’m featuring just one die – Tessellating Pinwheel 659584 http://www.sizzix.co.uk/catalog#q=tessellating% – but with about 5 different layouts/colours.
You do need to be careful cutting - if you are using patterned fabrics you will need to make sure that the fabric is always the same way up so that all the pinwheels tessellate in the same direction - for plain fabrics it doesn't matter ( but you do need to make sure that you stitch plain fabrics to keep the tessellation correct)
The first 2 samples are of cushion covers – the first shows the easiest layout – just using 2 fabrics, so each block is the same.
The second cushion cover uses more fabrics but they are laid out in rows - so it’s still really easy.
 
Now this quilt is for Abi – she loves elephants – so these fabrics are ideal for her – and the quilt will be bordered with fabric with just elephants. This is the most challenging layout – you need to lay all the pieces out in rows – so that all the blocks make interwoven pinwheels – you need to do careful pinning and labelling (and even so I still needed to relay the last 3 rows again before stitching.
I think it's worth the effort - at least I do now all the rows are stitched!!
The next photo shows the beginning of Kieron’s quilt – now he decided that he wanted the pieces to be put together in a random design – I couldn’t quite cope with that so I’m creating pinwheels with random fabrics around each one – it’s easier – but I’m not sure how it will look when it’s complete – I guess the important thing will be that Kieron likes it.
It will be interesting to see this progress!
Now Eve has said that she would like to make her own quilt, and she can use my sewing machine quite confidently, but at the age of 6, I think this might take her quite a while – so I’ve started this quilt – and it’s so easy!
As long as I make sets of 4 matching pink with 4 white pinwheels – then the lay out is so simple because the blocks can just be joined together –
The great thing about this one is that I'm using some of the fabrics from my stash, and I also think Eve will love it.
So 5 looks from 1 die – I reckon that’s very good value for money.
Will I have them all finished by next week – no – but I’ll keep you updated, and hopefully complete them before the newest member of our family arrives!
So enjoy this Bank Holiday weekend, and I’ll be with you again next week.
Angela


Sunday, 16 February 2014

Simple Layout by Gerry van Gent


Hello Sizzix friends!
I hope you all enjoyed a very special 
Valentine's Day with your loved ones!
Today I would love to share with you my
vision of a simple layout using gorgeous Sizzix dies.

Hello
657900 Sizzix Big Shot machine
658607 Sizzix Thinlits Die Set Flowers, Intricate
658551 Sizzix Sizzlits Decorative Strip Die Mini Filmstrip & Mini Tickets
659127 Sizzix Thinlits Die Set Frame Layers & Flower #2
658221 Sizzix Originals Die Curly Gate
659131 Sizzix Thinlits Die Set Labels, Long
658850 Sizzix Thinlits Die Set Conservatory Window
658780 Sizzix Bigz Die Window & Window Box

*   *   *
Because I wanted to add flowers and the collection
didn`t have any I decided to make my own.
I simply chose different pattern papers and die cut some flowers.
For the centers I die cut exactly around the tiny white hearts.
Hello 1

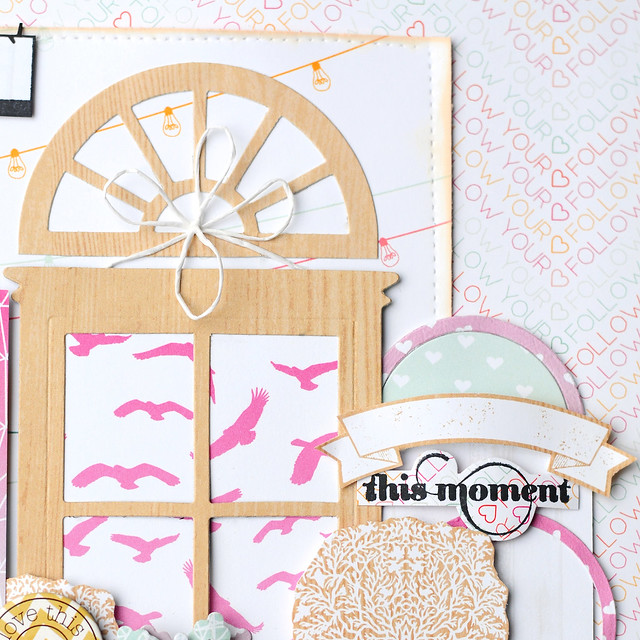
This window is a combination of two dies - 
Hello 2
The top of the Conservatory Window was used
on top of the other window.
658850_conservatory window
658780_2

The die-cut circles spread all over the page were
die cut from the Frame Layers & Flower #2.
Hello 3
OTHER PRODUCTS I USED:
Webster's Pages - "Sprinkled with Love" collection

Thank you for your visit today!
Have a creative day!

Sunday, 16 June 2013

A Girly layout by Gerry van Gent


Hello Sizzix Friends!
Today I've got a layout to share with you where
I combined old & new Sizzix dies.


657900 Sizzix Big Shot Machine
658524 Sizzix Bigz Die Classique
658530 Sizzix Bigz Die Mariposa
657496 Sizzix On The Edge Die Distressed Doily
658252 Sizzix Sizzlits Dec. Strip Cobblestones
657827 Sizzix Sizzlits Dec. Strip Die Inside Out Alphabet
*  *  *
The new butterflies Mariposa are so cute and adorable.
Love the fact that you can cut separately small wings and
adhere them so you'll achieve more dimension.
On my project the small butterfly was die-cut twice and the wings once.
I`ve used different pattern papers and as a final touch I added a resin in the centre. 

The other new die I used is the beautiful and so exquisite Classique Swirl.
The swirl was cut a few times from white cardstock.
I cut into pieces the swirl itself so I can have more swirls :-) 
and added to my project.


OTHER PRODUCTS I USED:
Webster's Pages - "Plum Seed" paper collection
Webster's Pages - silhouettes, metal trinket
KaiserCraft - Clear Stamp

*  *  *
Dutch Translation

Hallo Sizzix vrienden!
Vandaag wil ik een layout met jullie delen waarmee
ik oud en nieuw Sizzix stansen heb gebruikt.
*  *  *

De nieuwe Mariposa vlinders zijn zo schattig en mooi.
Het feit dat je kleine vleugels kunt stansen en gebruiken
op je vlinder creëert een prachtig dimensie.

The new butterflies Mariposa are so cute and adorable.
Love the fact that you can cut separately small wings and
adhere them so you'll achieve more dimension.
*  *  *
Op mijn pagina heb ik de vlinder twee keer gestanst 
en de vleugels een keer.
Ik heb verschillende patroon papieren gebruikt en 
in het eind heb ik een kleine decoratie toegevoegd.
*  *  *
De andere nieuwe stans dat ik heb gebruikt is de schitterende Classique Swirl.
*  *  *
De "swirl" is paar keer uit witte cardstock gestanst.
Daarna heb ik de "swirl" zelf in stukjes geknipt om 
meer "swirls" :-) te krijgen.
*  *  *
I hope you enjoyed my project.
Thanks for visiting us today & happy Creating!

Sunday, 21 April 2013

A {Happy Birthday} Card by Gerry


Hello Sizzix Friends!
It's Sunday and I`m again here to share with you 
a new project I created with a few Sizzix Dies.

This is a card a created for a girl who is totally
into princesses and fairytales. She loves wearing crowns
and I thought that would be the perfect addition to my present.

657000 Sizzix Big Shot machine
657710 Sizzix Bigz Die - Crown #2
658951 Sizzix Thinlits Die - Ornate Hanging Sign
657735 Sizzix Sizzlits Baroque Ornament
657524 Sizzix Sizzlits - Card Phrase #3
657523 Sizzix Sizzlits - Card Phrase #2


I die-cut the crown twice - once from pattern paper and once from cardstock to make it more stable.
To make the card more fairy I added ornate elements from both dies - Ornate Hanging Sign and 
Baroque Ornament. Then I placed the crown among the ornament die-cuts.

The butterfly looks pretty "full" and that's because I cut it a few times and adhered them altogether.
To be more precise I cut the big butterfly 4 times and the small one 3 times.

OTHER PRODUCTS I USED:
Prima Marketing "Shabby Chic" paper collection 
Parels

Dutch Translation

Hallo Sizzix vrienden!
Het is zondag en ik wil graag een nieuw project met jullie delen
waarin ik Sizzix Dies heb gebruikt.

Deze kaart heb ik voor een meisje gemaakt dat houdt van prinsesjes en
sprookjes. Ze is dol op kroontjes en ik vond dat deze kaart prachtig bij mijn cadeautje paste.

*  *  *
I stanste de kroon tweemaal, 1 keer met patroonpapier en een keer met cardstock om het meer stabiel te maken. Om de kaart meer "betoverd"  te maken heb ik gekrulde elementen van beide stansen toegevoegd - Ornate Hanging Sign en Baroque Ornament.
Vervolgens heb ik de kroon tussen de gestanste ornamenten geplaatst.

De vlinder ziet er "vol" uit en dat is omdat ik het een aantal keer heb gestanst en ze aan elkaar heb vastgeplakt. Om precies te zijn, ik heb de grote vlinder 4x gestanst en de kleine 3 maal.
*  *  *
Thank you for visiting us today!
Have a great Sunday!

Wednesday, 10 April 2013

Hair Rim for Girl


Hi all!

Today I would like to show how you can easily and quickly decorate the hair rim or hair band.

Items used: 
Chiffon or Organza
Felt
Needle, thread
Buttons, brads or pearls

Cut 6 big organza circles and 1 felt circle using Circles #4 die.
Then create a flower.

Use spray onto your flowers (if you need).

Add centres onto your flowers and glue or sew them to the rim. I think the rim is very beautiful!

 Have a nice day,

 Daria.


Всем привет!

На улице весна, и мне хочется, чтобы моя дочка была самой нарядной в школе. Я решила украсить ее ободок на волосы, который в общем-то и был симпатичным, но с моими улучшениями заиграл и стал уникальным.

1. С помощью ножа Circles #4 я вырезала 6 кругов из органзы и 1 круг из фетра. Круг из фетра должен быть меньше диаметром, чем круги из органзы.
2. Затем я создала цветы, складывая круги из органзы в лепестки и пришивая их к кругу из фетра.
3. Таким образом я создала 4 цветка разного размера (для меньшего размера цветов, вырежьте круги меньшего диаметра). Я побрызгала эти цветы розовым спреем, чтобы придать им нужный оттенок.
4. Для серединок я использовала пуговицы и жемчужинки. Пуговки я пришила, а жемчужинки приклеила к цветам. Затем готовые цветы я приклеила к ободку, создав цветочную композицию. По-моему получилось очень мило :) А уж дочка моя от обновленного ободка в полном восторге.

Материалы:
Big ShotMachine (655268)
Шифон или оганза
Фетр
Нитки, иголка
Пуговицы, брадс или жемчужинки

Всем хорошего дня,