Monday, 5 January 2015

Notebook and Pen Pouch


Here is the finished notebook and pen pouch - I've been using it for a few days.


I'm pleased with the overall pouch but if I'm honest I do think the pen pocket detracts from the look of the front, I much prefer the back.


I umm-ed and ahh-ed  about removing it but having the pen easily accessible without having to open the pouch or remove the notebook was a main objective at the start.

I love the hexagon detail but then I have become obsessed with hexies lately (Hexagons, 3/4in Sides was used for the papers and Hexagons, 1in Sides #2 for the fabric for this).
I didn't think too much about the quilting beforehand and just went for it, starting around the outer edge of the hexies and then working outwards. It looks a bit like the sort of graphics used on the title sequence of an 80's computer film.


Whilst the fabrics used for the exterior are quite muted, to give it a pop of colour the lining is hot pink.


Lastly, the pouch can be closed by means of a loop and button fastening - the ideal fastening method for an impatient sewist! There is no need to go out and buy a zip and it's so much faster and easier than a zip to install too. It avoids the need for a proper buttonhole which can be a little daunting and it's also perfect if, for example, you still haven't taken time to read about how to do buttonholes on your new sewing machine *ahem*.

I love quick quilty projects like this and it can be easily adapted to hold other items. The only real thing to bear in mind when working out the size of the front/back pieces is to measure the item that pouch is to hold (including depth around side) and along with the seam allowance a bit extra needs to be allowed to account for the thickness of the batting and the 'shrinking effect' of quilting.

I'm not sure what I can make next as my fabric stash is running very low at the moment, a spot of fabric sale shopping is in order...


Sunday, 4 January 2015

Thank You!


Hello again! First of all I want to wish you a Very Happy New Year!
I hope the holidays were good to you and that you feel ready for all the joys and challenges that
2015 will bring!!

After the holidays I feel a need to give thanks for all I have received. I have started to make some 'Thank You' cards that I will give to friends and family.

This is my first one:

I used:
Sizzix Big Shot Machine Only (Powder Blue & Teal) 
Sizzix Framelits Die Set 7PK - Circles, Scallop 
Sizzix Thinlits Die Set 12PK - Ornate Labels  

Papers and ribbon are by Lemoncraft.

Thanks for looking in today!!
Hugs!


Saturday, 3 January 2015

Calendar by Olga


Hello all!

First of all - happy new year!! I wish all the best, happiness and joy to you, your families, relatives and friends! I hope you all are having great holidays now))
Today I want to share with you my new Calendar. I like to make "useful" things and calendars is one of them. This time I used a magnet on the back side to use it on a refrigerator. The size is 21x21. 
To make it I wrapped a thick chipboard with scrap paper and stack magnet to one side and decoration to the other one.


The products I used:

Regards,
Olga

Happy New Year with a new block!


Happy New Year  everyone!! How was your first days in 2015, great? Here with family and enjoying all together. I did´t sew as usual, just  some free time to think what to do for a new project.
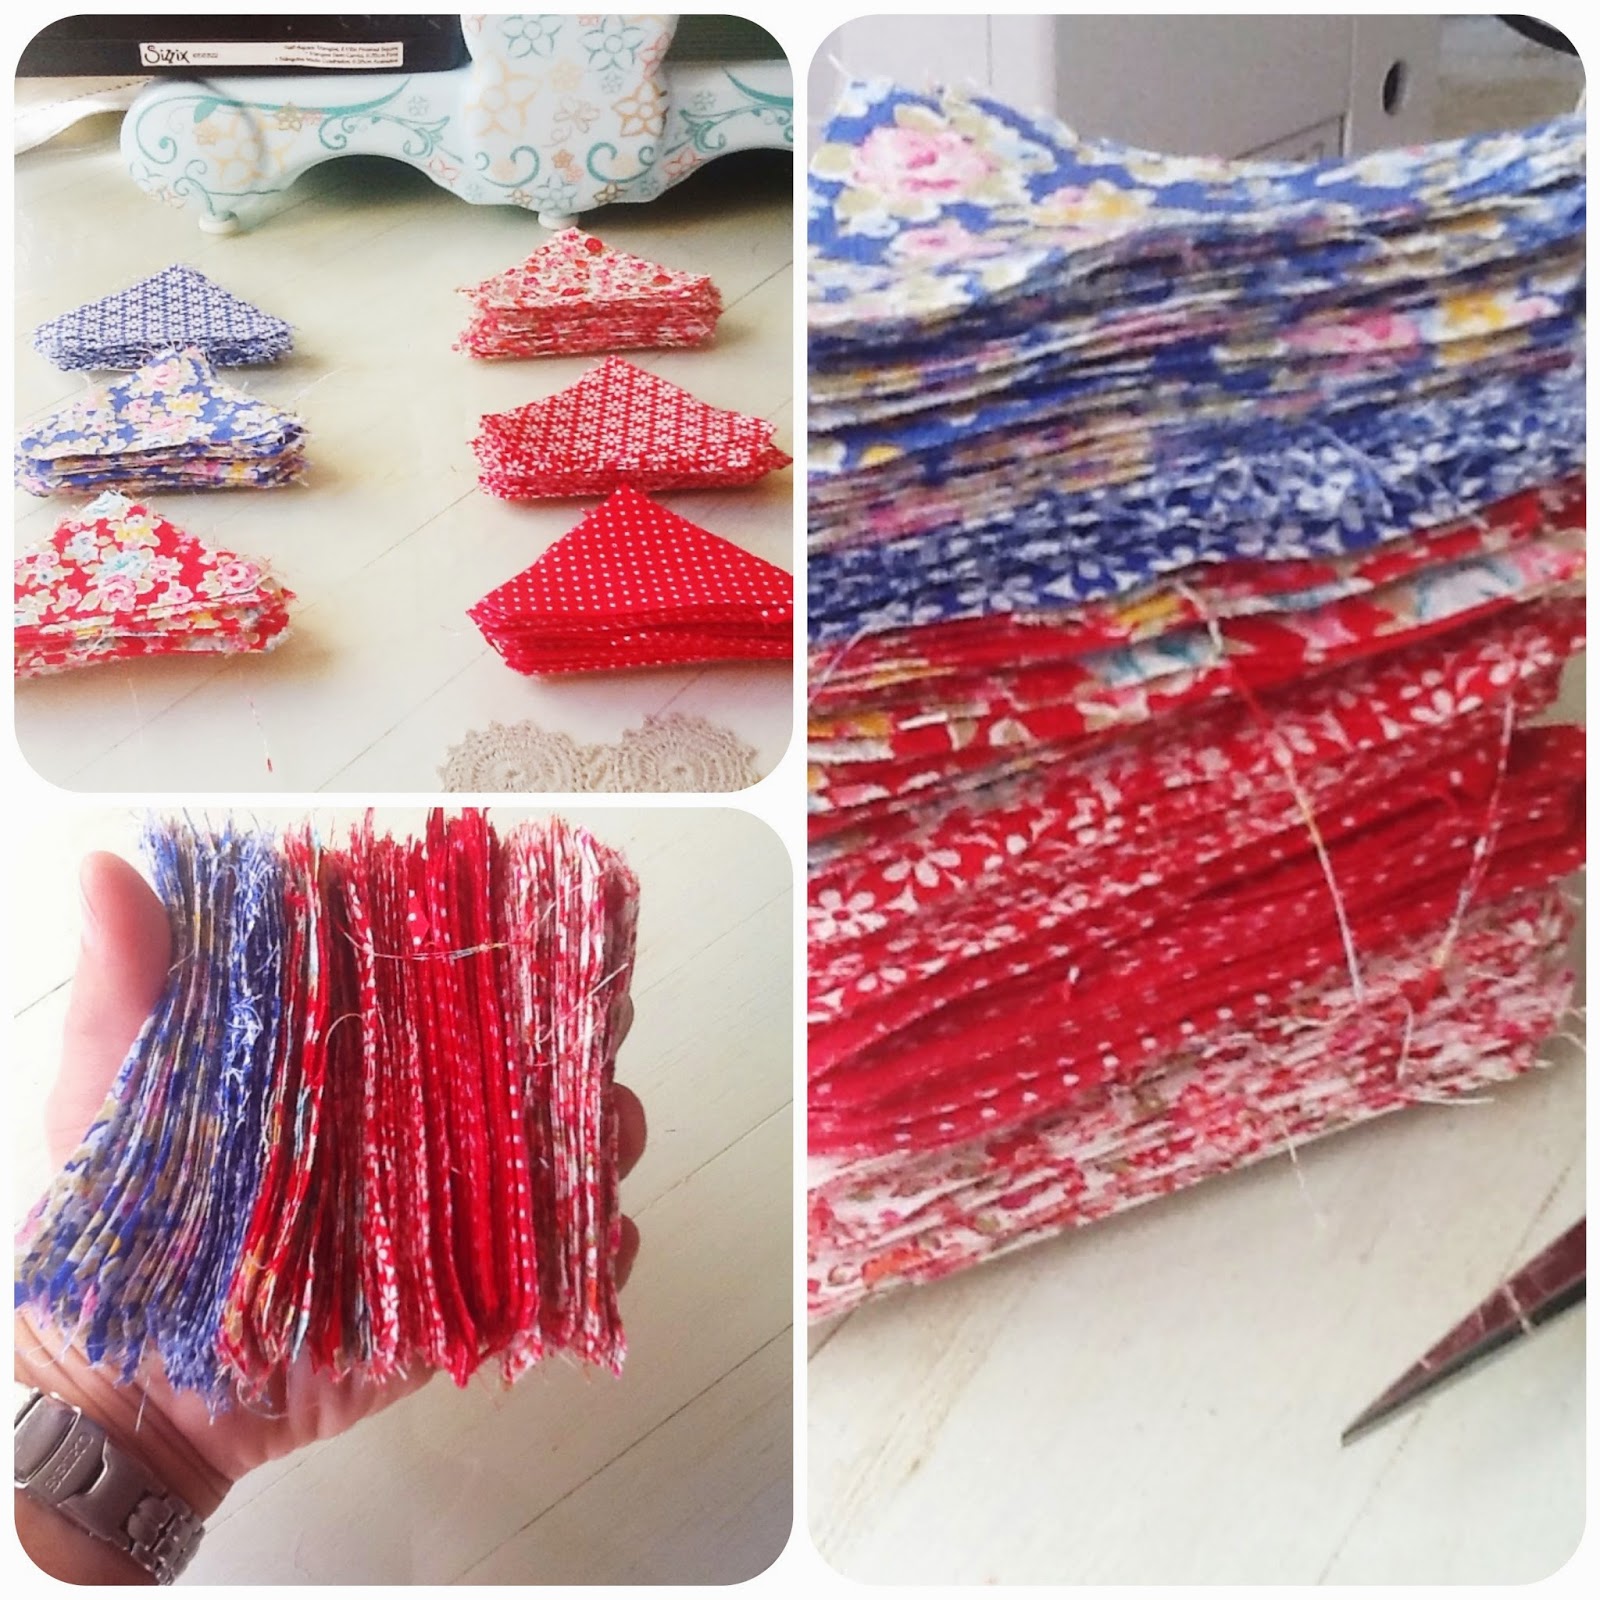
Therefore, I finally chose some nice fabrics with Christmas colors , red and some blues that I bought in summer holidays in France some time ago.


I like to enjoy on New Year Day sewing something new so I went for a new block using ......


658322

I needed six different fabrics and cut half square triangles . First I sew doing 16  squares,  then  in a row and finally in a colorful block.


My plan is  sewing more blocks and do a quilt. 


Meanwhile I will write  my letter  to the Three Wise Men who come next January 6th as it is a tradition in Spain . They bring presents to everyone if you were a good guy!
Hope you have wonderful and creative week!
Love
Mercedes

.............................................................***********************........................................................

¡Feliz Año Nuevo a todo el mundo ! ¿ Qué tal han ido los primeros días del 2015 , estupendos ? Nosotros estuvimos con la familia disfrutando todos juntos  así que no hubo mucho tiempo para coser, sólo para pensar en  algún proyecto nuevo.

Al final me decidí por unas telas que había comprado en unas vacaciones a Francia en  rojos y azules.


El día de Año Nuevo me gusta pasarlo empezando algo nuevo , de modo que empecé un bloque  con el troquel extra largo de triángulos que al coserlos forman un cuadrado de 2.5”


658322

656847  Sizzix Accessory - Cutting Pads, Bigz XL 25", 1 Pair

657900


Necesité seis telas diferentes  para cortar los triángulos. Primero formé 16 cuadrados , luego los cosí en hileras y al final conseguí el bloque que quería.

Mi plan es hacer más para montar un quilt.
Mientras tanto iré escribiendo la carta a los Reyes Magos que vienen el próximo 6 de enero como ya es tradición en España. Ellos te traen regalitos si has sido buen durante el año.
Espero que tengas una estupenda y creativa semana
Cariños
Mercedes

Thursday, 1 January 2015

New Year New Dies


Happy New Year to you all, and yes I really am writing this on New Year's Day!
I've decided this year that I'm going to make just one resolution - I'm not going to the gym or starting a diet - I may do these later in the year - but not while outside is cold, and lovely stews and deserts with custard are so much more appealing than a salad!!! - so this year I am going to delay these things until the weather is warmer.
So what am I changing this year? - I'm going to make a real effort to keep my sewing room tidy - now that may not seem much of a challenge - but then I've never let you have a glimpse of it have I now. I am still in the process of tidying and sorting - but with the purchase of one more shelf I'm quite confident that the muddle will be a thing of the past. The significance of this will be that I will be able to put my hand on any die that I want to use, and be able to sort quickly through my fabric to find just the right one for a project - instead of spending ages trying to sort through the chaos - I may even be able to show you my sewing room soon!!!
But for today I want to show you  new dies - well they came out in the Autumn - all are designed by Stephanie Barnard and I can't wait to start decorating things with them -
 

 http://www.sizzix.co.uk/product/659960/sizzix-bigz-die-flower-4
 http://www.sizzix.co.uk/product/659961/sizzix-bigz-die-flower-5
I love the slightly quirky flowers and the irregularity of the hearts and with Valentines day only about 6 weeks away, and then Mother's Day and Easter I am sure these dies are going to become firm favourites. I know I will be featuring them in future blogs - so watch to see what I create with them.
That's all for this week - now back to the sorting and tidying.
Angela


Happy new year with Karine !


Hi there!

First of all my very best wishes for the New Year that begins! I wish you all lot of happy moments - that you will scrapbook afterwards, and a year rich in creativity!

Supply List:
Cardstock: American Crafts
Pattern Papers: American Crafts, 4heures37
Glitter Paper: American Crafts
Wood Embellishments: Studio Calico
Enamel dots: Studio Calico
Stamps: Tim Holtz, Craft Origine
Ink: Black Versafine
Izink Aladine
Masking Tape
Stabilo Pen68
Others: Cloth, Aladine dyes

Dies:

658300 : Sizzix Big Shot Starter Kit
659963 : Sizzix Bigz Alphabet Set 4 Dies-fresh-blossoms-alphabet
659978 : Sizzix Thinlits Die Set 9PK-Winter Borders & Rosette
657188 : Sizzix Bigz Die-Tiny tabs and tags

Here is a new series of three cards with an unusual combo for the festive season which is turquoise blue, anise green and white! The whole sprinkled with a bit of glitter!

The cards are worked on the smooth side of a white cardstock. I had fun colorizing the backgrounds with my Stabilo68 felt-tip pens and my Izink inks.
The small tag is colorized with dyes of the same colour range; then it is embossed with a snowflake embossing folder. Then I printed one of my favourite festive stamps. Add volume with a dyed cloth piece and small wood snowflakes.

The second card is stamped with a large Tim Holtz typewriter stamp. A tiny circle tag is glued with 3D adhesive and will be colorized in blue. A tiny snowflake with an enamel dot is cut out of turquoise blue glitter paper with my Big Shot.

The third card is realized with the Fresh Blossoms alphabet. The letters NOEL are cut out of turquoise blue glitter paper.
Then they are sewed with white thread to add some texture.
A little piece of dyed cloth, a pretty snowflake and a heart come as a completion.

I hope you will be inspired by today’s cards! Happy New Year 2015!


Have a lovely day,


Karine

Bonjour !

Tout d'abord tous mes voeux de bonheur pour cette nouvelle année qui débute ! Je vous souhaite le meilleur, plein de bonheur à scrapper une année riche en créativité !

Matériel :
Cardstock : American Crafts
Papiers imprimés : American Crafts, 4heures37
Papier paillettes : American Crafts
Embellissements bois : Studio Calico
Enabel dots : Studio Calico
Tampons : Tim Holtz, Craft Origine
Encre : Versafine noire
Izink Aladine
Masking Tape
Stabilo Pen68

Divers : tissu, teintures Aladine

Dies utilisés :

658300 : Sizzix Big Shot Starter Kit
659963 : Sizzix Bigz Alphabet Set 4 Dies-fresh-blossoms-alphabet
659978 : Sizzix Thinlits Die Set 9PK-Winter Borders & Rosette
657188 : Sizzix Bigz Die-Tiny tabs and tags

Une nouvelle série de trois petites cartes déjà sur le départ cette fois ci dans un combo non conventionnel pour les fêtes à savoir bleu turquoise, vert anis et blanc ! Le tout bien entendu relevé de quelques paillettes !

Les cartes sont toutes travaillées sur un cardstock blanc côté lisse, je me suis amusée à coloriser les fond avec mes feutres Stabilo Pen68 et mes encres Izink.
Le petit tag est colorisé avec des teintures de même couleurs, il sera ensuite embossé avec un die flocon, puis imprimé avec mon tampon fétiche des fêtes. Rajoutez du volume avec un morceau de tissu teinté et des petits flocons en bois.

La seconde carte est imprimée avec un grand tampon machine à écrire Tim Holtz, un petit tag rond est ajouté en 3D il sera colorisé en bleu, un mini flocon réhaussé par une pastille ronde est découpé à la Big Shot dans un papier pailleté turquoise.

La 3ème carte est réalisée avec l'aphabet Fresh Blossons, les lettres NOEL sont découpées dans un papier paillété turquoise.
Elles sont ensuite cousues pour rajouter un peu de texture avec du fil blanc.
Un petit morceau de tissu teinté, un joli flocon et un coeur viennent compléter ma carte.

J'espère que mes cartes du jour vous auront inspiré ! Je vous souhaite encore une très bonne année 2015 !

Bonne journée

Karine