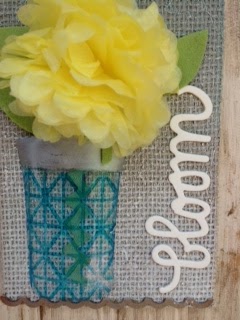
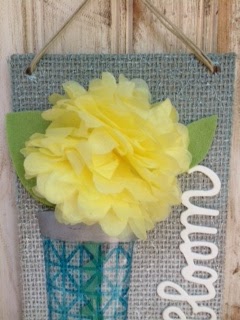
Hello everyone- I have a fun summer project for you today.
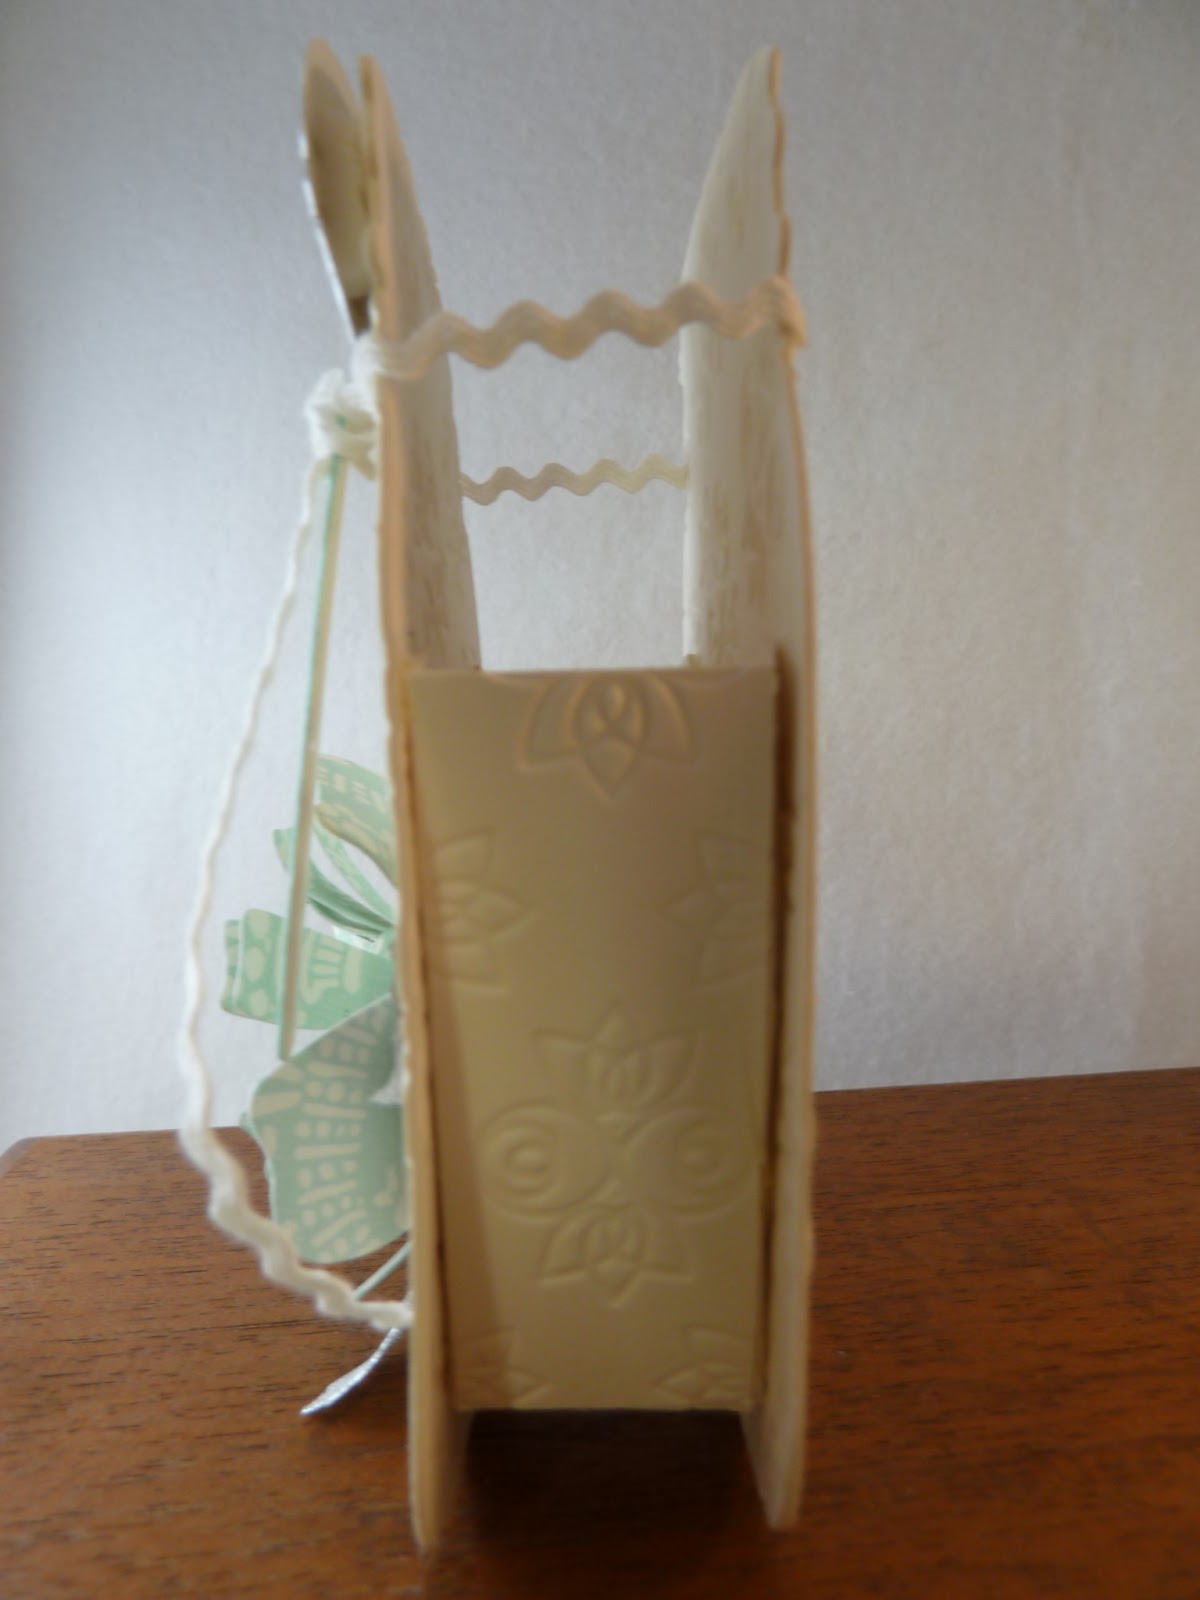
I used the Canning Jars ScoreBoard die from the Picket Fence collection to cut plastic from die packaging. Then I did something weird to it, just to see if it would work- and it did! (See step #5)

Supplies:
658453 Sizzix ScoreBoards XL Die - Canning Jars, 3-D by Eileen Hull
657122 Sizzix ScoreBoards XL Die - Album, Photo by Eileen Hull
657118 Sizzix Bigz Die - Flowers, 3D #2 by Eileen Hull
657119 Sizzix Bigz Die - Leaves by Eileen Hull
658445 Sizzix Bigz Die - Phrase, Bloom & Plant Markers
658458 Sizzix Textured Impressions Embossing Folders 4PK - Jar Labels Set by Eileen Hull
657900 Sizzix Big Shot machine
plastic die packaging, Turquoise and Silver Staz-On ink, green rickrack, yellow tissue paper, chipboard, spray adhesive, burlap, white and aqua spray paint, green wool felt, heat gun, matboard scrap

- Cover a piece of chipboard about 5" x 7" with burlap. Adhere burlap with spray adhesive.
- Run burlap covered chipboard through Big Shot using 4" x 6" rectangle from Album die.
- Spray paint 4" x 6" piece with 2-3 coats of white spray paint. Let each layer dry, then add another coat. Concentrate white on the bottom and blue at the top.

- Die cut a small Canning Jar from packaging. Run jar through machine using Quilted Jar folder. With Turquoise Staz-On, ink the raised areas of the embossed jar.With Silver Staz-On, color the lid of the jar by swiping color across the jar with a sponge.
- Lay plastic die cut jar over a jar or can (I used a soup can) and apply heat using heat gun. The plastic will melt to the shape that is below and when it cools, the plastic will keep the shape of what it was on top of. This will cause the embossing to flatten but the color will stay! Now you have a nice rounded realistic shape to your canning jar.

- Die cut 10-12 Flowers, 3D from yellow tissue paper. Follow instructions on package to assemble medium size flower. Use a pipe cleaner to keep layers together. Fluff flower.

- Die cut leaves from wool felt (I actually cut up an old jacket that I had in my closet for years!)
- Die cut "Bloom" from a piece of scrap matboard.
- Adhere jar to chipboard piece using Zip Dry Paper Glue. Position green rickrack for stem and glue in place. Add leaves, flower and "bloom".
- Use Crop-a-dile to punch two holes. Thread three stands of hemp through and knot for hanger.