Showing posts with label Snowflake Frame. Show all posts

Sunday, 29 September 2013

Two projects by Gerry van Gent


Happy Sunday everyone!
Today I have two projects to share with you.
My first project is an altered item where I used a silhouette photo
of my daughter I "placed" in her dreams.
657900 Sizzix Big Shot Machine
658449 Sizzix ScoreBoards XL Album, Garden Gate
658530 Sizzix Bigz Die Mariposa
658260 Sizzix Bigz Die Christmas Cardinal
657492 Sizzix Bigz Die Tattered Pinecone
657176 Sizzix Sizzlits Dec. Strip Die Typeset Alphabet
657773 Sizzix Framelits Die Set w/Stamps Butterflies #3
657469 Sizzix Bigz Die Holiday Lamppost

I created the fence by die cutting Garden Gate twice from corrugated cardstock
and pattern paper.  I didn`t use the whole gates but part of them.
Then I distressed with ink and decorated with embellishment.


Behind the photo I adhered Mariposa butterfly.
For the tutorial how I created the butterfly with lace please
refer to one of my older blog posts (Father's Day Tag; 9 June, 2013)

Other Products I used:
Prima Marketing pattern papers
Prima Marketing flowers
Prima/Ingvild Bolme embellishments
Prima/Ingvild Bolme Chalk edgers 
Lets Get Beeze MDF wall clock

*  *  *
My second project today is a card where I handmade the flowers & leaves
by using the beautiful Dogwood Flower dies.
657900 Sizzix Big Shot Machine
658405 Sizzix Thinlits Die Set Flower, Dogwood
658367 Sizzix Movers & Shapers Magnetic Die Set - Butterflies
657906 Sizzix Framelits Die Set Frame, Snowflake
656634 Sizzix Bigz Die Caged Bird
658948 Sizzix Thinlits Die Frame, Rectangle
657789 Sizzix Sizzlits Die Set Love Set
657007 Sizzix Movers & Shapers Accessory Base Tray, L


The Dogwood flowers were made of pattern paper. 
For the centres I mixed Transparent and Yellow liquid drops.
The leaves were die cut from white crepe paper. After that painted and 
shaped while they were still wet. Then I added transparent liquid drops.

I hope you enjoyed my projects today!
Have a creative day!
Gerry

Sunday, 25 August 2013

Two Cards by Gerry van Gent


Happy Sunday Sizzix friends!
I created two cards for my post today and I hope
you will enjoy them as I enjoy making them.

My first card is using two types of Sizzix doilies - Vintage and Lovely doilies
which I like very much. Basically my card is a pure layering of
all the round shapes and adding small touches :-)
657900 Sizzix Big Shot machine 
658951 Sizzix Thinlits Die Ornate Hanging Sign
658506 Sizzix Sizzlits Vintage Doily 
658605 Sizzix Thinlits Die Set Doilies, Lovely 
657177 Sizzix Sizzlits Dec. Strip Die Mini Paper Rosettes

When the small rosette was completely ready I distressed the edges with blue Chalk Edger Pad.
Then I added on top a small die-cut Lovely doily. After that I added the twine bow en
finished with a circle from the pattern paper.

I cut the vintage small doily in two and I used only half to decorate the title.
OTHER PRODUCTS I USED:
Ingvild Bolme - Chalk Edgers Ink Pads  
Pattern paper - unknown

*  *  *

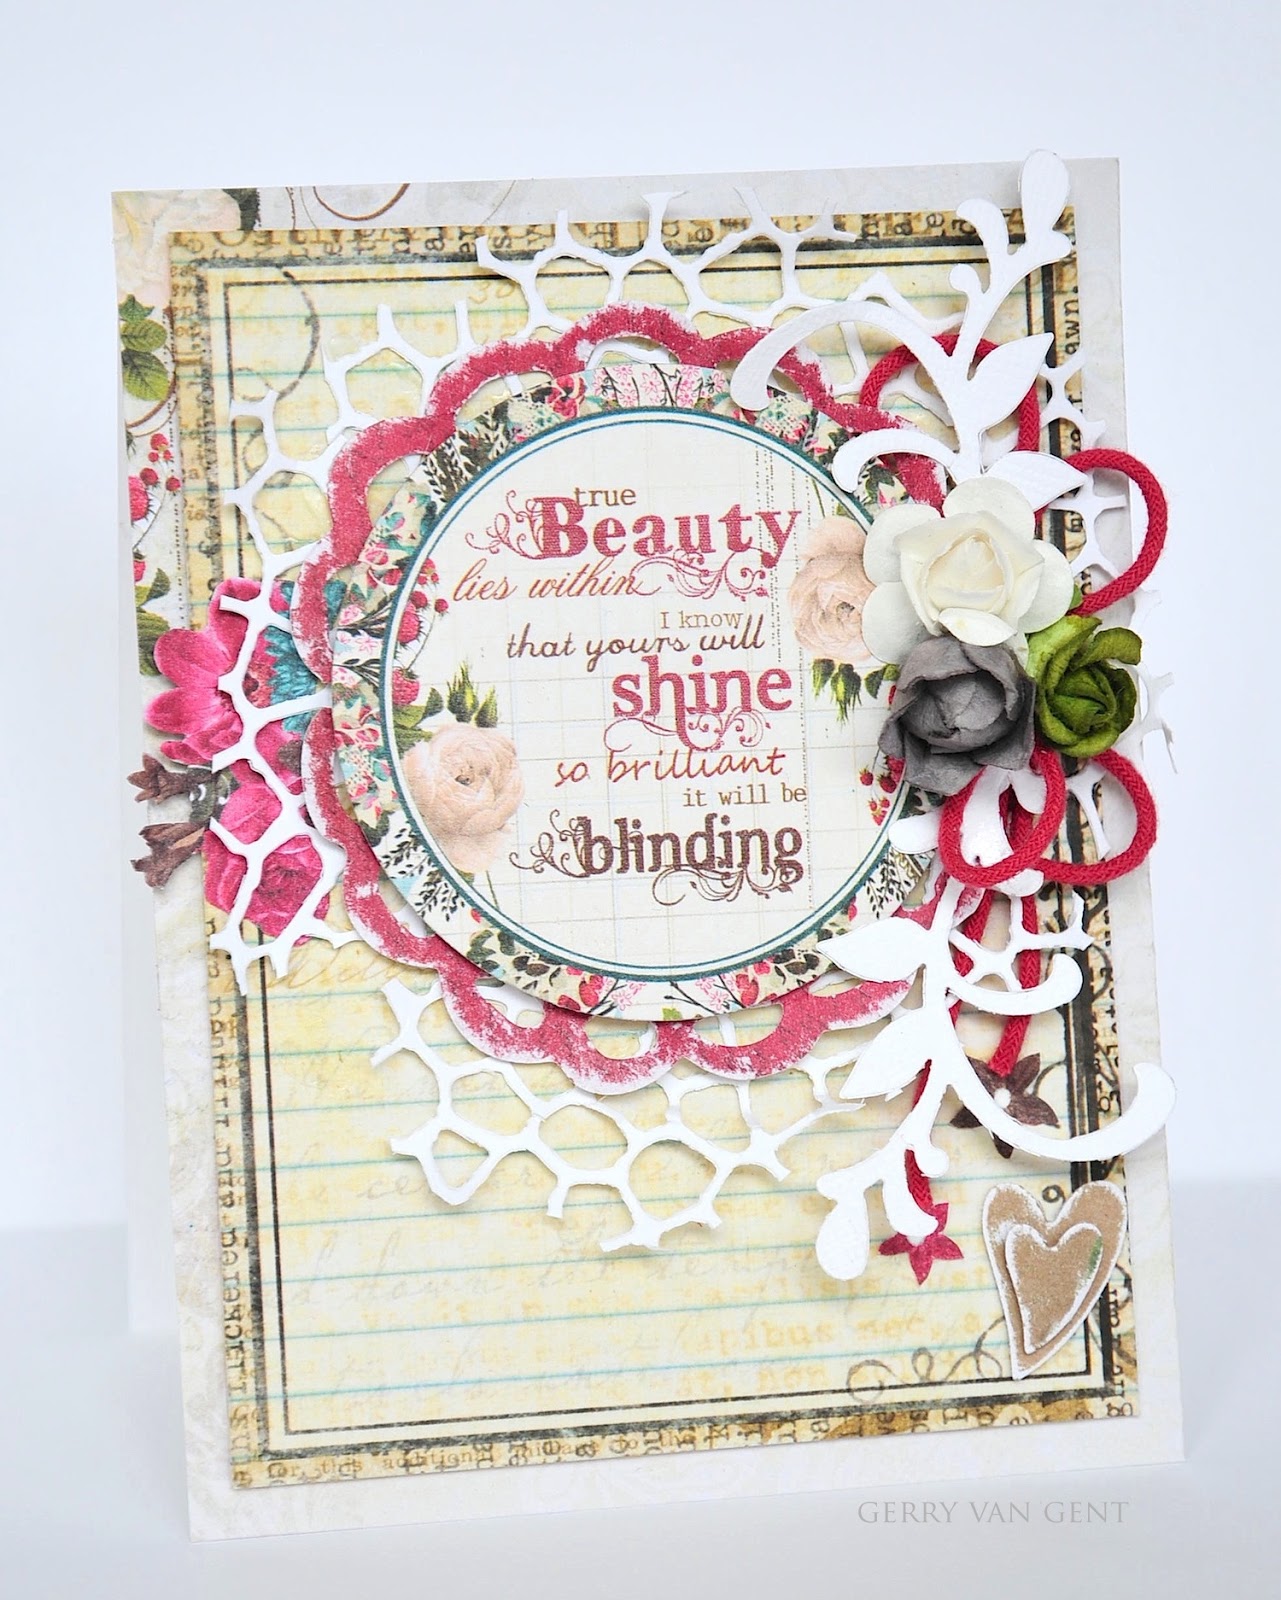
I love looking through all my pattern papers with gorgeous elements,
flowers, phrases, etc. For this card the text I saw on one of those papers
(Prima Marketing, Madeline) made me think at once of the round die from
Snowflake Frame set. I tried it and it fit perfectly. Then I decorated the
circle with a Vintage doily and this is how I began creating this card.
657900 Sizzix Big Shot machine 
657906 Sizzix Framelits Die Set Frame, Snowflake
658506 Sizzix Sizzlits Vintage Doily
658252 Sizzix Sizzlits Dec. Strip Die Cobblestones
657789 Sizzix Sizzlits Dies Love Set
657522 Sizzix Sizzlits Dies Card Phrases Set

The two hearts were die-cut from the Love Set. They are part of the word "LOVE".
I sanded the edges and adhered with a foam square pad.
OTHER PRODUCTS I USED:
Prima Marketing - pattern papers

Wishing you a very creative Sunday with our awesome Sizzix products!

Sunday, 3 March 2013

"Life is Sweet" by Gerry


Hello Sizzix friends!
This is Gerry here today to share with you my latest layout
created with beautiful Sizzix die-cuts.
{655268} Sizzix Big Shot Machine
{658945} Sizzix Thinlits Die -Damask & Scallop Borders
{658947} Sizzix Thinlits Die - Doily & Doily Border
{658948} Sizzix Thinlits Die - Frames, Fancy Rectangle
{657826} Sizzix Sizzlits Decorative Strip Die - Washer Border
{658072} Sizzix Sizzlits Decorative Strip Die - Card Edges, Dec. Accents & Leaves
{657009} Sizzix Originals Medium - Butterflies & Rings
{657906} Sizzix Framelits Die Set - Frame, Snowflake

For the Damask border (Damask & Scallop Borders), which was die-cut twice,
I used white cardstock. The "doily" part was carefully cut from the
lattice one and used as layers on my project.
In this way, I gave three different looks of the Damask Border.
Damask & Scallop Borders
The Scallop Border was die-cut also twice - this time I used
different pattern papers. I layered them on top of each other.
I cut the leaves from the decorative strip and used them
separately to decorate the flowers.


The top part of the frame (Frames, Fancy Rectangle) was 
cut and placed separately behind the lattice layer.
Other Products I used:
"Firefly" collection - Prima Marketing
Mask, stamps, flowers, embellishments - Prima Marketing

Hope you enjoyed my project today!

Dutch Translation

Hallo Sizzix vrienden!
Ik wil vandaag graag mijn laatste layout laten zien waar heb ik 
veel mooie Sizzix stansen gebruikt.
{655268} Sizzix Big Shot Machine
{658945} Sizzix Thinlits Die -Damask & Scallop Borders
{658947} Sizzix Thinlits Die - Doily & Doily Border
{658948} Sizzix Thinlits Die - Frames, Fancy Rectangle
{657826} Sizzix Sizzlits Decorative Strip Die - Washer Border
{658072} Sizzix Sizzlits Decorative Strip Die - Card Edges, Dec. Accents & Leaves
{657009} Sizzix Originals Medium - Butterflies & Rings
{657906} Sizzix Framelits Die Set - Frame, Snowflake

*  *  *
Om het  Damask & Scallop Borders twee keer te stansen heb ik 
witte cardstock gebruikt. Het "doily" stuk heb ik voorzichtig uitgeknipt uit 
het raster en daarna heb ik ze als laagjes voor mijn pagina gebruikt.
Op deze manier heb ik drie verschillende uitzichten van het Damask & Scallop Borders laten zien.

*  *  *
De schelp rand is ook twee keer gestanst - deze keer heb ik patroon papier gebruikt.
De twee laagjes heb ik op elkaar geplaatst en vervolgens geplakt.

*  *  *
Ik heb de blaadjes apart geknipt en vervolgens gebruikt
om de bloemen te versieren.

*  *  *
Het bovenste stuk van het lijstje (Frames, Fancy Rectangle) is geknipt 
en daarna achter de rooster laagje geplakt.

*  *  * 

Have a creative Sunday!
Thank you for visiting us today!

Sunday, 24 February 2013

A Card Tutorial from Gerry


Hello Sizzix friends!
It`s Sunday and I`m here today to share with you
how I created a card using one of the new Thinlits die cuts
 as a base for a doily card.
SUPPLIES LIST:
{655268} Sizzix Big Shot Machine
{658947} Sizzix Thinlits Die - Doily & Doily Border
{658951} Sizzix Thinlits Die- Ornate Hanging Sign
{658605} Sizzix Thinlits Die- Doilies, Lovely
{658607} Sizzix Thinlits Die - Flowers, Intricate
{657906} Sizzix Framelits Die Set - Frame, Snowflake
{657524} Sizzix Sizzlits Medium Die - Card Phrases Set #3

INSTRUCTIONS:
STEP 1:
As a base for your card prepare folded in two white cardstock with size 13 x 13 cm.
Place on top the Thinlits Doily Die...
Make sure that the doily die comes above the top folded part of the cardstock!
In this way the two doilies will be connected to each other!
This is what the result should be once it's ready.
STEP 2:
Use pattern paper to die-cut different embellishments for your card.
N.B. The ornate part of the Hanging Sign Die was cut twice 
- Once using pattern paper and once using white cardstock.
- Remove parts of both sides so they won't come out of the card
N.B. I didn`t use all the die-cuts you see on the photo below.
STEP 3:
Create your own background on front of the card by using a floral
stamp, embossing ink, embossing powder and ink (of your choice).
Add Liquid Pearls for decoration.
I left the back side of the card natural i.e. white.
STEP 4:
Decorate your card with the die-cuts.
Adhere by using not only glue but also foam squares
which will give a perfect dimension on your card.
STEP 5:
Die-cut the phrase "For  You" once using white cardstock
and once using black cardstock.
Use the black die-cut phrase as a shadow.
Other Products I used:
Prima Marketing - "Meadow Lark" Collection
Prima Marketing - "Sunrise Sunset" Cling Stamp


Hallo Sizzix vrienden!
Het is zondag vandaag en ik wil graag een kaart met jullie delen.
Ik heb een van de nieuwe Thinlits stansjes als basis gebruikt om deze kaart te creëren.

SUPPLIES LIST:
{655268} Sizzix Big Shot Machine
{658947} Sizzix Thinlits Die - Doily & Doily Border
{658951} Sizzix Thinlits Die- Ornate Hanging Sign
{658605} Sizzix Thinlits Die- Doilies, Lovely
{658607} Sizzix Thinlits Die - Flowers, Intricate
{657906} Sizzix Framelits Die Set - Frame, Snowflake
{657524} Sizzix Sizzlits Medium Die - Card Phrases Set #3


INSTRUCTIES:
STAP 1:
Bereid als basis voor je kaart een gevouwde witte cardstock voor met maat 13x13cm.
Plaats het Thinlits Doily Die op de dubbele cardstock

* * *
Zorg er voor dat de doily stans boven de cardstock geplaatst wordt. 
Op deze manier zijn de twee doilies met elkaar verbonden.
* * *
Dit is wat het resultaat zou moeten zijn als het klaar is.

STAP 2:
Gebruik patroon papier om verschillende gestanst embellishments te stansen voor je kaart.
N.B. Het ornaat stukje van het Hanging Sign Die is twee keer gestanst
- een keer met patroon papier en een keer met witte cardstock
- verwijder de kleine eind stukjes 
* * *
N.B. Ik heb niet alle gestanste stukjes op de foto hieronder gebruikt.

STAP 3:
Maak je eigen achtergrond op de voorkant van de kaart met behulp van een florale stamp, 
embossing inkt, embossing poeder en inkt (naar keuze).
Bijvoegen Liquid Pearls om te versieren.
* * *
Ik heb de achterkant van de kaart wit gelaten.

STAP 4:
Versier je kaart met de uitgestanste stukjes.
Gebruik niet alleen lijm maar ook vierkantjes van foam.
 - op deze manier krijg je meer dimensie.

STAP 5:
Stans een keer de uitdrukking "For  You" op wit papier en een keer op zwart papier.
Gebruik de zwarte uitdrukking als een schaduw.
* * *

I Hope you enjoyed my card tutorial today!
Have a Sizzix Sunday!