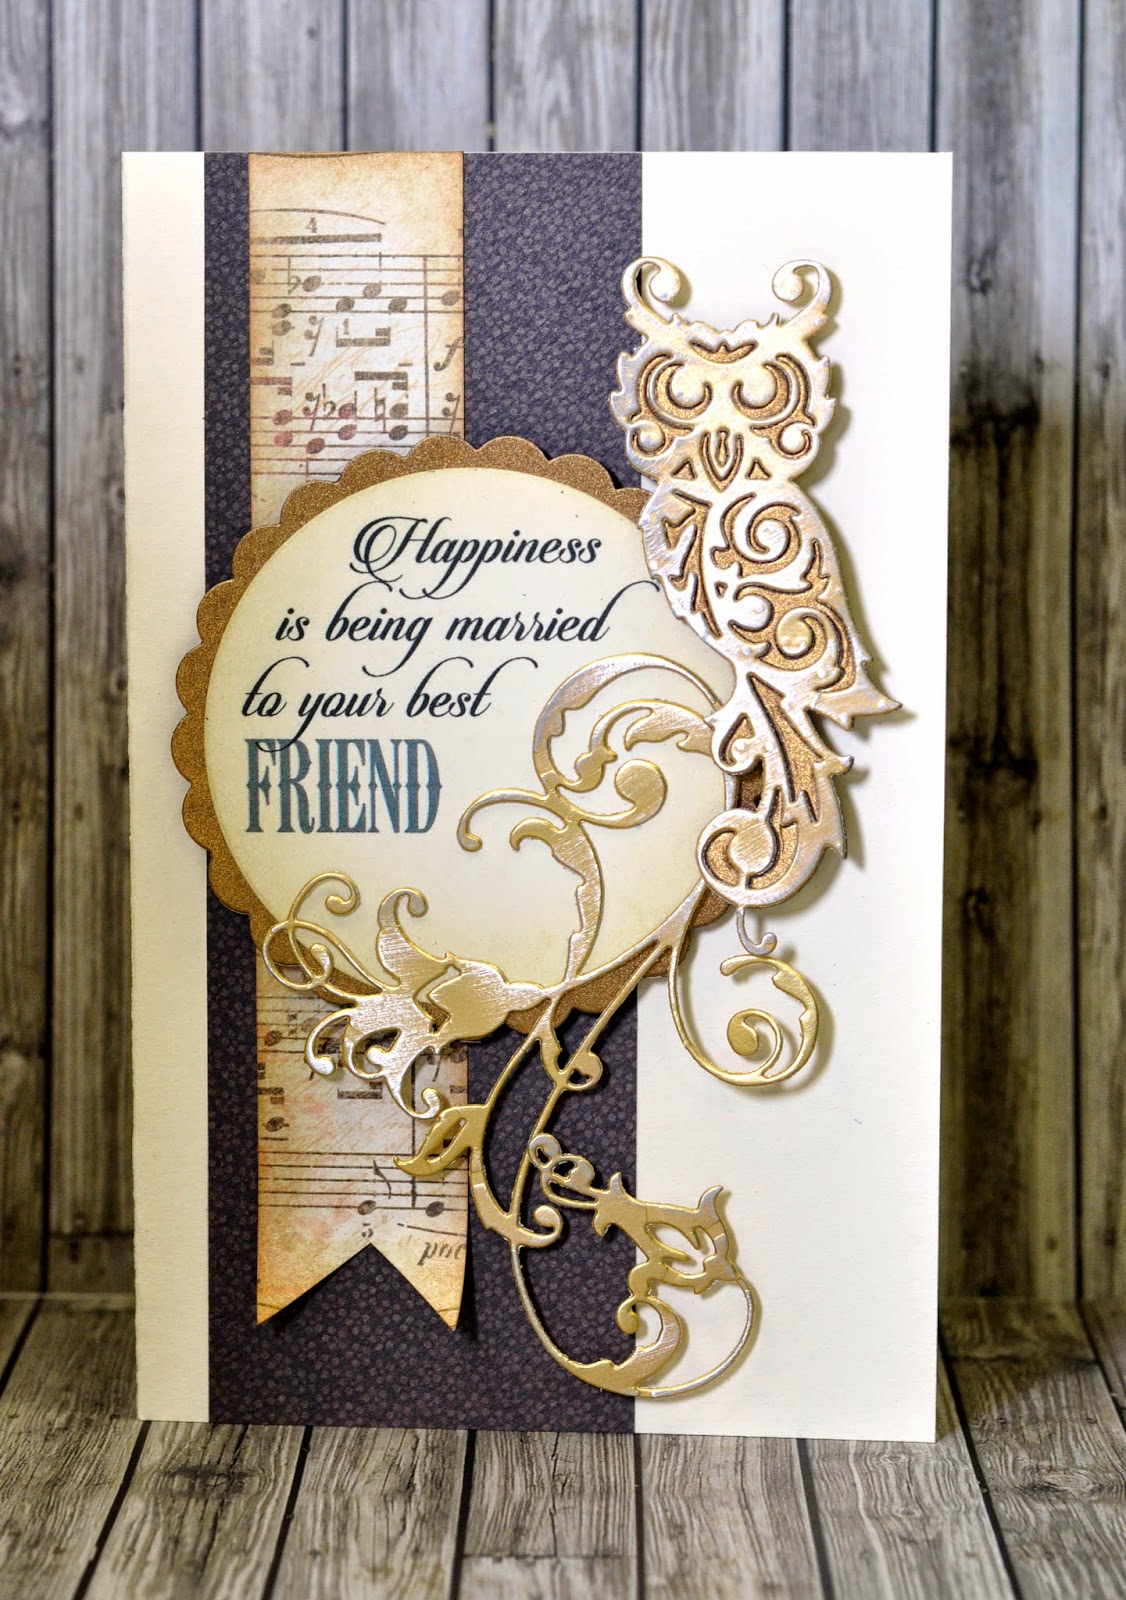
Today we are taking another look at the Elegance die range, but this week we are hoping to achieve that elusive elegant touch using a very basic colour palette. They say simple is beautiful well I like to think it can also be elegant too!
The die that I used is a dove named Delicate Wings together with some great stamps from the good people at Darkroom Door. The colours of card are a couple of warm greys together with some pale cream and the Distress Inks are Old Paper and Pumice Stone.
I started by die-cutting the dove from cream card before applying the text stamp inked up with Pumice Stone Distress ink; these inks are not really designed for rubber stamping but they do give a lovely soft, subtle image.Next, I gently applied Old Paper ink around the edges.
The die that I used is a dove named Delicate Wings together with some great stamps from the good people at Darkroom Door. The colours of card are a couple of warm greys together with some pale cream and the Distress Inks are Old Paper and Pumice Stone.
I started by die-cutting the dove from cream card before applying the text stamp inked up with Pumice Stone Distress ink; these inks are not really designed for rubber stamping but they do give a lovely soft, subtle image.Next, I gently applied Old Paper ink around the edges.

I cut a rectangle of grey card measuring 95 x 140 mm and rounded off the corners with a punch before stamping the legend 'thank you' onto a strip of darker card before gently inking the edges. I gave the dove a very light spritz of spray adhesive before applying a little Clear Rock Candy Distress Glitter which creates a very subtle effect on the right side of bling!

Here's the finished card piece mounted onto a standard sized cream base card. Hope you like it!
Next Wednesday I will be blogging as usual but I will be on my way to Frankfurt to attend the Creativeworld fair, It's always a very exciting time and I promise to tell you all about it when I return.