Showing posts with label Sizzix Thinlits Speech Bubbles. Show all posts

Friday, 16 October 2015

gift wrapping.... how we give self made pralines


Hello there...

we love to give self made gifts when we are visiting friends.
This time we love to make pralines on our own.

But before producing the pralines - i was thinking about the wrapping.

I decided to use Sizzix Thinlits Plus Die Set 8PK - Bag, Tall...

This is what you also need:
Sizzix Bigz Die - Garden Greens
Sizzix Accessory - Die Brush & Foam Pad for Wafer-Thin Dies
Sizzix Thinlits Die Set 4PK - Speech Bubbles
Sizzix Big Shot Plus Starter Kit (White & Gray) (i took the beautiful butterfly out of it)
Breakfast-Bags


I took the brush to remove the small pieces out of the pattern - but i did not remove all.
I love the unfinished look...


I fixed the butterfly at the breakfast-bag...


Have a beautiful weekend, Stephanie

Friday, 9 October 2015

Bows for a little boy....


Hello there...

monday was the first day after my boss' baby break.
We bought a present, decorated her office with ballons and garlands...

but...

oh my, i forgot the greeting card....

Sunday night, when we came home from our weekend trip - there was only
time for a simple card...

Fortunately there were some cute Sizzix Bigz Die - Bows waiting for me.
And i knew, my boss would not have loved a kitschy baby card...
Together with a cute speech bubble,  the bows it looks great - don't you think?


Have a great weekend, Stephanie


Sunday, 27 September 2015

Hello Be Merry gift package for Christmas


Hello Sizzix Friends!
When last winter I bought this wrapping paper I was so enthusiastic about it and I couldn't wait to be able to use it.
That moment has arrived!


You need:
Sizzix Thinlits Die Set 3PK - Winter Wishes (660882)
Sizzix Thinlits Die Set 4PK - Speech Bubbles (660801)
Christmas Wrapping Paper
Christmas stickers
Cardstocks (white-tartan)
Double-sided sticky foam pads
Glue Stick
Scissors
Baker's Twine
 
Wrap you gift up paying attention to place the robin in the right position.
Die cut the round speech bubble with a white cardstock and the die from Sizzix Thinlits Die Set 4PK - Speech Bubbles (660801).
Die cut the word Hello with a tartan cardstock and the die from Sizzix Thinlits Die Set 3PK - Winter Wishes (660882).
Place the baker's twine on the gift package and make a bow.
Fix the speech bubble on the baker's twine with some double-sided sticky pads.
Paste the word hello on the white speech bubble using some glue stick.
Paste the Christmas stickers just below the word hello.
 
That's it!
Have a nice sunday!


*Per i lettori italiani*
 
Buongiorno amici creativi!
Quando lo scorso inverno ho comprato questa carta regalo ero felicissima e non vedevo l'ora di avere l'occasione di utilizzarla.
Questo momento รจ arrivato e condivido con voi questa nuova idea di confezionamento.
Spero vi piaccia!


Ho usato:
Carta regalo natalizia
Adesivi di natale
Cartoncini
Gommini biadesivi
Colla stick
Forbici
Baker's twine
 
Ho confezionato il regalo con la carta regalo a fantasia facendo in modo che il pettirosso fosse posizionato centralmente.
Ho fustellato con del cartoncino bianco il fumetto rotondo usando una delle fustelle del Sizzix Thinlits Die Set 4PK - Speech Bubbles (660801).
Ho fustellato la scritta Hello con un cartoncino tartan usando la fustella presente nel Sizzix Thinlits Die Set 3PK - Winter Wishes (660882).
Ho posizionato il baker's twine su un lato della confezione e ho fatto un fiocco.
Ho applicato il fumetto usando dei gommini biadesivi.
Ho incollato con della colla stick la scritta Hello sul fumetto e subito sotto ho applicato un adesivo natalizio.
 
Fatto!
 
 
Buona domenica


Tuesday, 28 July 2015

A little of card making


Hi everybody!

For our Tuesday meeting, I suggest you realize a very simple card.

You just have to choose 2 papers and a tracing paper.

Cut several pennants using the Speech bubbles die. Then stick the pennant next to each other and cover the top with masking tape. 


End with the message of your choice.


And here is a lovely card to offer!


Items used:
660804: Sizzix Thinlits Die Set (4PK) Speech Bubbles
paper: Swirlcards 
glitter tape: American Crafts
stickers: Studio Calico
strass: Scrapboukits


*************

Un peu de carterie

Pour notre rendez vous du mardi, je vous propose une petite carte trรจs simple ร  rรฉalisรฉe

Il suffit de choisir 2 papiers de votre choix et un papier calque

Dรฉcouper plusieurs fanions ร  l'aide du die Speech bubbles. Coller ensuite les fanion les uns ร  cรดtรฉ des autres et couvrir d'un masking tape au dessus

Finir en inscrivant le message de votre choix et voilร  une joli carte ร  offrir!

Bonne journรฉe!

Sunday, 26 July 2015

You Are Mine - Happy Birds Card


Hello Sizzix Friends,
This week has been so warm in Italy but yesterday finally rain has come!
I'm dreaming fall and winter seasons and their warm colours.
Red and mustard shades are always my favourites!

I realized a new romantic card with the Tribal Adventure dies.
I hope you enjoy it.


You need:
Sizzix Thinlits Die - Happy Birds (660497)
Sizzix Textured Impressions Embossing Folder - Chevron Texture (660506)
Banner from Sizzix Thinlits Die Set 4 PK - Speech Bubbles (660801)
Decorative Strip from Sizzix Big Shot Plus Starter Kit (White & Gray) (660515)
Sizzix Accessory - Die Brush & Foam Pad for Wafer-Thin Dies (660513)
White card
White mini card
Cardstocks (kraft, cream, chevron mustard, red)
Double-sided sticky tape
Scissors
Stickers


Emboss a white small card using Sizzix Textured Impressions Embossing Folder - Chevron Texture (660506).
Die cut a decorative strip using the die from Sizzix Big Shot Plus Starter Kit (White & Gray) (660515) and a Kraft cardstock.
Die cut the Happy Bird using a kraft cardstock first and a cream cardstock after.
Die cut a banner using a mustard chevron patterned cardstock and a die from Sizzix Thinlits Die Set 4 PK - Speech Bubbles (660801).
Paste the white embossed mini card on a bigger white card using the double-sided sticky tape.
Fix the decorative strip on one side of the card using a long piece of thin double-sided sticky tape.
Remove the excess paper from the Happy Birds using the Die Brush & Foam Pad for Wafer (660513).
Mix and match the paper pieces to get the final Happy Birds (I die cut the heart using a red cardstock).
Paste the double-sided sticky tape on the back of the birds to fix the paper pieces.

Realize a red label with a label maker and put it on the card using, if necessary, a thin piece of double-sided sticky tape (fix the banner between the card and the red label).
Add a romantic round sticker.
Remove the protective film from the back of the Happy Birds and fix them on the card.
Add two pieces of autumnal washitapes above the Happy Birds.
Add some alphabet stickers to get the word LOVE.

That's it!
Have a great Sunday!
Silvia


 * Per i Lettori Italiani*

Buon pomeriggio!
In questi ultimi giorni in Italia c'รจ stato tanto caldo ma finalmente l'altro giorno รจ arrivata un po' di pioggia.
Sto giร  sognando la stagione autunnale e invernale e i loro caldi colori.
Rosso e senape sono senza dubbio tra i miei preferiti!

Ho realizzaro un nuovo biglietto romantico con le fustelle della collazione Tribal Adventure.
Spero vi piaccia.


Ho usato:
Sizzix Thinlits Die - Happy Birds (660497)
Sizzix Textured Impressions Embossing Folder - Chevron Texture (660506)
Fustella Banner dal Sizzix Thinlits Die Set 4 PK - Speech Bubbles (660801)
Fustella decorativa dal Sizzix Big Shot Plus Starter Kit (White & Gray) (660515)
Sizzix Accessory - Die Brush & Foam Pad for Wafer-Thin Dies (660513)
Biglietto bianco
Biglietto piccolo bianco
Cartoncini (kraft, crema, chevron senape, rosso)
Nastro biadesivo
Forbici
Adesivi


Goffrate il piccolo biglietto bianco usando Sizzix Textured Impressions Embossing Folder - Chevron Texture (660506).
Fustellate la striscia decorativa usando la fustella presente nello Sizzix Big Shot Plus Starter Kit (White & Gray) (660515) e un cartoncino kraft.
Fustellate gli Uccellini Felici con un cartoncino kraft prima e crema successivamente.
Fustellate un banner usando il cartoncino chevron senape e la fustella presente nel Sizzix Thinlits Die Set 4 PK - Speech Bubbles (660801).
Attaccate il mini biglietto bianco sul biglietto piรน grande usando del biadesivo.
Posizionate la striscia decorativa su un lato del biglietto e fissatela con del biadesivo sottile.
Rimuovete l'eccesso di carta dagli uccellini aiutandovi con Die Brush & Foam Pad for Wafer (660513).
Componete gli uccellini mescolando i due cartoncini, usate come base gli uccellini kraft e applicate le decorazioni color crema fissando sul retro dei pezzi di biadesivo.

Realizzate un'etichetta rossa con un'etichettatrice e posizionatela sul biglietto usando, se necessario, un pezzo di biadesivo (ricordatevi di fissare il banner chevron tra il biglietto e l'etichetta).
Aggiungete un adesivo rotondo.
Rimuovete la pellicola protettiva dal retro degli uccellini e fissate anche loro sul biglietto.
Aggiungete due pezzi di washitape dai colori autunnali sopra le zampe degli uccellini.
Aggiungete degli adesivi alfabeto componendo la parola LOVE.


Buona domenica!
Silvia


Thursday, 9 July 2015

Hello Summer Card


Hi Sizzix fans!!!
Today we celebrate the coming of Summer with a cute card!!
For this project I used:
Sizzix Big Shot Plus Starter Kit 660515
Sizzix Framelits Die Set 8PK - Circles, Scallop
Sizzix Thinlits Die Set 3PK - Happiness Phrases

Sizzix Sizzlits Decorative Strip Die - Eyelet Lace & Scallops 660395

Watercolors
Glue
Gilding paste
Gold flakes
Scissors
Cardstocks
 Create a background using watercolors.
 Create a boat using different cardstocks.
Assemble all and decorate to your liking.
The Hello Summer Card is ready!!
Do you like it????

See you next thursday!
-PER LETTORI ITALIANI-
Ciao amici!!
Oggi celebriamo l'arrivo dell'Estate con un carinissima card ricca di elementi decorativi!
Per questo progetto ho usato:
Sizzix Framelits Die Set 8PK - Circles, Scallop
Sizzix Thinlits Die Set 3PK - Happiness Phrases

Sizzix Sizzlits Decorative Strip Die - Eyelet Lace & Scallops 660395

Colla
Forbici
Colla per foglia oro
Foglia oro
Acquerelli
Cartoncini vari

Creare uno sfondo sui toni del celeste usando gli acquerelli. Fustellare due nuvolette con Sizzix Thinlits Die Set 4PK - Speech Bubbles. Creare il sole usando Sizzix Framelits Die Set 8PK - Circles, Scallop e decorarlo con foglia oro. Fustellare la scritta Hello con Sizzix Thinlits Die Set 3PK - Happiness Phrases e tante onde usando Sizzix Sizzlits Decorative Strip Die - Eyelet Lace & Scallops 660395. Creare una barca usando vari cartoncini. Adesso assemblare tutto e decorare secondo la propria fantasia!!
La Hello Summer Card รจ pronta!!
Bella vero??
Alla prossima!!


Tuesday, 23 June 2015

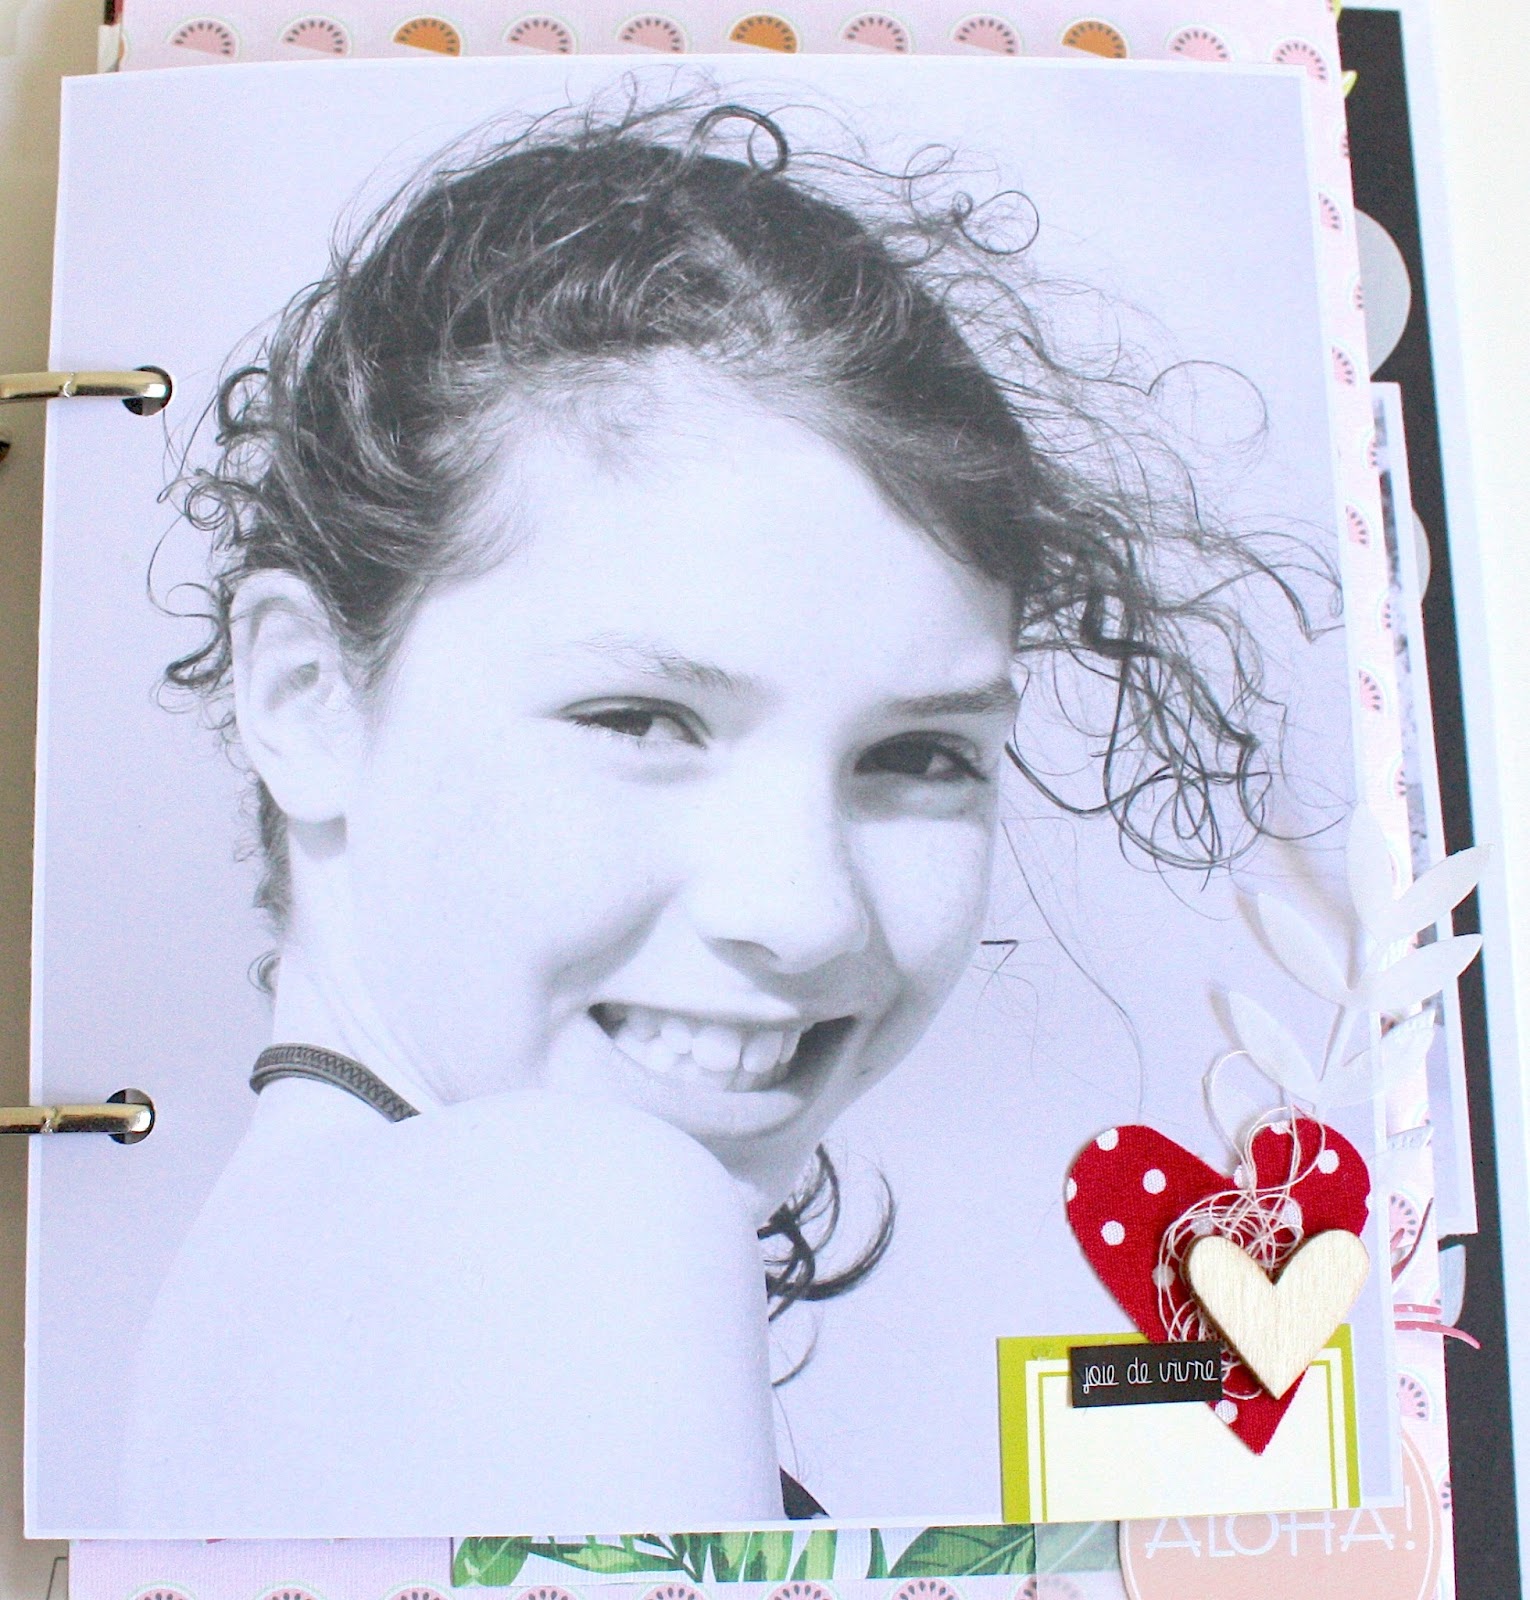
Mini Book Photos


Hello Everyody!


Today, I suggest a mini realized in a workshop at Betheny, near my home!


This mini is based on a file filled with pretty layouts, realized thanks to the Big Shot Plus, its dies and its embossing plates!


I used the "Hello" die of Craft Asylum in a mint coloured foam to put it into relief.


I played with the materials by choosing some crepe paper and fabric, in which I have cut hearts using the die from the Big Shot Plus starter kit.


I didn't resist using several times in this mini album my favourite die of the moment: the pretty openwork flower of the Big Shot Plus starter kit.


For my tags decoration (slid in pockets), I used the Brenda Walton and Rachael Bright embossing plates with white Bazzill paper.


The die "Sunshine" was ideal for the theme of my mini, because I scrapped pictures of girls posing on the beach of Arcachon last summer.


I created a small banner with triangles cut with the Craft Asylum die: you just have to stick the cut triangles next to each other and overlap them slightly.


I also wanted to add relief by using the brows die which I cut in a fabric. The result is amazing!


I created my own embellishments: Using my typewriter and a classic tracing paper, I wrote simple words in keeping with my theme. 

Then I used this paper with the flower and foliage die of the Big Shot Plus starter kit. There is how to give transparency, relief and a home-made touch to your design.

That's it for today, good day to you all!


Have a good day and see you soon 


*************

Mini Photos

Aujourd'hui, je vous propose un mini rรฉalisรฉ en atelier ร  Betheny, tout prรจs de chez moi!
Ce mini a pour base un classeur, rempli de jolies mis en page rรฉalisรฉes grรขce ร  la Big Shot Plus, ses dies et ses plaques d'embossage!

J'ai utilisรฉ le die "Hello" de Craft Asylum dans de la mousse couleur mint pour lui donner du relief.

J'ai jouรฉ avec les matiรจres en proposant du crรฉpon et du tissu, j'y ai dรฉcoupรฉ des coeurs grรขce au die du kit de dรฉmarrage Big Shot Plus.

Je n'ai pas rรฉsistรฉ ร  utiliser plusieurs fois dans ce mini album,  mon die prรฉfรจrรฉ du moment la jolie fleur ajourรฉe du starter kit Big Shot Plus.
Pour la dรฉcoration de mes tags ( glissรฉs dans les pochettes ) j'ai utilisรฉ les plaques d'embossage Brenda Walton et Rachael Bright avec du papier Bazzill blanc.

J'ai crรฉรฉ une petite banderole avec des triangles dรฉcoupรฉs avec le die Craft Asylum: il suffit de coller les triangles dรฉcoupรฉs les uns ร  cรดtรฉ des autres en les faisant se chevaucher lรฉgรจrement.

Le die "Sunshine" รฉtait idรฉal pour le thรจme de mon mini, puisque j'ai scrappรฉ les photos de filles posant sur la plage d'Arcachon l'รฉtรฉ dernier.

J'ai aussi voulu ajoutรฉ du relief grรขce au die noeud dรฉcoupรฉ dans du tissu, le rรฉsultat est รฉpoustouflant!

J'ai crรฉรฉ mes propres embellissements: j'ai utilisรฉ ma machine ร  รฉcrire sur du calque classique en inscrivant de simples mots en rapport avec mon thรจme, puis j'ai utilisรฉ ce papier avec le die fleur et feuillage du kit de dรฉmarrage Big Shot Plus
Et voici comment donner de la transparence, du relief et une note de fait-maison.

Et voilร  pour aujourd'hui, bonne journรฉe ร  tous et toutes!