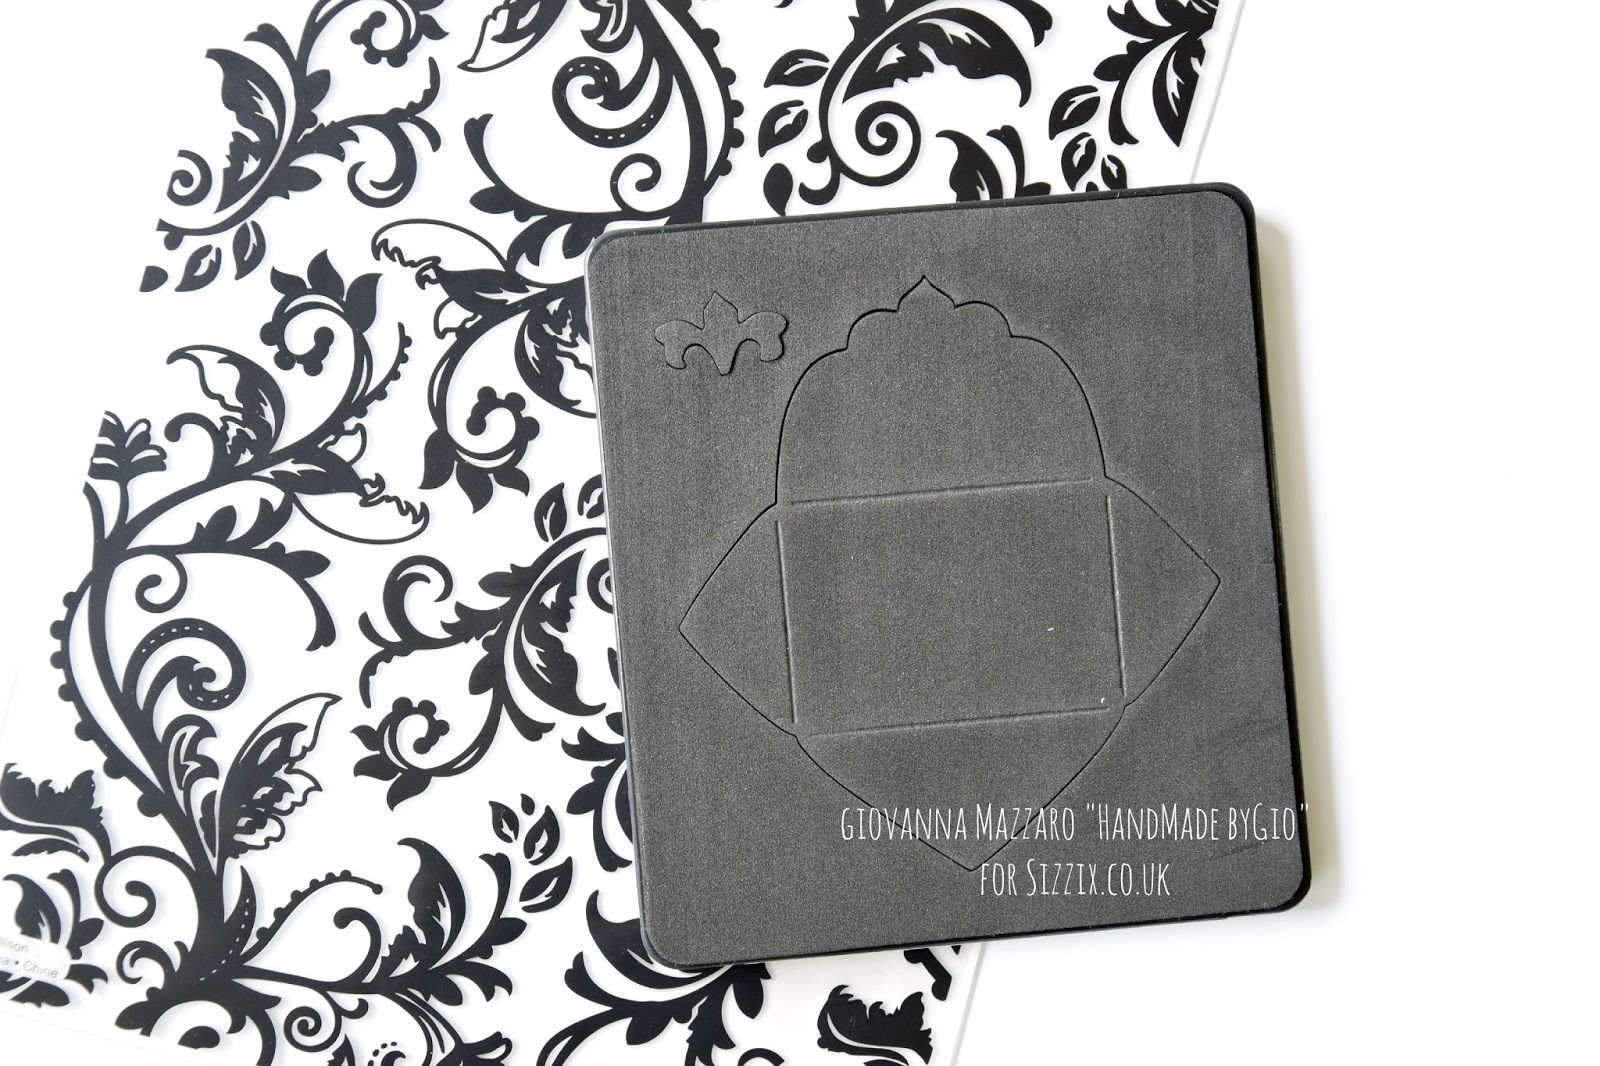
Showing posts with label Sizzix Big Shot Plus Starter Kit. Show all posts

Thursday, 22 October 2015

"Winter wishes" card.


Hallo Sizzix Friends!
Today I'd like to share with you this very winter card
created using one of the latest dies!
You need:

First brush the white card with Gilding paste.
Then lay aut the gold flakes with a brush.
Die cut the flower using blue cardstock and die cut leaves with white cardstock.
Embellish the flower with gold flakes.
Die cut twice the "Winter wishes" phrase
using two different colors of cardstocks.
Compose the phrase as I did.
 Die cut the snow crystals using different colors of cardstocks.
I used blue and gray.
Paste leaves and flower on the left of the card.
For the center I used a small diamond to add a touch of light.
Paste "Winter Wishes" phrase on the right of the card togheter with
the snow crystals.

Here's your Winter card!!!
Do you like it???
I think it's perfect for your best winter wishes!! 
Thanks for your visits!!

-PER LETTORI ITALIANI-
 Ciao Amici!!
Oggi voglio condividere con voi questa card di auguri molto invernale
creata con una delle ultime fustelle! 
Avrete bisogno di:
Gold Flakes
Colla per gold flakes
Colla a caldo
Colla
Cartoncini bianco, celeste e grigio
Un pennello

Per prima cosa spennellate la colla sulla card, aspettate che diventi trasparente
quindi cospargete delicatamente i fiocchi d'argento fino ad incollarli sulla
superficie ricoperta di colla.
Fustellare il fiore usando il cartoncino celeste e le foglie con il cartoncino bianco.
Abbellire il fiore con fiocchi d'argento.
Fustellare la scritta "Winter wishes" due volte
usando due differenti colori di cartoncino, poi comporre la frase come ho fatto io.
Fustellare i fiocchi di neve.
Incollare il fiore e le foglie sul lato sinistro della card. Per il centro del fiore
ho usato un piccolo diamante per dare un tocco di luce.
Incollale la frase "Winter wishes" insieme ai fiocchi di neve
sulla destra della card!!

Ecco la vostra card finita!!
Vi piace??
Io la trovo perfetta per i vostri auguri più invernali!!! Brrrr!!!!!

Grazie a tutti!!


Thursday, 15 October 2015

Bird house - decoration with pine cones.


Hi Sizzix Friends!!
I love decorating my house with pine cones at Christmas.
They are very easy to find and they are beautiful painted white or natural!
This time I added one more element, a delicious bird house!

You need:

Sizzix Thinlits Plus Die Set 5PK - Box, Birdhouse 660872

Cardstocks

Hot Glue

Pine cones

White paint


I love it!!
See you next week!!


-PER LETTORI ITALIANI-

Ciao amici!
Nel periodo natalizio adoro decorare la mia casa con le pigne.
Sono facili da reperire e bellissime dipinte di bianco o lasciate al naturale!
Questa volta ho aggiunto un elemento in più,
una deliziosa casetta per uccellini!

Per questo progetto avrete bisogno di:

Sizzix Thinlits Plus Die Set 5PK - Box, Birdhouse 660872

Cartoncini

Colla a caldo

Pigne

Vernice bianca

Alla prossima!!!!

Giovanna


Thursday, 1 October 2015

Timeless love gift box


Hello Sizzix friends!!
I love the Emily Atherton's collection of dies!! So delicate, rich in details, romantic!
Especially the sweet Timeless Love gift box!
A perfect die to create delicious party favors.

For this project you need:

Sizzix Big Shot Starter Kit (White & Gray) 660515

Sizzix Thinlits Plus Die Set 6PK - Timeless Love Gift Box 660833

Sizzix Accessory - Die Brush & Foam Pad for Wafer-Thin Dies 660513

Cardstocks
Glue
Scissors
Ribbon

Die cut the gift box with a blue cardstock and the die from Sizzix Thinlits Plus Die Set 6PK - Timeless Love Gift Box 660833.
Fold the carstock along the signs then close the box.
Die cut Flowers and Leaves with cards of different colors and using dies from Sizzix Thinlits Plus Die Set 6PK - Timeless Love Gift Box 660833.
To release the shape obtained by the die, help with Sizzix Accessory - Die Brush & Foam Pad for Wafer-Thin Dies 660513.
Die cut a tag using the die included in Sizzix Big Shot Starter Kit (White & Gray) 660515.
Now paste the embellishments on the gift box.
Complete the timeless love gift box with a little bow of ribbon.


This is my timeless love gift box!
Thank you for reading.

Giovanna


-PER I LETTORI ITALIANI-

Ciao amici di Sizzix!
Adoro la collezione di fustelle di Emily Atherton! Così delicate, ricche di particolari e romantiche!
In particolare la dolcissima scatolina Amore Senza Tempo, Timeless Love Gift Box.
Adatta per creare delle carinissime bomboniere!

Per questo progetto avrete bisogno di:

Sizzix Big Shot Starter Kit (White & Gray) 660515

Sizzix Thinlits Plus Die Set 6PK - Timeless Love Gift Box 660833

Cartoncini
Colla
Forbici
Nastrino

Fustellare la scatolina usando il cartoncino celeste e la fustella adatta inserita in Sizzix Thinlits Plus Die Set 6PK - Timeless Love Gift Box 660833. Piegare lungo le scanalature e richiudere la scatolina.
Fustellare una tag usando la fustella inclusa nel Sizzix Big Shot Starter Kit (White & Gray) 660515.
Fustellare fiori e foglie con le fustelle di Sizzix Thinlits Plus Die Set 6PK - Timeless Love Gift Box 660833. Per estrarre le forme così ottenute dalla fustella aiutarsi con Sizzix Accessory - Die Brush & Foam Pad for Wafer-Thin Dies 660513.
Ora incollare tutti gli abbellimenti sulla scatolina e completare il tutto con un fiocchetto realizzato con del nastrino.
Questa è la mia scatolina Amore senza Tempo!
E la vostra come sarà???

Grazie a tutti!!


Thursday, 24 September 2015

Decorated envelope.


Hi Sizzix friends!!
Today a simple step by step to create an envelope very cute!!!

I used:
Sizzix Big Shot Starter Kit 660515

Sizzix Bigz Die - Envelope w/Ornate Flap 656554

Cardstocks
Glue

Take a pink cardstock and embossing using

Press along the folds visible on the die-cut cardstock to create the envelope.
Paste the flap to close the envelope.
Die cut some flowers and leaves with Sizzix Thinlits Die Set 11 PK-Flower Layers and Leaf 660146.
Paste on the envelope to create a decoration!
 It's ready!!!
See you soon!!

-PER LETTORI ITALIANI-

Benvenuti amici di Sizzix! Oggi un tutorial semplice semplice per creare una deliziosa busta decorata con fiori e foglie!
Per questo progetto ho utilizzato:
Sizzix Big Shot Starter Kit 660515

Sizzix Bigz Die - Envelope w/Ornate Flap 656554

Cartoncini di vari colori
Colla

Premere lungo le pieghe visibili sulla forma così ottenuta, per creare la busta. Incollare i lembi per richiudere la busta. Fustellare alcuni fiori e foglie con Sizzix Thinlits Die Set 11 PK-Flower Layers and Leaf 660146. Incollarli sulla busta creando una bella decorazione!
La vostra bustina è pronta per essere utilizzata!!

Grazie del vostro quotidiano sostegno!
Alla prossima....


Thursday, 6 August 2015

Pochette beauty-part one


Hi friends!!!
In my work I often use beautiful fabrics to create bags, purse and other sewing creations!
I love sewing!! I create lots of accessories for women but also for children!
Today I want to see you how the big shot helps me create wonderful applications for my clutch.

You need:
Sizzix Big Shot Starter Kit 660515
Sizzix Thinlits Die Set 11 PK-Flower Layers and Leaf 660146
Scissors
Zipper cm 23
Two pieces of fabric for the exterior cm 23x25
Two pieces of fabric for the interior cm 23x25
Two pieces of light padding
A piece of fusible web
Scraps of fabrics
Sewing machine

Fuse the web to the wrong side of scraps of fabrics than die cut some flowers and leaves using Sizzix Thinlits Die Set 11 PK-Flower Layers and Leaf 660146 and the Bigz included in Sizzix Big Shot Starter Kit 660515.

Arrange flowers and leaves on one of the pieces of fabric for the exterior of the pochette.

Now create a free embroidery with your sewing machine, 
to enhance the outlines of flowers and leaves.
Be guided by the imagination, created of leaves and flourishes.
Embroidery is ready!
Next time we will see how to sew the pouch, apply the zipper and finish it all!
I wait for you!!

-PER I LETTORI ITALIANI-

Ciao Amici!
Nel mio lavoro uso spesso splendidi tessuti per creare borse, pochette e altre creazioni di cucito!
Amo il cucito creativo!! Creo tantissimi accessori per le donne ma anche per i bambini!

Oggi voglio farvi vedere come la Big Shot mi sia utile per creare meravigliose applicazioni per le mie pochette!
Avrete bisogno di:
Sizzix Big Shot Starter Kit 660515
Sizzix Thinlits Die Set 11 PK-Flower Layers and Leaf 660146
Forbici
Cerniera cm 23
Due pezzi di stoffa per l'esterno cm 23x25
Due pezzi di stoffa per l'interno cm 23x25
Due pezzi di imbottitura leggera
Ritagli di stoffa
Carta termoadesiva
Macchina per cucire

Incollare la carta termoadesiva sul retro dei ritagli di stoffa quindi fustellare fiori e foglie con Sizzix Big Shot Starter Kit 660515 e Sizzix Thinlits Die Set 11 PK-Flower Layers and Leaf 660146.
Disporre e quindi incollare i fiori e le foglie su uno dei pezzi di stoffa che utilizzeremo per l'esterno della nostra pochette. Con la macchina per cucire creare dei ricami liberi in modo da delineare i bordi dei fiori e delle foglie. Fatevi guidare dalla fantasia, quindi create altre foglie e ghirigori con la macchina. Il vostro ricamo sarà pronto!
Vi aspetto la prossima volta per finire di cucire la pochette, applicare la zip e ultimare il tutto!!
Vi aspetto!!!

Friday, 31 July 2015

Creative ideas for summer party


Hi everyone, It’s Anna here and I'm so excited to be here today sharing a fun idea for Summer!
I love the new Sizzix Big Shot Plus starter Kit! I’m going to show you how to use this kit and two other dies for your summer party. I used also the nice flower from Botanical Bloom collection design by Craft Asylum.
With a bright yellow selection of lemons and flowers, I created: garland, little baskets and party invites.
There is nothing like enjoying refreshing citrus on a warm summer’s day! ;)
 
summer party idea-tutorial-sizzix bigshot plus starter kit (1)
 
This is a little basket for snacks, that I created with box Thinlits:
 
summer party idea-tutorial-sizzix bigshot plus starter kit (3)
 
This is my fresh party invitation card:
 
summer party card-tutorial-sizzix bigshot plus starter kit
 
Let's party!!!
 
summer party idea-tutorial-sizzix bigshot plus starter kit (2)
 
Let me explain you how to make the garland:
1- Fold the paper doilies in half.
2- Created your lemon using two circles (cut in half) and three leaves of Starter Kit. Assemble the lemon and add to the doily.
3- Place twine between the layers of any doily and glue together.
4- Cut out more flowers using Bigz Die - Bountiful Botany #2 , I used also a piece of mesh bag of lemons to created a flower. Layer the shapes to created two beautiful flowers and add.
So, is an easy and fun way to set the scene at your next party or celebration!
summer party idea-tutorial-sizzix bigshot plus starter kit (4)

Sizzix Cutting Pads are now colored in a new delicious flavor: mint!!! With striking color, these deliciously colored Cutting Pads can be easily spotted on any work station.
I used also the useful Magnetic Platform for Wafer-Thin Dies. For perfect registration, this Magnetic Platform uses high-grade magnets to hold Thinlits, Framelits and other chemically-etched, wafer-thin dies securely in place during cutting.

summer party idea-tutorial-sizzix bigshot plus starter kit (5)
 
Hope you like it and I inspired you to create something pretty with your Big Shot Plus!
Thanks so much for visiting me today
 
Items used:
cardstocks
patterned papers
paper doilies
mesh bag of lemons
twine
brads
 
**************************************
Flag_of_Italy
Per le amiche italiane! :)
Ciao a tutti, sono Anna e sono felice di condividere con voi un'idea divertente per l'estate.
La nuova Sizzix Big Shot Plus Starter Kit mi piace tantissimo, non lo nego! Infatti sto per mostrarvi come usare il kit e altre due fustelle per abbellire le feste d'estate. Ho usato anche il delizioso fiore della collezione Botanical Bloom by Craft Asylum.
Con una bella selezione di sfumature gialle, sotto forma di limoni e fiori, qualche tocco di rosa, ho creato diverse decorazioni, come una ghirlanda, dei cestini e naturalmente gli inviti.
Non c'è nulla come gli agrumi per rinfrescare una calda giornata d'estate, non credete?! ;)

I cestini li ho creati con la fustella Thinlits scatolina, mentre ora lasciate che vi spieghi come fare la ghirlanda (in fondo trovate l'elenco dei materiali):
1- Piegare i centrini di carta a metà.
2- Creare i limoni con due cerchi (tagliati a metà) e tre foglie dello Starter Kit. Assemblare il limone e incollarlo al centrino.
3- Mettere lo spago tra gli strati del centrino e incollare insieme.
4- Tagliare diversi fiori utilizzando la fustella Bigz Die - Bountiful Botany #2 , ho usato anche un pezzo di rete dei limoni per creare un fiore, visto che le fustelle Bigz sono in grado di tagliare anche più strati di questo materiale. Sovrapporre le forme di fiori, per creare due bei fiori da mettere all'inizio e alla fine della ghirlanda.
Ecco un modo semplice e divertente per creare un po' di scenografia alla vostra prossima festa d'estate!

Ah avete visto un'altra novità??? Ora i Cutting pads sono anche di colore verde menta!
Sarà capitato anche a voi con quelli completamente trasparenti, di non riuscire a "vederli" sul tavolo di lavoro. Con questo nuovo colore, possono essere facilmente trovati e non si mimetizzeranno più con le carte e tutto il caos creativo che regna sovrano! In policarbonato di alta qualità, questi nuovi cutting pad colorati vi accompagneranno per migliaia di tagli con le vostre amatissime fustelle!

Come si vede dalle foto, per questo progetto ho usato anche la Standard Magnetic Platform for Wafer-Thin Dies, la piattaforma magnetica, perchè è molto più comoda se si usano le fustelle sottili (Framelits e Thinlits). Queste si appoggiano e non si spostano! Perfetto!

Bene, spero che il progetto di oggi vi abbia ispirato a creare qualcosa di bello con la nuova Big Shot Plus!
Grazie per la visita
 
Materiali:
Sizzix Big Shot Plus Starter Kit (White & Gray) (660515) (macchina formato A4+fustelle+carte)
cartoncini
carte scrap
centrini di carta
rete dei limoni
twine
brad

Thursday, 30 July 2015

Wedding rice cones


Hi Sizzix Friends!!
I often find myself creating wedding favors and accessories for brides!
Today I want to share with you the creation of delicious Wedding Rice Cones, perfect to enjoy with the newlyweds, leaving the church.
For this project I used the new Embossing Folder-Botanical Swirls by Rachel Bright.

I used:
Sizzix Big Shot Plus Starter Kit 660515
Sizzix Textured Impressions Plus Embossing Folder 660579
Sizzix Sizzlits Decorative Strip Die-Eyelet Lace and Scallops 660395
White Rectangular Cardstock
Hot glue
Scissors
Ribbons
Embellishments
Take the white rectangular cardstock and embossing with Sizzix Textured Impressions Plus Embossing Folder 660579. Fold the embossed cardstock to form a cone and fix the flaps with hot glue.
Die cut a white border using Sizzix Sizzlits Decorative Strip Die-Eyelet Lace and Scallops 660395. Paste it on the front of cone. Decorate with ribbons and embellishments like I did.
Fill the cones with rice and sugared almonds or with flower petals!!

 Really wonderful, is not it ??
See you the next time!!

-PER LETTORI ITALIANI-
Ciao Amici!!!
Come molte di voi sanno, spesso mi ritrova a creare bomboniere e accessori per spose!
Oggi voglio presentarvi un accessorio in particolare che non può mancare in un matrimonio,
il conetto portaconfetti, riso o petali!!
Questa creazione l'ho ottenuta grazie alla nuova Cartella per Goffrature a Rilievo firmata Rachel Bright.
Ho usato:
Sizzix Big Shot Plus Starter Kit 660515
Sizzix Textured Impressions Plus Embossing Folder 660579
Sizzix Sizzlits Decorative Strip Die-Eyelet Lace and Scallops 660395
Cartoncino bianco rettangolare
Colla a caldo
Forbici
Nastrini
Abbellimenti a piacere
Prendere il cartoncino bianco rettangolare e goffrarlo con Sizzix Textured Impressions Plus Embossing Folder 660579. Piegare il cartoncino così ottenuto per formare un cono, fissare i lembi con colla a caldo. Fustellare un bordo con cartoncino bianco usando Sizzix Sizzlits Decorative Strip Die-Eyelet Lace and Scallops 660395 e incollarlo sulla parte anteriore del conetto.
Decorare il cono con fiori secchi, foglie e nastrini, come ho fatto io!
Adesso riempire il cono con riso, confetti oppure, se preferite, con petali di fiori!!
Davvero bellissimo, non trovate anche voi???

Vi ringrazio per avermi seguito fin qui e vi aspetto al prossimo appuntamento!