Showing posts with label Father's day. Show all posts

Thursday, 18 June 2015

Father's day - super hero, superstar


As promised another blog for Father's day - and it's quick as well, glasses case and a phone cover -
 
All you need is a tie or too - now I raided my husbands ties - but I did ask - take a hint that if you use his best tie he isn't really going to like what you've made with it.
If you love him dearly but he embarrasses you so much - then make sure that the tie you choose, from his wardrobe, charity shop or store, is really outlandish and choose crazy colours for the lettering!
One word - the tie does need to be quite wide because we are going it make a glasses case, or a phone cover.
I used the Bigz™ XL Alphabet Die - Word Play by Tim Holtz® -657837 http://www.sizzix.co.uk/product/657837/sizzix-bigz-xl-alphabet-die-word-play
or you can use the BigShot™ 660200http://www.sizzix.co.uk/product/660200/sizzix-big-shot-machine-only-white-gray
For alternative items I also used Bigz™ Die Stars 656339 http://www.sizzix.co.uk/product/656339/sizzix-bigz-die-stars
and Bigz™ Die Heartfelt by Tim Holtz -660233 http://www.sizzix.co.uk/product/660233/sizzix-bigz-die-heartfelt
 
You will also need a small amount of fusible web (Heat and Bond, Bondaweb or similar) and a similar small amount of fabric for the letters.
Fuse the web to the wrong side of the fabric for the lettering and cut out the letters that you need - for the first glasses case I'm using  1 each of s u p h o, and 2 each of e and r.
For the glasses case - I measured the glasses 15cm and added a couple of cm for ease and then doubled it - so I cut the tie to 40cm long. 
As I am going to stitch letters onto the right side I undid the stitching on the back of the tie, and opened it out flat. (Now I forgot to take a photo with the tie open so we are looking at my next tie)
Arrange the letters within the length you need for the glasses and then fuse them in place and stitch them -

The back of the tie is re-stitched and the narrow hem is turned in and stitched -
Next fold the tie so that the 'case' is the right length, and pin the layers together -
 and stitch the layers together.
Add a button and a ribbon loop to complete the case -

this one is because everyone knows that if you take off, or put on your glasses you can become a superhero!!
Which then led me to think of a super star -
and then I thought of a cover for a phone  - the tie needs to be cut to about 30cm for this and because it is smaller the word had to be shorter - so -
Hope you like these and are tempted to make one or two, and maybe keep one yourself!
Have fun, enjoy the weekend.
Angela
 

Sunday, 14 June 2015

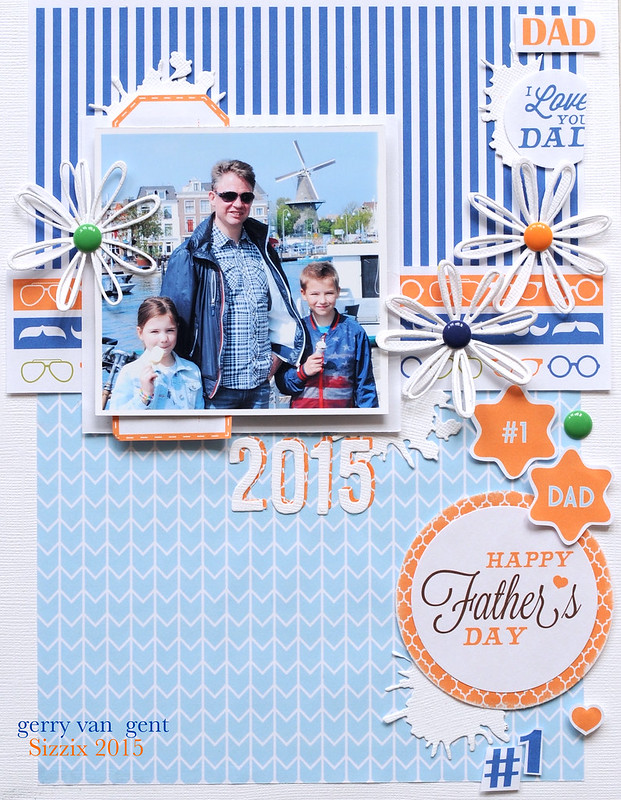
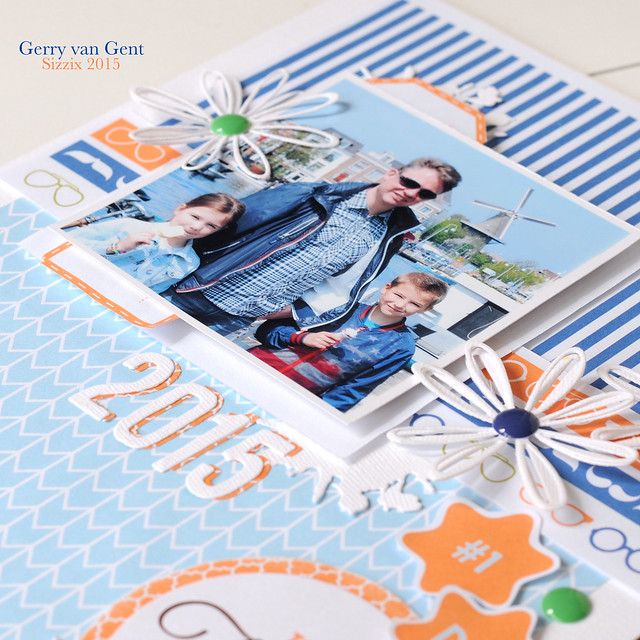
"Happy Father's Day" Layout by Gerry van Gent


Hallo Sizzix Friends!

Next Sunday we are celebrating Father's Day! Therefore I
created an A4 layout to give as a present to our # 1 Dad :-) 
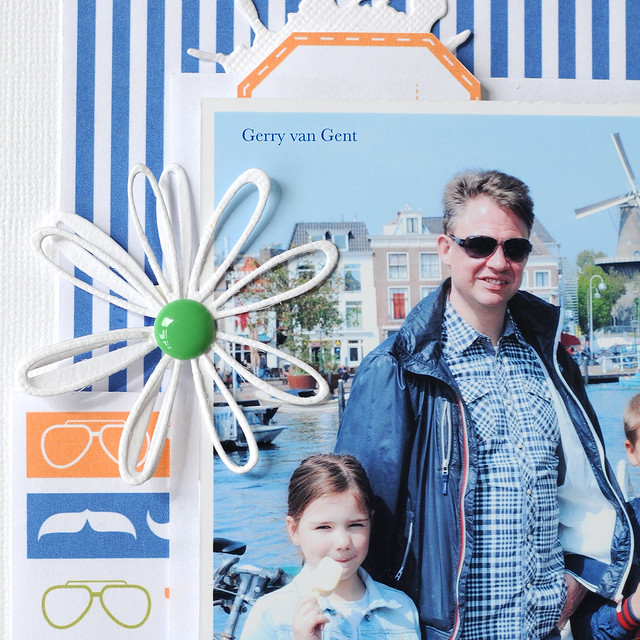
This photo of him and the kids was taken on Mother's Day 
which makes it even more special to me/us!
 father's Day 2015

Sizzix-rebrand-logo-low-res
660515 Sizzix Big Shot Plus Starter Kit 
660485 Sizzix Thinlits Die Set Layering Daisy #2
660222 Sizzix Thinlits Die Set Scribble & Splat
660210 Sizzix Thinlits Die Set Alphanumeric
657551 Sizzix Framelits Die Set Circles
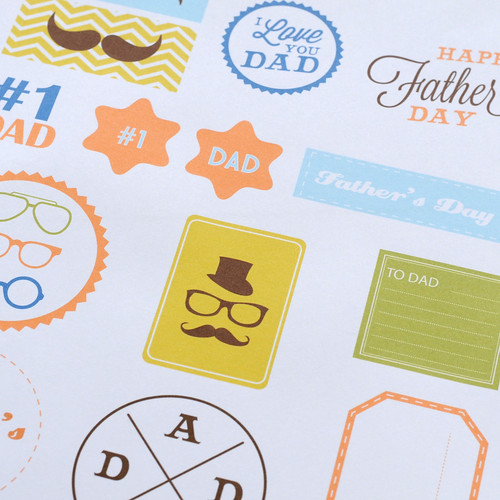
FREE PAPER DOWNLOADS FATHER'S DAY

*     *     *
I began this layout by choosing two pattern papers for the background.
After that I cut out lots of embellishments from the Free Paper Downloads
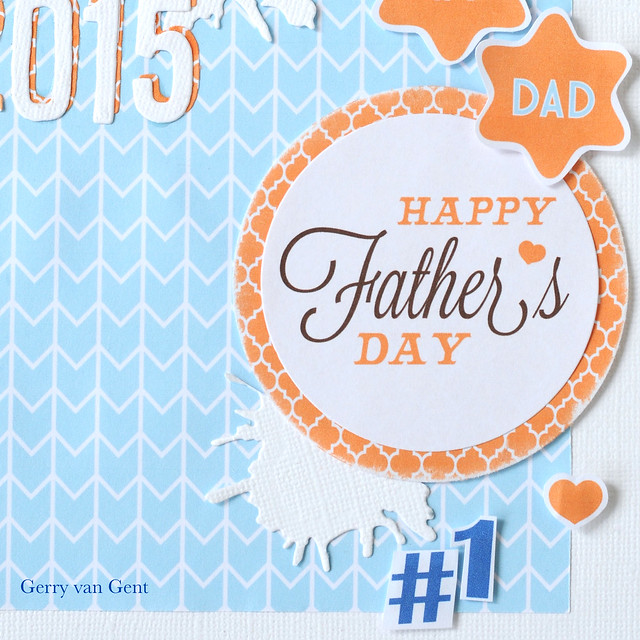
for Father's Day. For one of the embellishments I used the Circles dies
- I used here two sizes of the Circles
1

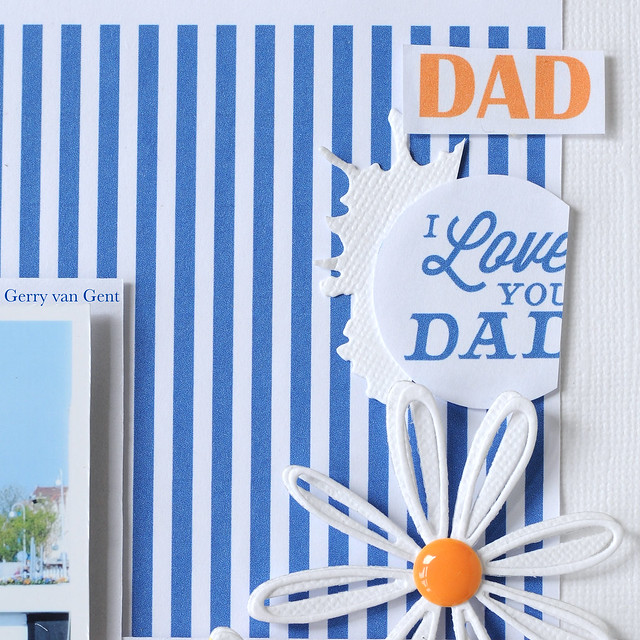
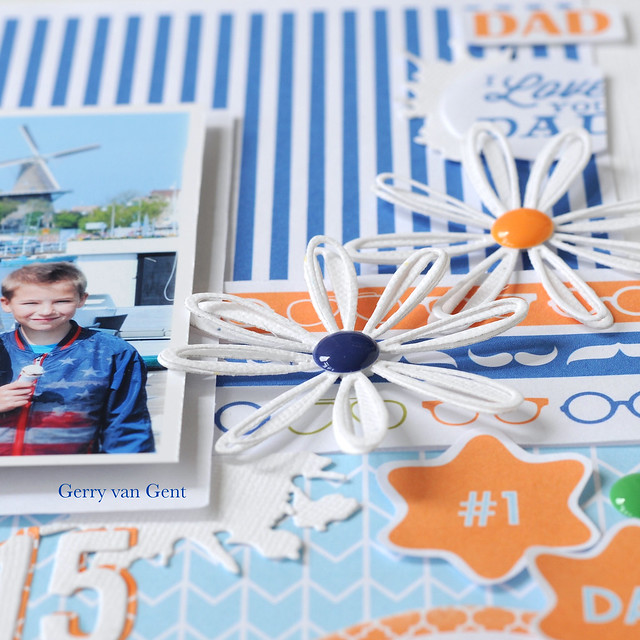
Daisies were die cut from white cardstock. 
Each daisy has two layers.
2

3

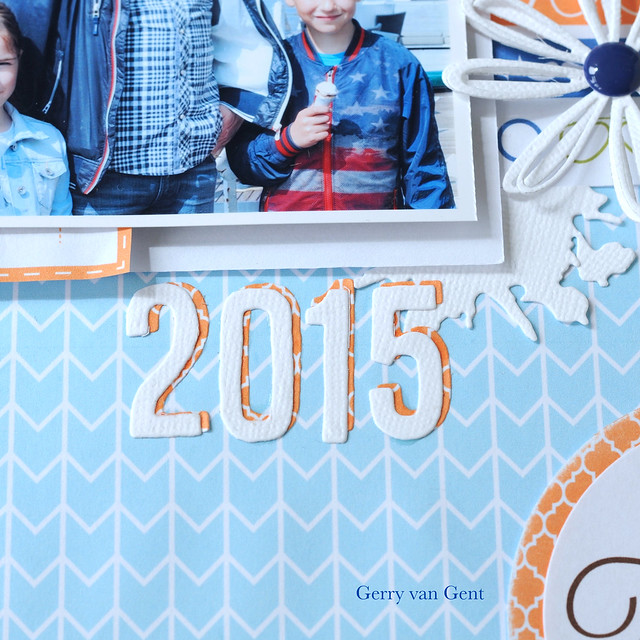
"2015" was die cut from both white cardstock and Father's Day free papers.
The pattern paper numbers were used as a "shadow".
4


Get your free papers here ----->
Free Papers


Most of the embellishments were adhered with foam squares.
5


FB
OTHER PRODUCTS I USED:
Prima Marketing - Sugar Dots
White Cardstock
*       *      *

Thank you for your visit!
Have a creative day!

Thursday, 11 June 2015

Tool roll for Father's Day


For several weeks now I've been convinced that Father's Day is this coming Sunday - BUT I was  wrong - so I may even be able to create another Father's Day gift next week.
I used to find it difficult to find things to give to my Dad - but I think he would have loved this -
He was a carpenter and he often helped with jobs around our home - and so this would have been very helpful when moving his tools around.
Now I will give you the measurements for the one I have made, but you can vary the size and the sections to suit the tools that your father, husband, boyfriend, grandpa, uses.
You will need a strong piece of fabric - I had a heavy twill type fabric, but you could use denim or canvas ( if you re-cycle a pair of old jeans please make sure they aren't his favourite old jeans!!)
80cm x 50cm (31" x 19 1/2")
3 pieces of cotton fabric 15cm (6") square in different colours.
45cm x 15 cm (18" x 6") fusible web.
1m (1yd) heavy ribbon
Cut the fusible web into 3 x 15cm (6") squares and fuse to the wrong side of the cotton squares.
Select the letters that you need on each die and cut out - remember to place the fabric right side down on the die when cutting.
Arrange the letters on one end of the main fabric about 10cm in from the right, 6cms from the bottom edge, and 15cms from the left side. Fuse, and then stitch in place -

 Fold the raw edge of the left edge to the wrong side and zig zag stitch. 
Make a fold 15cm from the edge and stitch a 2cm seam from the fold to the neatened edge -
and make a double fold and stitch to neaten the rest of the edge. Turn right side out, and repeat with the other end. This creates the pocket section
Mark the compartments along the pocket section - I made my sections 9cm (3 1/2") to fit the tools, but your tools may be different sizes so measure before stitching - I stitched along the bottom edge for 9cm, then stitched up to the edge, and double stitched at the top before stitching back to the bottom, and repeated along the length of the roll -
Next I made a narrow double fold along the last raw edge and stitched with a straight stitch, then folded the edge over 8cm to create a flap. Stitch along the fold.
Finally - I put the tools in the roll,
and rolled it up to find where to stitch the tie -
I stitched the ribbon tie just above the line of the pockets and reinforced with several rows of stitching.
 
I apologise for the rather scruffy tools but they are rather old now!
It's quite a quick project, and I hope it's useful, as I mentioned before it can be adapted to take all sorts of different tools, or cables.
That's all for now - I'll be back next week.
Angela


Friday, 13 March 2015

I love you Dad Card


Hi Sizzix friends!

Next week we celebrate Father’s day. That’s why I have made this little card to show dad how much we love him.  I have used the Alphanumeric and the Heartfelt dies, both designed by Tim Holtz to Sizzix.


As you can see, the word dad and the paper is the same piece. 


Here is the collage with the steps and the description of each step:

  1. I have used corrugated cardboard 10x20cm, scrapbooking paper, brown sparkly paper and burlap.
  2. I've drawn a pencil line where I want to put the word.
  3. I've put the dies a few millimeters over the pencil line.
  4. For preventing  the dies from moving I’ve used a washi tape. 
  5. Then I’ve aligned the pencil line with the ends of the cutting pads to prevent these few millimeters being cut. 
  6. This is the result after die-cut.
  7. I've used a cutter to cut the parts of the scrapbook paper I want to remove.
  8. Now I have the die-cutting scrapbook paper.
  9. I've used another piece of scrapbook paper to die-cut one of the hearts.


Now I have all the pieces for making my card:


The only thing I have to do is to glue all these pieces together with double sided tape or 3D foam pad.


Inside one of the card there is my son’s drawing and inside the other card I’ve added two pieces of paper where my elder son will write a few words and drawings for his father.


I have made one card in English and the other one in Spanish:


I've used the following Sizzix products: 


I hope you have enjoyed these cards . Thanks for your visit!


Have a creative and happy Friday!

------------------

¡Hola a todos!
La próxima semana se celebra el día del padre. Por este motivo, la tarjeta que os enseño hoy está dedicada a los papis. Una bonita forma de hacerles saber lo que les queremos.

He utilizado los troqueles Alphanumeric y Heartfelt diseñados por Tim Holtz para Sizzix.
Como podéis ver la palabra "papa o dad" está fusionada con el papel de fondo. He preparado un collage con el paso a paso así como unas explicaciones.

  1. He utilizado cartulina corrugada de 10x20, retales de papel para scrapbooking, papel purpurina marrón y arpillera.
  2. Dibujar un línea con lápiz donde queráis poner la palabra.D
  3. Situar los troqueles sobrepasando unos milímetros la línea del lápiz.
  4. Para evitar que se muevan los troqueles he utilizado washi tape. 
  5. Ahora alienar la línea del lápiz con el extremo de las placas de corte evitando así que los pocos milímetros que sobrepasan la línea se corten. 
  6. Este es el resultado después de troquelar.
  7. Usar un cutter para cortar el resto de papel que queremos retirar siguiendo la línea marcada.
  8. Ahora ya tenemos el papel troquelado y acabado.
  9. Usar otro trozo de papel para troquelar uno de los corazones.


Ahora ya tenemos todas las piezas para montar nuestra tarjeta. Lo único que necesitamos es celo de doble cara y almohadillas 3D.

En el interior de una de las tarjetas está el dibujo que ha realizado mi hijo y en la otra he añadido unas hojas para que mi hijo mayor pueda escribir y dibujar el mensaje a su padre.

He realizado una tarjeta en inglés y la otra en castellano. 


He utilizado los siguientes productos de Sizzix:


Espero que os hayan gustado las tarjetas. ¡Gracias por vuestra visita!


Os deseo un feliz y creativo viernes

Tuesday, 10 March 2015

Father's DAY


Hello Everybody!
In a few days time it 's the 'Father's Day' and the project today is a special greeting card, easy to realize.

NECESSARY:
- cardstocks
- scissors
- glue
- pencil
- rubber
- foam board tape
- pen line
- tweezers
sizzix bigz die owl 2
sizzix thinlits die set 4pk little owl


With glue compose all the pieces.
For small pieces help you with the tweezers.
Then choose the cardstock to be used for greeting card of size 24x17cm which then will fold in half.


Best wishes to all Dads!
A next Tuesday with a new project .. !!

Pasticci di Carta
Manuela


Wednesday, 4 June 2014

Hey Daddy-o!


If you said 'Hey Daddy-o!' to a kid today you would get the strangest look, If however you said it in 1956 then you would be a real cool cat!

I love everything about 1950's Americana, the music, cars, guitars and especially the designs and colours that they favoured back then. This week I want to take a look at some new dies released just in time for Father's Day, not that they were designed specifically for that but they are perfect for the man in your life none the less.

If you want to create some 1950's themed Father's Day cards we have some worksheets and free downloadable papers on the website, here is a link

There are four die sets in the range designed by a very talented young lady by the name of Jen Long and I have listed them below so you can click on the link and check them out. There is so much going on in each set which means that they represent great value for money too.

As I mentioned I wanted to create something with a Father's day theme and stick to a limited 50's style colour palette, The juke box is so well thought out as a die that's it hard to mess up (even me!). so I started by cutting all the bits out ready to assemble.


I have shown the steps below in constructing the juke box from start to finish, the trims were cut from metallic gold card.

Here is the finished card, as you can see I used the Boardwalk Decorative Strip alphabet by Tim Holtz and one of the cute border dies from the Thinlits Borders Set by Stephanie Barnard.
I die cut the letters and used Distress Inks to add a gentle tint to their base before mounting onto an asymmetric rectangle of red card before rounding off the corners with a punch. As well as this fab juke box you also get an LP record die and a music notation die (see image above). A perfect set for the music lover in your family.


Next up, I wanted to use the Radio from Vintage Car and Radio set, and if you love this cute little radio you'll flip when you see the car (Maybe next week?). I die cut the radio from blue and cream card and all the other bits from silver metallic card before mounting them all together as shown. The dies are so well designed, I can't tell you how much fun they were to use.

Next, I die cut the 'Rock 'n Roll' phrase from cream card and inked the base to add a little contrast before mounting onto a die-cut oval ( Oval Framelits set), next I added a larger red oval and mounted it all onto an asymmetric orange strip.

I die-cut the letters to spell out 'DAD' and inked them as before and attached them to a rectangle of red card before rounding off the corners. I attached this to a similar blue rectangle and die-cut an curved arrow from silver card using the Bigz Artful Arrows die by Tim Holtz, a die which has no fewer than 12 different arrows to choose from.

Here's the finished card, you can see I've also added another arrow, some tiny adhesive pearls and some check card thrown in for good measure. I might make a few more next week...Too much fun!!!