Showing posts with label 1950's. Show all posts

Wednesday, 1 July 2015

Smile!


I am not the world's greatest photographer, I do have a decent camera but it is always set on automatic. These days most of my snaps are taken using my phone and some of them are great. Its so important to compose your shot and get the light right  because without those two things being in place all the fancy equipment and Photoshop trickery is a waste of time.

Having said all that, I do love old cameras from the fifties and sixties. It's a time when photography was becoming accessible to all and companies were fighting for a share of the 'cheap and cheerful' market with ever more colourful plastic creations. 

Some of those cameras look fabulous today, I even have a private Pintrest board dedicated to 1950's consumer goods featuring many such cameras. It makes me smile!

And so to today's blog, Sizzix have just released a new collection of Bigz dies designed by the good people of Echo Park. I had so much fun with these big, bold shapes while making projects for our trade shows and they are perfect for appliqué too. But today is all about the camera die.

Today I have used the Bigz camera die, the Thinlits alphabet set Alphanumeric and the Textured Impressions Butterfly Lattice set. Click on the highlighted text to see the individual products.

I started by die-cutting all the elements to make up my camera, the main body and the focus ring are backed with mount board to add a little depth to the shapes. I love this dusty pink, it's one of those classic American 1950's colours which I love so much so I used it for the body of my camera. as you can see, I embossed the pale metallic gold card with my lattice folder, it gives the perfect gold anodised look so popular at the time.


I trimmed about 5mm from the top of the embossed rectangle and mounted it onto the brown rectangle before attaching to the main body of the camera.


Next, I added the other elements. I used a hole punch to pop out a tiny pink circle which I added to the lens to create a highlight effect. 


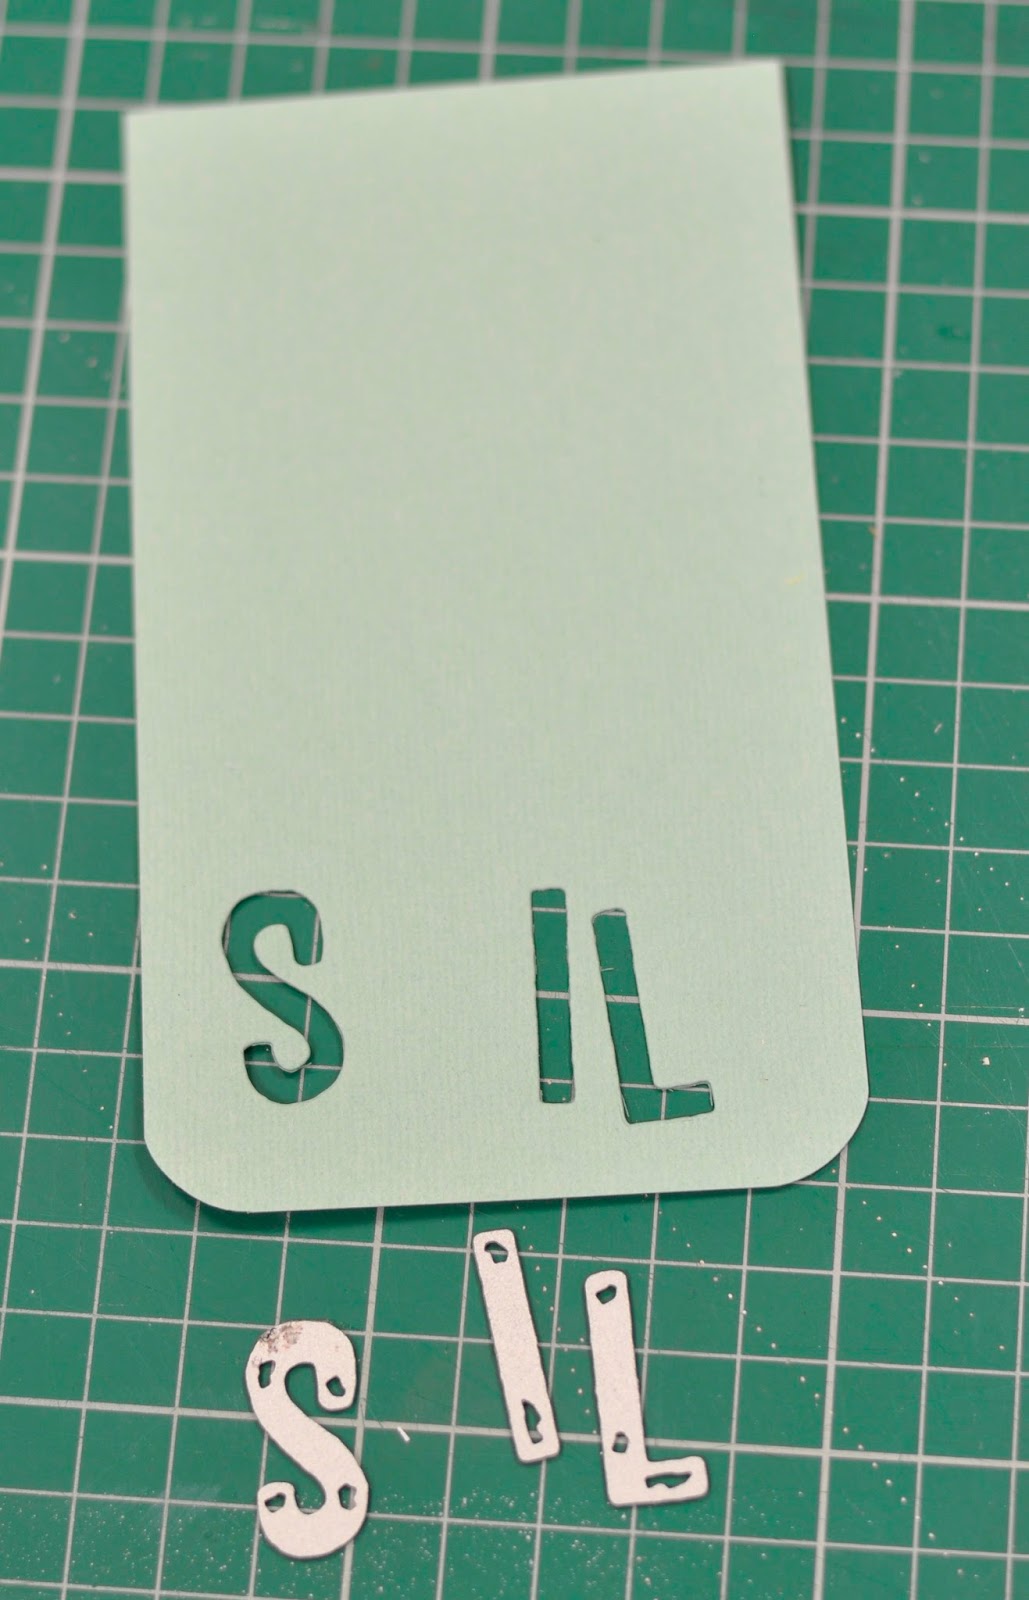
While I was taking the individual letters from the Alphanumeric die set I had a revelation! I saw a word within a word which changed my approach to the whole card. I cut a rectangle of the lovely retro green/blue card and rounded off the bottom corners with a punch before placing all the letter dies across the base spelling the word 'SMILE' before removing the letter 'M' and 'E' and passing it through my Big Shot machine.


I die-cut the letters 'M' and 'E' from the pink card and attached them to the rectangle using thin strips of adhesive foam to add dimension. Next, I used my trusty Dymo machine to print out the legend 'YOU MAKE...'  above the word 'SMILE'; the 'ME' of course is part of the word. 


Here's the finished card, I think the Dymo strip adds to the retro vibe? 
it makes me smile anyway!


Wednesday, 11 June 2014

Vintage Auto


Last week we took a look at some of the fab new 1950's dies designed by Jen Long and I mentioned the car die set which I am very fond of so I thought I would share it with you today.

Father's Day is just around the corner here in the UK so if you want a bit of inspiration check out this link which will take you to 6 project sheets and oodles of FREE downloadable papers to create retro style 1950's style cards. We love that word so I'll write it again....FREE!

Here are the dies I used today:

I went for a typical 1950's colour palette and rather than make it easy for myself I decided to try to create a two tone style car. I started by cutting all the different elements including the headlights, hub caps, Bumper ( I should say fender really!) etc.

I trimmed away the parts of the blue car I didn't need along with the windscreen and steering wheel of the cream car. Next, I attached the separate sections of the blue car to the cream car before adding the wheels and hub caps.

After adding the bumper and headlights I attached the steering wheel and soft top as well as the silver wind screen surround.
Here is  a card made following most of the steps above but I have added a few twists like the white wall tires and I have substituted black for grey to give a softer effect. I also used Distress inks sparingly to add a little dimensional depth as well as a few white highlights with a gel pen.

I used a couple of the circled dies to create a silver frame with the check paper in the centre before die cutting the letters from silver card. I cut all the asymmetric shapes by hand before mounting everything onto the base card.


Well that, as they say is that! but I did have one tiny idea which I want to share.

I wanted to create the same car but have it look like a rusty old banger, I die-cut all the bits as above and roughly applied Walnut Stain Distress Ink around the edges before assembling the car.

I pressed down onto the die-cut car using an embossing ink pad before applying the Vintage Photo Distress embossing powder and shaking off the excess prior to setting it with a heat tool.

After this I went to work with my Distress inks starting with yellow and orange tones before introducing a little blue. The results were quite effective and it will probably find it's way onto a project at some point in the future.


Wednesday, 4 June 2014

Hey Daddy-o!


If you said 'Hey Daddy-o!' to a kid today you would get the strangest look, If however you said it in 1956 then you would be a real cool cat!

I love everything about 1950's Americana, the music, cars, guitars and especially the designs and colours that they favoured back then. This week I want to take a look at some new dies released just in time for Father's Day, not that they were designed specifically for that but they are perfect for the man in your life none the less.

If you want to create some 1950's themed Father's Day cards we have some worksheets and free downloadable papers on the website, here is a link

There are four die sets in the range designed by a very talented young lady by the name of Jen Long and I have listed them below so you can click on the link and check them out. There is so much going on in each set which means that they represent great value for money too.

As I mentioned I wanted to create something with a Father's day theme and stick to a limited 50's style colour palette, The juke box is so well thought out as a die that's it hard to mess up (even me!). so I started by cutting all the bits out ready to assemble.


I have shown the steps below in constructing the juke box from start to finish, the trims were cut from metallic gold card.

Here is the finished card, as you can see I used the Boardwalk Decorative Strip alphabet by Tim Holtz and one of the cute border dies from the Thinlits Borders Set by Stephanie Barnard.
I die cut the letters and used Distress Inks to add a gentle tint to their base before mounting onto an asymmetric rectangle of red card before rounding off the corners with a punch. As well as this fab juke box you also get an LP record die and a music notation die (see image above). A perfect set for the music lover in your family.


Next up, I wanted to use the Radio from Vintage Car and Radio set, and if you love this cute little radio you'll flip when you see the car (Maybe next week?). I die cut the radio from blue and cream card and all the other bits from silver metallic card before mounting them all together as shown. The dies are so well designed, I can't tell you how much fun they were to use.

Next, I die cut the 'Rock 'n Roll' phrase from cream card and inked the base to add a little contrast before mounting onto a die-cut oval ( Oval Framelits set), next I added a larger red oval and mounted it all onto an asymmetric orange strip.

I die-cut the letters to spell out 'DAD' and inked them as before and attached them to a rectangle of red card before rounding off the corners. I attached this to a similar blue rectangle and die-cut an curved arrow from silver card using the Bigz Artful Arrows die by Tim Holtz, a die which has no fewer than 12 different arrows to choose from.

Here's the finished card, you can see I've also added another arrow, some tiny adhesive pearls and some check card thrown in for good measure. I might make a few more next week...Too much fun!!!