Showing posts with label Movers and Shapers Tag & bookplates. Show all posts

Tuesday, 21 July 2015

Vintage Tag by Romy

Hello!
Welcome on the Sizzix blog today!
Do you love vintage as much as I do? Then Sizzix offers you the perfect dies to create something that you love. Today I would like to show you a vintage-inspired tag that features a variety of beautiful Sizzix dies. 


Sizzix supplies:
Tim Holtz Postage Stamp Frame

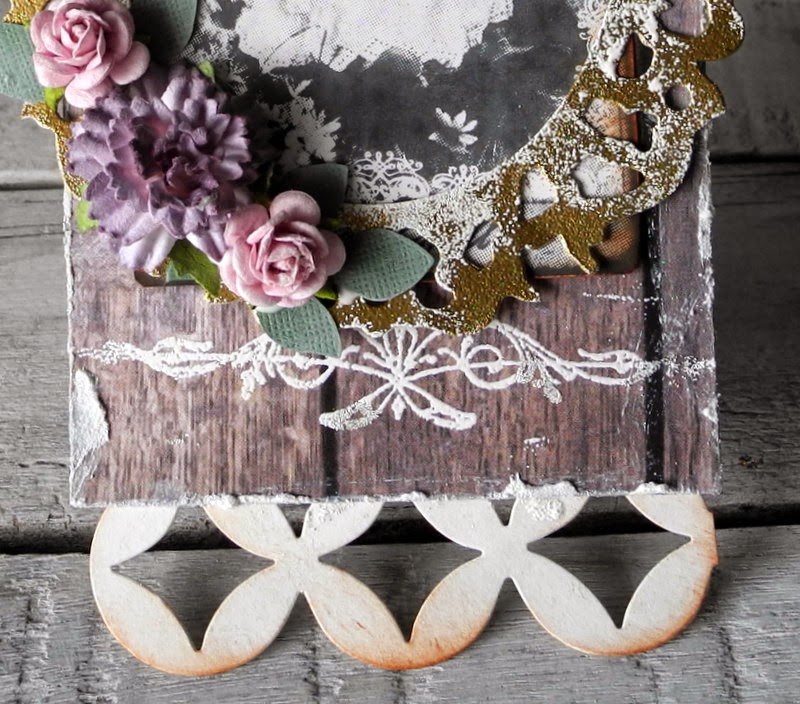
The tag itself was cut out of cardstock and black paper with the Movers & Shapers Tag & Bookplates Die. I attached another piece of paper on top of it. I adorned the corner of this paper with the harlequin die from the Tim Holtz Thinlits Mixed Media Dies set. After that, I cut out a halve postage stamp with the Tim Holtz Postage Stamp Frame die. I attached this on the right side of the tag. 


I also cut out a small tag with the Tim Holtz Thinlits Tags Collection and glued that down on top of the postage stamp frame. I further embellished my tag with two butterflies, which I punched out with the beautiful and brand new Paper Punch Butterfly Large. I also attached tiny hearts on top of them, which were cut out with the Bigz Heartfelt Die. In the end I added the title 'Love' as well. This title was made with the wonderful Tim Holtz Handwritten Love Thinlits Dies.  


Thank you for stopping by on the Sizzix blog today!
Happy crafting!

In Dutch:
Hallo!
Welkom op het Sizzix blog vandaag!
Vind jij vintage net zo mooi als ik? Dan heeft Sizzix de perfecte stansen voor jou om iets te maken dat helemaal naar je zin is. Vandaag wil ik dan ook een vintage tag laten zien waarop ik een aantal mooie Sizzix stansen heb gebruikt.

Sizzix benodigdheden:
Tim Holtz Postage Stamp Frame

De tag zelf is uit cardstock en zwart papier gestanst met de Movers & Shapers Tag & Bookplates Die. Ik heb er een ander stuk papier opgeplakt. De hoek van dit papier heb ik versierd met het ruitjespatroon uit de Tim Holtz Thinlits Mixed Media Dies set. Daarna heb ik een halve postzegelvorm uitgestanst met de Tim Holtz Postage Stamp Frame stans. Ik heb deze rechts op mijn tag geplakt. 

Ik heb ook een kleine tag uitgestanst met de Tim Holtz Thinlits Tags Collection en heb deze op de postzegelvorm geplakt. Ik heb de tag verder versierd met twee vlinders, die zijn uitgeponst met de prachtige en gloednieuwe Paper Punch Butterfly Large. Op de vlinders heb ik kleine hartjes geplakt, die zijn uitgestanst met de Bigz Heartfelt Die. Uiteindelijk heb ik ook nog de titel 'Love' toegevoegd. Deze heb ik gemaakt met de Tim Holtz Handwritten Love Thinlits Dies.  

Dankjewel voor je bezoekje aan het Sizzix blog!
Veel scrapplezier!

Friday, 19 June 2015

How to give a cinema voucher....


Hi there,

it is time for the next colleagues birthday - and because she loves movies
we bought some cinema vouchers for her...

But how to wrap them...?

I decided to combine the birthday card with the wrapping... in a quick and easy way...


All you need:
Sizzix Big Shot Plus Starter Kit (White & Gray)
Sizzix Sizzlits Decorative Strip Alphabet Die - Alphabetical
Sizzix Movers & Shapers L Die - Tag & Bookplates
Sizzix Framelits Die Set 5PK - Stars
2 different paper bags
a black pen
matching ribbon
<7div>
First i placed the dotted paper bag into the other paper bag, and decoreted the
brown on the outside with red and white stars

Then i cutted the "Happy Birthday" and painted it with the black pen and fixed it on the bag.


Then i cutted a tag and and fixed the ribbon on it - later we want to write down our
birthday wishes on it. Put it into the outer paper bag.

Into the inside paper bag you can put the voucher.


Have a great weekend, Stephanie

****************

Hallo ihr Lieben,

es ist mal wieder Zeit für einen Kollegen-Geburtstag - und die Kollegin liebt Filme.
Daher haben wir ihr Kino-Gutscheine organisiert.

Aber wie verpackt man Kino-Gutscheine?

Ich habe mich für eine Kombination aus Geburtstagskarte und Verpackung entschieden.

Alles was ihr braucht:
Sizzix Big Shot Plus Starter Kit (White & Gray)
Sizzix Sizzlits Decorative Strip Alphabet Die - Alphabetical
Sizzix Movers & Shapers L Die - Tag & Bookplates
Sizzix Framelits Die Set 5PK - Stars
2 zwei verschiedene Papiertütchen
einen schwarzen Stift
farblich passendes Band

Einfach die eine Tüte in die andere Tüte stecken. Bei mir also die gepunktete in die braune Tüte.
Dann die äußere Tüte mit Sternen dekorieren.

Dann habe ich ein "Happy Birthday" ausgeschnitten und mit meinem schwarzen
Stift bemalt. Das ganze dann auf die Tüte kleben.

Dann habe ich ein Tag ausgestanzt - hier schreiben wir später unsere Glückwünsche drauf.
Das Band daran fixieren und in die äußere Tüte stecken.

In die innere Tüte kommen die Gutscheine.

Viel Spaß beim Nachmachen.

Liebste Grüße und ein schönes Wochenende.

Tuesday, 10 June 2014

Vintage baby tag

Hi everyone
Today I have a vintage tag to share with you.
Items used:
Supply list:
Paper: Wood texture paper bloc 15x30 from Joy crafts
Ink: Arhival ink Watering Can and Coffee
Stamp: Stempelglede-Vintage baby-
Ribbon, button,embossing creme White / Viva, flowers, embossing Gold and White / Ranger
How to make:
I have die cut a tag using Tag & Bookplates, paint using embossing creme round the edged.Die cut using Courtyard glue to the buttom of the tag, die cut using Ornate Frame embos using gold and White embossing, stamp using the sweet baby glue to the centre of the tag. decorate using ribbon and flowers


Thanks for stopping by, wish you a great week
Pia
Hej alle
Jeg håber du har haft en dejlig Pinse. I dag vil jeg vise en vintage tag
Sizzix dies jeg har brugt:
Andre materialer:
Papir: Wood texture paper bloc 15x30 from Joy crafts
Ink: Arhival ink Watering Can and Coffee
Stempler: Stempelglede-Vintage baby-
Bånd, knapper,embossing creme White / Viva, flowers, embossing Gold og White / Ranger
Fremgangs måde:
Jeg har udstanset Tag & Bookplates, malet kanterne med embossing creme .Udstanset Courtyard limet den til bunden af tagen, udstans Ornate Frame embos med gold og White embossing, stempel med det søde foto af baby lim begge dele til midten af tagen. dekorer med blomster og bånd
Tak fordi du kiggede forbi, ønsker dig en dejlig sommeruge
Pia

Tuesday, 13 May 2014

Heart tag

Hi everyone
I hope you all had a great week, today I have a tag to show you using Texture Fades Embossing Folders-Chevron & Lattice set
 
 Items used:
Supply list:
Paper. Prima-School memories 6x6 pad
Ink: Archival ink-Coffee-
flowers and ribbon
How to make:
Die cut using Tag & Bookplates, emboss using the embossing folders, cut out 7x13 cm in patterned paper and emboss, glue to the tag ,ink the edged uusing Arhival ink-Coffee-.
Die cut inpatterned paper using Sizzix Framelits-Hearts-, glue to the tag using 3D foam. decorate using flowers and photo , card- cutting out of the paper
 
 
Thanks for stopping by, wish you a lovely week
Pia
Hej alle
Jeg håber du har haft en god uge, i dag vil jeg vise en tag hvor jeg har brugt Texture Fades Embossing Folders-Chevron & Lattice set
Sizzix dies jeg har brugt:
Andre materialer:
Papir. Prima-School memories 6x6 pad
Ink: Archival ink-Coffee-
blomster og bånd
Fremgangsmåde:
Udstans sizzix Tag & Bookplates, emboss ved at bruge embossing folders, skær et stykke mønstret papir 7x13 cm og embos det, lim til tag ,ink alle kanter ved at bruge Arhival ink-Coffee-.
Udstans i mønstret papir Sizzix Framelits-Hearts-, lim til tag ved at bruge 3D foam. dekorer ved at bruge blomster, udklippede elementer fra papiret, foto , kort o.l
 
Tak fordi du kiggede forbi, ønsker dig en skøn uge
Pia