Showing posts with label jillibean soup. Show all posts
Tuesday, 13 January 2015
Stamps and die cutting
For today's post I decided to use the Jillibean Hello Framelits and stamps. I just love that I can stamp and cut out the image and then place it over a photo or other embellishment. I cut out the today stamp and stamped some stars over the layout to create more movement and flow.
Supplies: Sizzix Framelits Die Set 8PK w/Stamps - Hello, Sizzix Big Shot Starter Kit (Powder Blue & Teal), Other: American Crafts papers,
See you next week and Happy Scrapping
Lilith
Tuesday, 30 September 2014
Layers with Lilith
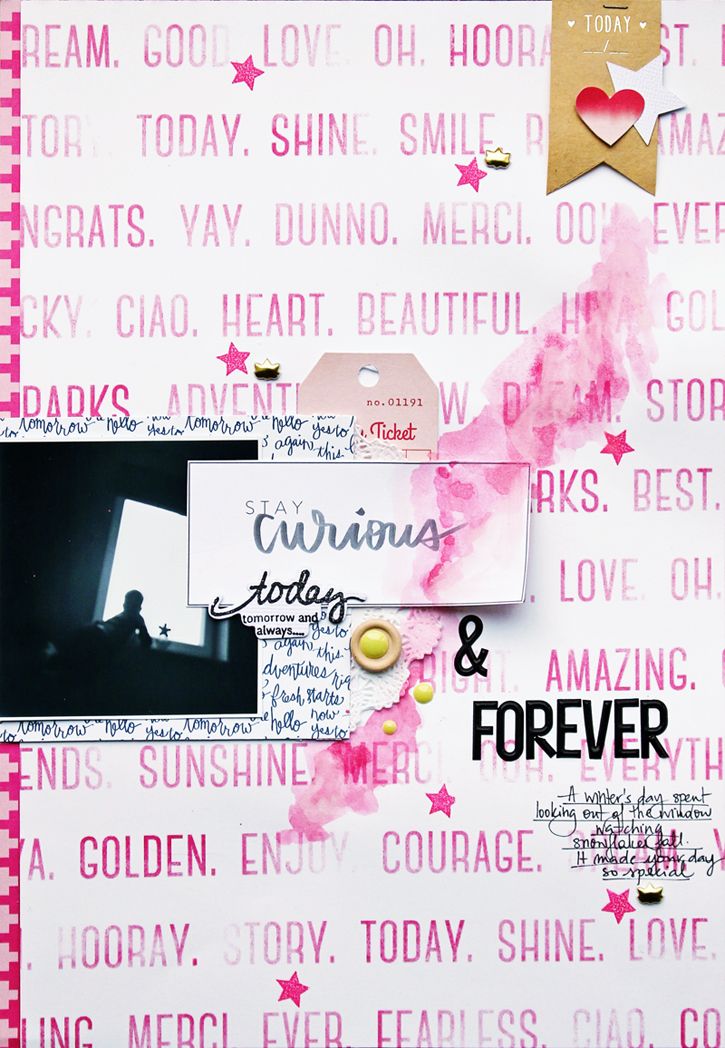
Hi there. It is Tuesday which means inspiration from me, Lilith. Today I wanted to show you a simple layout with lots of layers. I used different products from sizzix, each of which adds extra detail to the page.
Sizzix products:
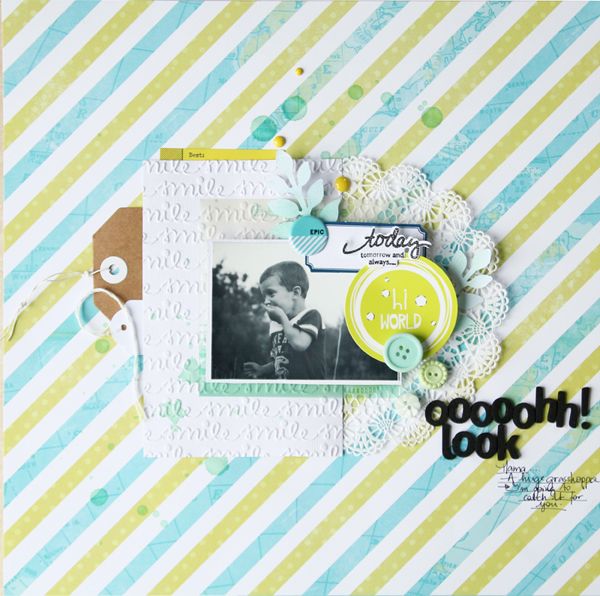
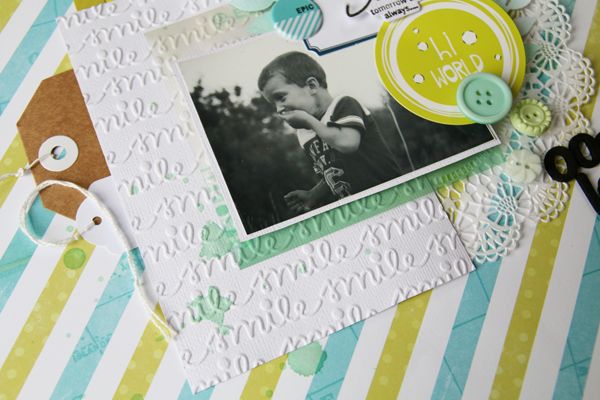
I used a scrap piece of white cardstock and the smile embossing folder from the Smile & Plus set. I added some splashes of mist to draw attention to the detail of the embossing. You could also use watercolours and go over the embossed areas.
Then I stamped with a stamp from the Hello Framelits Die Set with stamps and cut it out using the die. I also cut out some leaves from the Tim Holtz collection which I coloured with green and blue tones using watercolour paint.
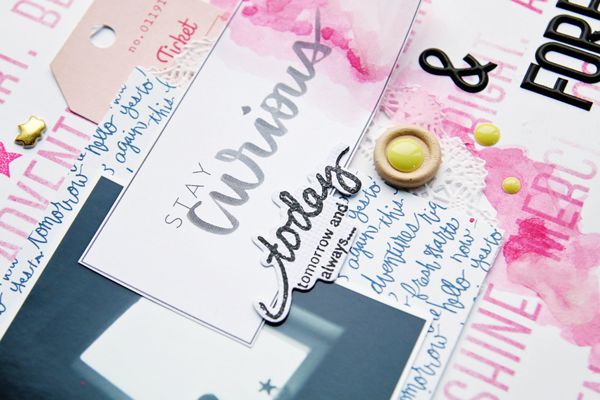
Then I layered the different elements adding embellishments along the way. I love how the cluster of papers and the photo just pops off the layout. To create flow and movement I decided to incorporate a couple of buttons and enamels dots.
Sizzix products:
Other: Inks and mist, Studio Calico patterned paper, Studio Calico buttons, Glitz Design Finnley embellishments, doily, American Crafts kraft tag,
Have a wonderful day and see you next week with another crafty project.
Lilith
Wednesday, 6 August 2014
Bon Voyage!

Last week, here at Sizzix Central, we bid farewell to the lovely Helen Young who has left to have a little baby and we all wish her well. As is the custom, I made a card signed by the crew to send her on her way.
I couldn't resist using the new Jillibean Soup and KI Memories for Hampton Art collection. A collection so good that it took the collective minds of three excellent companies to create.
I LOVE THIS COLLECTION!!! sorry to shout but I really do love it! it's so fresh and contemporary and I'm sure it will be equally well received by both card makers and their scrapbooking cousins.
I dipped into a few of the die/embossing folder sets to make the card which is easy because they work so harmoniously together. the sets I used are:
- Sizzix Framelits Die Set 8PK w/Stamps - Hello (659464)
- Sizzix Framelits Die Set 6PK - I Heart This (659767)
- Sizzix Framelits Die Set 10PK - Be Thankful (659766)
- Sizzix Textured Impressions Embossing Folders 2PK - Butterfly & Garden Set (659784)
- Sizzix Textured Impressions Embossing Folders 2PK - Smile & Plus Set (659785)
I started by debossing the front of a square ivory base card whose corners I had rounded with a punch. I placed the folder at an angle so as to only partially emboss the card. Next, I gently applied Seedless Preserves and Crushed Olive Distress inks using foam blending tools over the debossed image. Not only are these two of my favourite colours, they also blend beautifully well together.
Next, I set about die-cutting and embossing all the elements I want to use. I must tell you, at this point I haven't got a clue how this is all going to fit together which is all part of the fun with this style of card making.
I stamped the phrase using the Crushed Olive Distress Ink and die-cut it with the corresponding die before mounting it onto a die-cut speech balloon using 3-D foam pads. I die-cut the button and star from gold card which I then distressed with a sanding block.
Next, I cut an asymmetric rectangle of ivory card and embossed it with the 'smile' folder before inking over the raised surface. I die-cut the mini banner and butterfly from the ivory card and inked the butterfly using the same two colours before threading the button with twine
Finally I was ready to assemble all the elements on the base card. I did this by placing them in position and moving them around until I found a pleasing composition. I used a combination of double sided tape and 3D foam pads to add a little dimension before adding a crystal gem in the centre of the star. I will be using these dies/folders quite a bit in the coming month as there is so much creative scope. They represent such great value as there are so many elements in each set. I hope you like them as much as I do?
Labels:
Distress inks,
Hampton Arts,
jillibean soup,
KI Meories,
Pete Hughes,
Texture Impressions,
Thinlits
Subscribe to:
Posts (Atom)


