Happy Holidays Card
If, like me, you
have thirtyish or so cards to realise for the festive season, you’d
better start early, wouldn’t you?
Supply List:
Papers: Infocréa
Basic Grey,
Cardstock: American
Crafts
Embellishments:
Basic Grey
Stamp: Tim Holtz
Inks: Chalk
Raspberry Pie, Black Coal
Masking Tape:
EntreArtistes
Dies:
659133 Sizzix
Thinlits Die-Moroccan Card Front
659379 Sizzix Framelits Die Set 6PK/stamps -Tree Blueprint
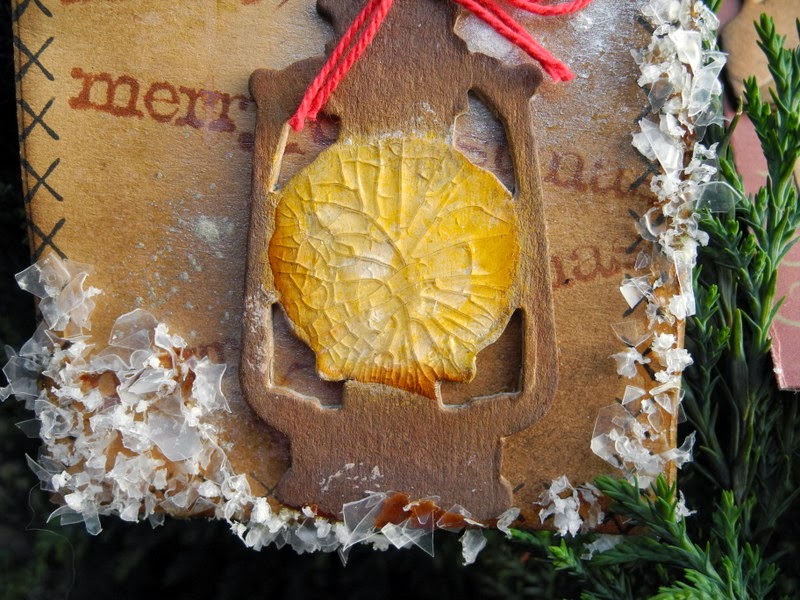
I started to play
with the superb Tree Blueprint stamp-dies combination! The Christmas
tree is stamped in black on my beige cardstock. Then I printed it and
cut it out with my dies on pattern paper scraps with Christmas
classic colours: green and red.
Then I built back my
shape with the different pieces I had.
The title Happy
Holidays is printed in red on a black label. Then the whole is cut
out with the label die.
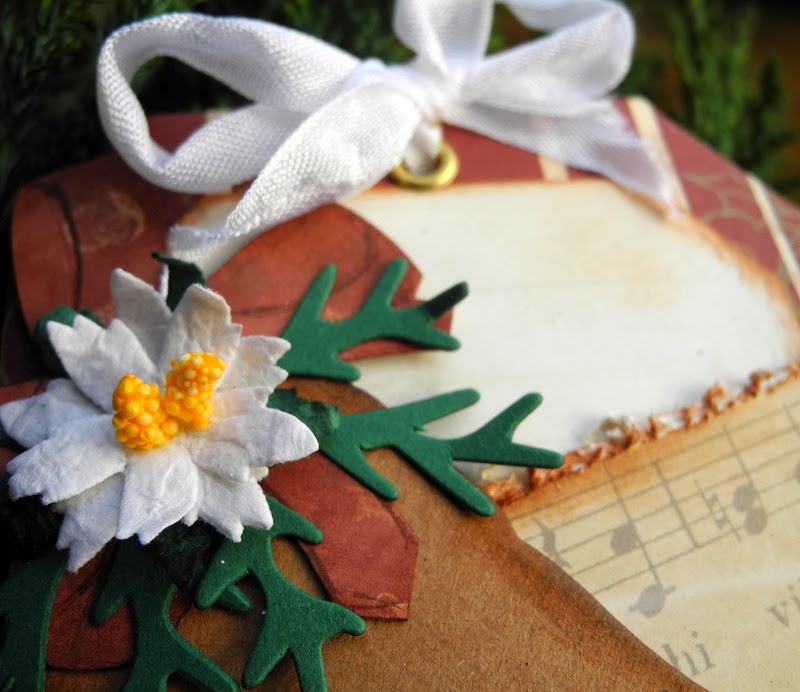
I also used a very
airy die (Sizzix Thinlits Die-Moroccan Card Front) to complete my
card. Another touch of green that matches with the Christmas tree’s
star.
Here is a first card
for the festive season that is really easy to create!
Have a nice day
Karine
Carte Happy Holidays
Si vous avez comme
moi une trentaine de cartes à réaliser pour les fêtes de fin
d'année il vaut mieux s'y prendre tôt n'est ce pas ?
Matériel :
Papiers : Infocréa
Basic Grey,
Cardstock : American
Crafts
Embellissements :
Basic Grey
Tampon : Tim Holtz
Encre : Chalk
Raspberry Pie,Black Coal
Masking Tape :
EntreArtistes
Dies:
659133 Sizzix Thinlits Die-Moroccan Card Front
659379 Sizzix Framelits Die Set 6PK/stamps -Tree Blueprint
Je me suis tout
d'abord amusée avec le superbe combiné Tampons/dies Tree Blueprint
! Le sapin est tout d'abord imprimé en noir sur mon cardstock beige.
Je l'ai ensuite tamponné et découpé avec l'aide précieuse de mes
dies sur des chutes de papiers imprimés rouge et vert pour rester
dans les couleurs classiques de Noël.
J'ai ensuite
recomposé ma forme avec mes différents morceaux.
Le titre Happy
Holidays est tamponné en rouge et imprimé sur une étiquette noire.
Le tout est découpé à l'aide du die label.
J'ai également
utilisé un superbe die très aérien ( Sizzix Thinlits Die-Moroccan
Card Front) pour compléter ma carte. Un rappel de vert coordonné à
l'étoile du sapin.
Et voici une
première carte pour les fêtes très facile à réaliser !
Bonne journée
Karine