

The other day I was rounding off the corners of a gift tag using my wonderful Corner Chomper which, for those of you who haven't come across it yet, is a heavy duty corner punch, and when I say heavy duty I mean Mount board!
As I started rounding the corners I had one of those all-too-rare 'light bulb over the head' moments all from rounding off the diagonal corners from a simple die cut square.
Anyone who regularly reads this blog will know that I love to play around with simple shapes and get the most out of them, usually with a simple, graphic card; well here's four for the price of one today, I was really pleased with the results, I hope you agree.
The first idea that struck me was to create a flower, so I wanted something strong and graphic like a..... poinsettia, as I was making it the other ideas popped into my head.

1. I started by cutting four red squares using the smallest die from my Framelits, squares set. With a shape like a square, although it is simple to cut by hand, using the same die over and over gives you that extra degree of accuracy which can be priceless. 2 & 3. Using the half inch punch i trimmed two diagonal corners of each square. 4. Next, I cut and trimmed four green squares before curling up one of the pointed corners on each red 'leaf'. 5. I attached each red to each green square.

I created the base card using my PC and printer before attaching each petal/leaf combo to the card with a 3D foam pad, The yellow centre was die cut using the Winter Elements decorated strip designed by the lovely Paula Pascual and finished with an adhesive pearl.
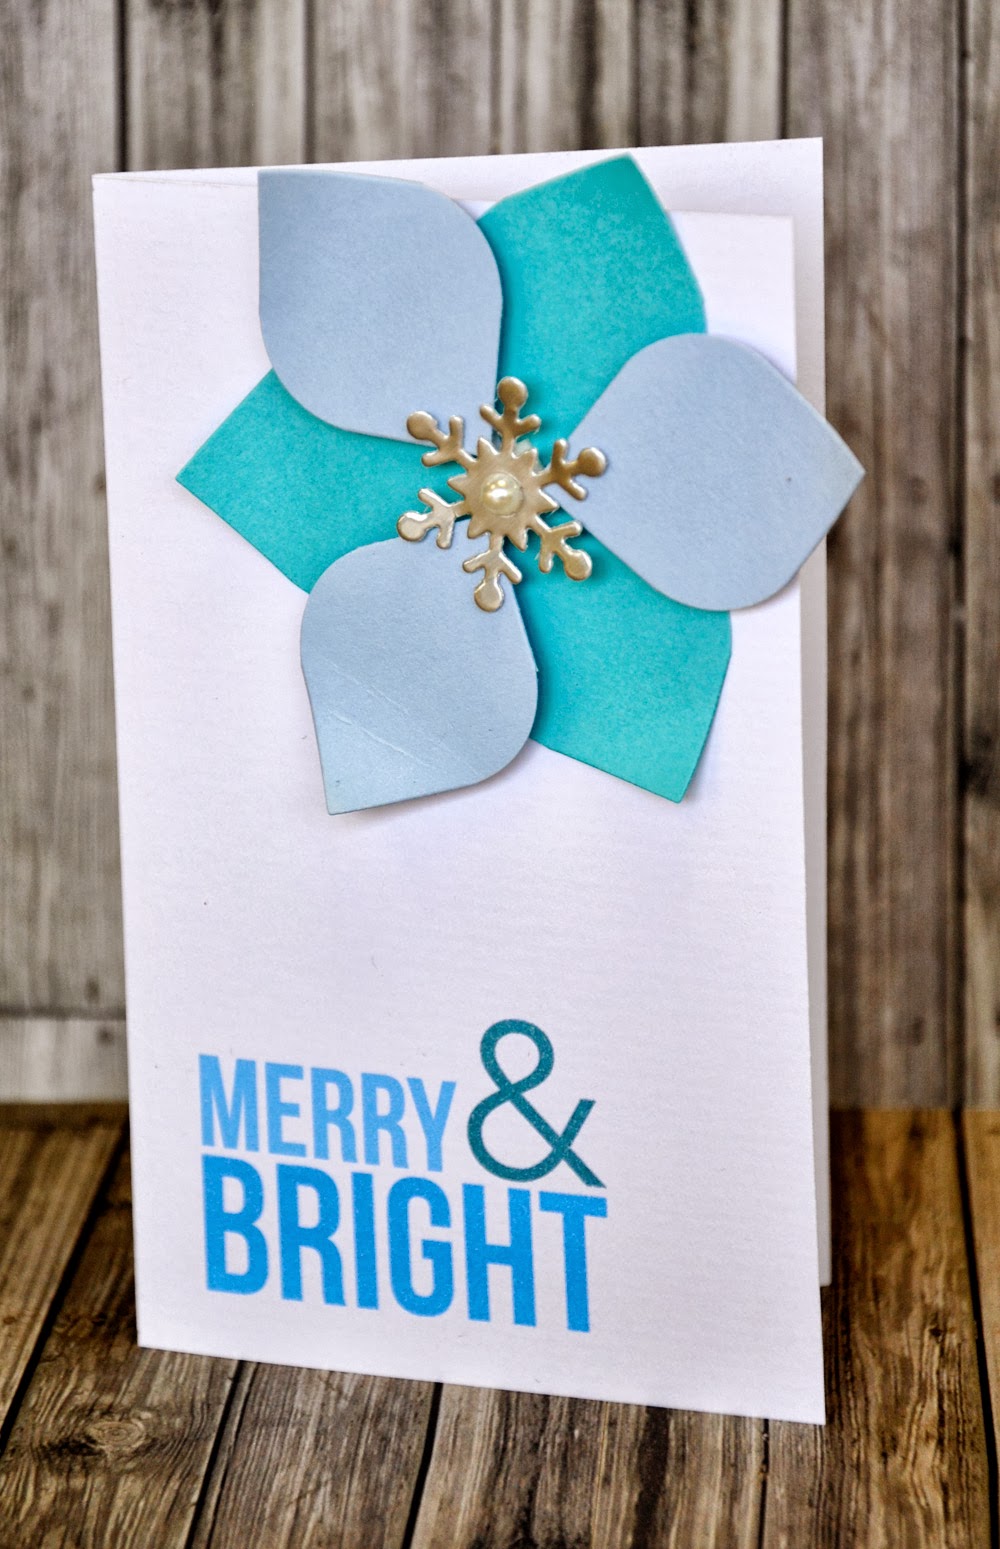
The Merry & Bright card was created in a similar fashion die cutting two set of three squares from pale blue and turquoise card. The snowflake is die cut from silver card, again, using the Winter Elements die.

The 'Feliz Navidad' card was created by cutting a selection of carefully chosen Christmas colours. Each of the 'leaves' has its top-left hand corner curled back and a pearl in the bottom right.

Finally, the little robin was cut from a brown die cut square onto which I first attached a red die cut circle prior to rounding off the corners the Base card was produced using the computer/Printer and the robin's legs are a lower case 'll' . I had a blast making these cards, hope you like them.

These are beautiful, Pete. I love the colours you've used in the 'Feliz Navidad' card - really fresh and contemporary. The robin is my favourite though - super cute! I can really see your graphic design influence here :) Oh I love my Corner Chomper too!
ReplyDeleteThanks Wendy, so glad you like them, In truth, I had finished the other 3 cards and I was about to write my blog when the robin idea presented itself so I HAD to go back and make it, or I wouldn't have slept!
Delete