Mini Album Happy!
It is 100% handmade
and reminds us of summer, holidays, nature and outdoors strolls! We
will learn how to create our book from A to Z with the help of die
cuts, folding techniques and we will play with colours. This is a
technical and magical mini book where the focus is on Brushos!
Supply list:
Papers: Crate Paper
Cardstock,
Alphabets: American Crafts
Stickers: Pebbles
Chipboards: Heidi
Swapp
Embellishments:
Ephéméria
Others: Brushos
Dies:
650515 : Sizzix Big Shot Plus Starter Kit
660320 : Sizzix Precision Base Plate for Intricate Thinlits Dies
660815 : Sizzix Thinlits Die Set 3PK- Woodland Leaves
660804 : Sizzix Thinlits Die Set 3PK- Happiness Phrases
659573 : Sizzix Sizzlits Decorative Strip Die- Spring Grinery
After having created
a textured white cover, I used the leftover paper scraps to cut some
embellishments with the Big Shot Plus.
I put the emphasis
on leaves and words with summer connotations such as Hello Sunshine
so as to match my album theme.
I used my precision
base plate to cut the thinner shapes. I can’t stop using it at the
moment! It is really perfect to cut thin dies. This is a must-have,
believe me!
The words Hello &
Sunshine will stay as is color-speaking (white) and will be glued
with liquid glue. I like the textured effect that brings material in
a soft way.
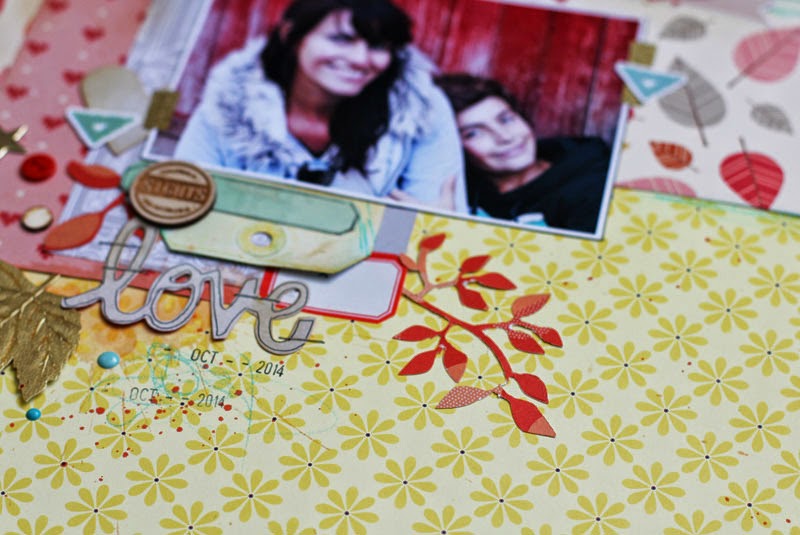
The other die cuts
(foliage etc…) are colored in green with the help of Brushos (but
spray inks will do too). Let them dry then glue them as you will do
with classic embellishments.
I also cut and
inserted a mini leave from the Big Shot Plus kit.
Here are some images
and zooms of the album!


Have a lovely day,
Karine
Mini Album Happy
!
Voici mon tout
dernier mini album que j'aurai le plaisir de présenter dès la
rentrée !
Un mini 100% fait
main qui sent bon l'été, les vacances, la nature et les balades en
plein air ! Nous apprendrons à construire notre mini de A à Z à
base de découpes, pliages et jeux de couleurs. Un mini abum
technique et magique dans lequel les Brushos seront à l'honneur !
Matériel :
Papiers : Crate
Paper
Cardstock, Alphabets
: American Crafts
Stickers : Pebbles
Chipboards : Heidi
Swapp
Embellissements :
Ephéméria
Autres : Brushos
Dies utilisés :
650515 :
Sizzix Big Shot Plus Starter Kit
660320 :
Sizzix Precision Base Plate for Intricate Thinlits Dies
660815 :
Sizzix Thinlits Die Set 3PK- Woodland Leaves
660804 :
Sizzix Thinlits Die Set 3PK- Happiness Phrases
659573 : Sizzix Sizzlits Decorative Strip Die- Spring Grinery
Après avoir réalisé
ma couverture tout en blanc texturé, je me suis servie des chutes
pour découper mes embellissements à la Big Shot Plus.
Vu la thématique de
mon album, j'ai mis l'accent sur les dies feuilles et les mots qui
évoquent l'été comme Hello Sunshine.
Pour couper les plus
fins, j'ai utilisé ma plaque de précision que je ne quitte plus !
Elle est vraiment géniale pour découper les dies les plus fins,
l'essayer c'est adopter, croyez-moi !
Les mots Hello et
Sunshine sont laissés en blanc et sont collés avec de la colle
liquide. J'aime ce côté texturé qui apporte de la matière tout en
douceur.
Les autres découpes,
comme les feuillages sont teintées en vert. J'ai utilisé pour ce
faire des Brushos, vous pouvez également utiliser des encres en
spray. Laissez sécher puis collez directement sur vos pages en
embellissements.
J'ai également
découpé et utilisé une mini feuille du kit Big Shot Plus.
Je vous laisse avec
quelques visuels et zooms !
Bonne journée
Karine