

Hello Sizzix Friends!
Last week was my Daddy's birthday and I chose to make a birthday card for him.
I downloaded the Happy Birthday circles from Sizzix UK site and print them on a cardstock (190g).
You can find the circles as a free spring printable: free floral papers by Sizzix.

You need:
Sizzix Framelits Die Set 8PK - Circles, Scallop (657552)
Sizzix Framelits Die Set 8PK - Circles (657551)
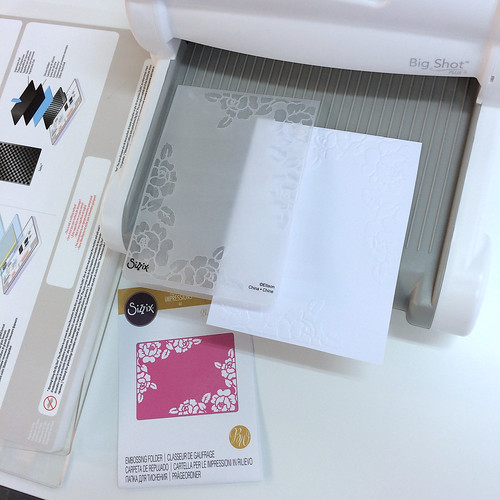
Sizzix Big Shot Plus Starter Kit (White & Gray) (660515)
Sample cardstock (light blue and white pattern) conteined in the Big Shot Plus Starter Kit
Banner Die conteined in the Sizzix Thinlits Die Set 23PK - Floral Wreath (660256)
Sizzix Thinlits Die Set 102PK - Alphanumeric (1" Tall) (660210)
Mini card with a mini envelope
Double-sided tape
Scissors
Cardstocks (light blue and white)
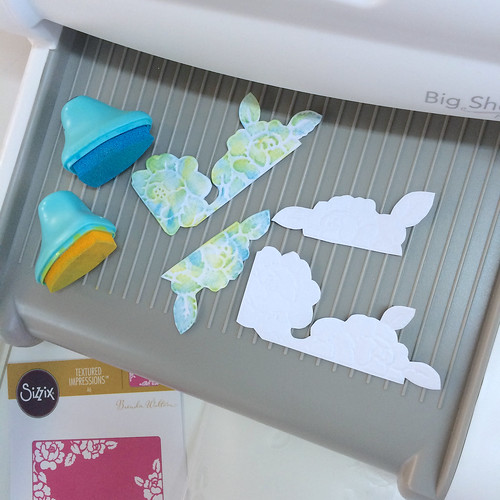
Die cut all the paper decorations using different cardstocks and paste them on the mini card using small pieces of double-sided tape.
Die cut the letters and paste them on the back of the envelope with double-sided tape.
With Sizzix Big Shot you are able to get a lovely customized card in only few minutes.
I realized a very easy card but my dad was very impressed.
He never read my blog so he had no idea of what I can make with the Sizzix Big Shot.
Now he knows! ^^

Happy sunday to you all!
* Per i lettori Italiani*
La scorsa settimana mio papà ha compiuto gli anni e ho deciso di realizzare un biglietto d'auguri per lui.
Ho scaricato i cerchi Happy Birthday che Sizzix Uk ha messo a disposizioni in free download e stampati su cartoncino bianco (190 g).
Li potete trovare nella sezione: free floral papers by Sizzix.


Ho usato:
Sizzix Framelits Die Set 8PK - Circles, Scallop (657552)
Sizzix Framelits Die Set 8PK - Circles (657551)
Sizzix Big Shot Plus Starter Kit (White & Gray) (660515)
Cartoncino a fantasia bianca e azzurra contenuto nel Big Shot Plus Starter Kit
Fustella a banner contenuta nel Sizzix Thinlits Die Set 23PK - Floral Wreath (660256)
Sizzix Thinlits Die Set 102PK - Alphanumeric (1" Tall) (660210)
Mini biglietto con mini busta in carta
Nastro biadesivo
Forbici
Cartoncini (azzurro e bianco)
Fustellare tutte le decorazioni di carta utilizzando i diversi cartoncini e incollarli sul mini biglietto con piccoli pezzi di nastro biadesivo.
Fustellare le lettere e incollarle sul retro della busta con il nastro biadesivo. In questa fase serve un po' più di precisione essendo le lettere molto sottili.
Con la macchina Sizzix Big Shot otterrete in pochissimi minuti un biglietto personalizzato adorabile che solo il vostro papà/amico/fidanzato avrà.
Ho realizzato un biglietto veramente facile ma mio papà si è stupito molto.
Non legge mai il mio blog e non aveva idea dei lavori che realizzo con la Sizzix Big Shot Plus..fino ad oggi! ^^
Buona domenica!
Silvia


