

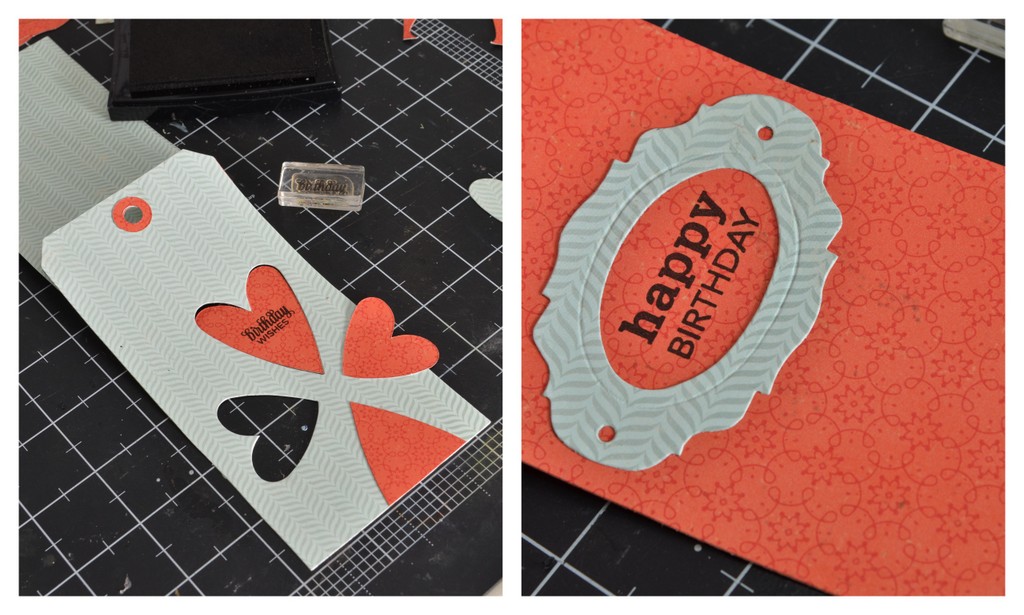
Today I am sharing a tutorial on how to make a Tag card using movers and shapers. For it I am using one of my favourite Sizzix Bigz dies of all time, Tim Holtz, Tag and Bookplates ( Movers & Shapers L die) and the Movers & Shapers Magnetic Mini Hearts.

First up, position the heart within the open area of the tag. If you are like me and almost always die cut FFF (Front Facing Foam), you need to remember that the image on the die will be mirrored, i.e. the short heart will be on the left rather than on the right of the tall heart once die cut.

Die cut two pieces of patterned thick paper or card at the same time.

Then die cut an extra heart using any left overs (the one I used was from between the bookplates).
(I forgot to take the photo of the next step. So words will have to do.) Attach one short heart opposing the die cut one, and one tall one mirroring the tall die cut one.

Trim off the excess of the bottom one only.

Attach a similarly coloured thread to the paper. Use PVA glue to secure it in place.

Use one of the two tall hearts and add some adhesive to the centre. Attach it on to the thread and position it from the back of the card.

Attach the last tall heart over it with PVA glue. So that it looks like this.

To cover the threads, use the second die cut tag and glue it over it from the back.

Die cut a tag without any magnetic movers and shapers. Those squares are magnetic ejecting black foam, they are so that the card doesn't sink in on the area and easily come off. I recommend to always die cut movers and shapers with them on as long as it is possible.

The die cut card and once cut then score about 1/2" or 2.5cm from the top.

Add PVA glue to that scored flap and attach to the back of the die cut tag.

And added the last remaining heart to the back, just perfect to write "handmade by...".

And this is the finished tag card. You can see on the right photo how the heart has a bit of movement.
That looks gorgeous.
ReplyDelete