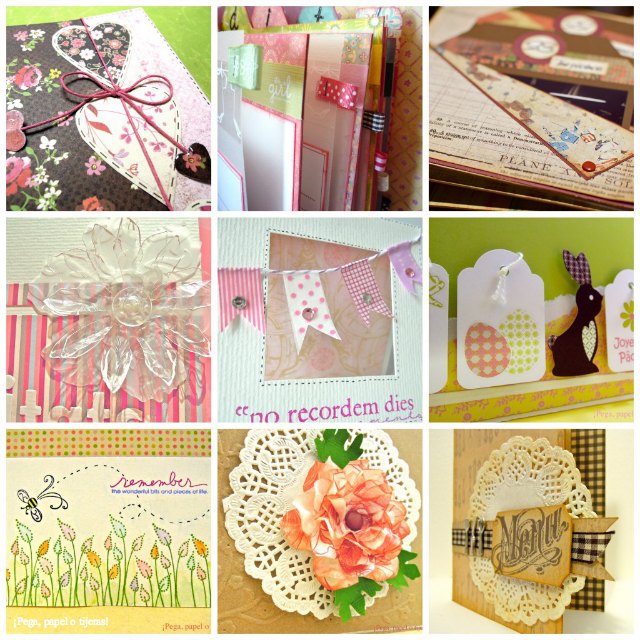
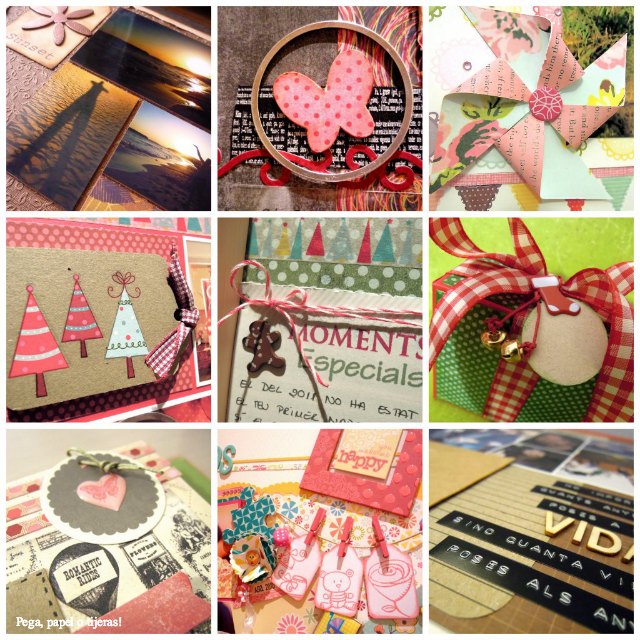
But before we get into my Sizzix project for today, let me show you some bits and pieces of my work so you know a little more about my crafting style.
And now let's get into my project for today!
Supply list:
- 655268 Sizzix Big shot machine
- 656577 Sizzix Bigz Die- Frame Back, Ornate #2
- 656766 Sizzix Bigz Die- Flowers w/Stems, leaves & Heart
- Papers: Webster's pages, Artoz, Core'dinations
- Ink: Ranger Distress ink
- Alphabet: American Crafts Thickers
- Others: Ikea Ribba Shadow Box, chipboard, ribbon, brads, tags, button, clothespin, silver crystal
All you have to do is print that photo and put it in a shadow box and frame it with pattern paper. Then, using your Big Shot, cut out the ornate frame with chipboard and yellow cardstock and the flowers with chipboard and pattern paper. Ink everything and glue it all at the bottom right corner. Then embellish it with some ribbon, the baby's name and little cute embellishments such as tags, buttons, brads and clothespins.
To create some balance, I created a cluster in the upper left corner with a strip of pattern paper, some leftover pieces of the dies and ribbon, and more little embellishments.
And there you have it! it is a very cute and simple project to do that parents and grandmas will love, especially because they provably have not had time to frame any baby's photo.
Happy monday!
Elena
.................
¡Hola! Primero me presento: Me llamo Elena y vivo en Barcelona. Me encantan todas las cosas sencillas y bonitas, el papel decorado, las tintas, los sellos y los troqueles y me apasionan todas las posibilidades creativas que me ofrecen que, combinadas con un buen diseño, me permiten crear infinidad de trabajos como páginas, álbumes y tarjetas. Mi pasión por compartir y enseñar me ha llevado a rodar más de 120 vídeo-tutoriales de scrapbooking y manualidades en papel, impartir talleres, formar parte de equipos de diseño, y colaborar con diferentes publicaciones. ¡Y ahora estoy muy contenta de formar parte de este fabuloso equipo de diseñadores y bloggers con tanto talento que forman la familia Sizzix!
¡Vamos con el primer proyecto que hago para este blog!
Materiales:
- 655268 Sizzix Big shot machine
- 656577 Sizzix Bigz Die- Frame Back, Ornate #2
- 656766 Sizzix Bigz Die- Flowers w/Stems, leaves & Heart
- Papeles: Webster's pages, Artoz, Core'dinations
- Tinta: Ranger Distress ink
- Alfabeto: American Crafts Thickers
- Otros: Ikea Ribba Shadow Box, cartón, cinta,brads, tags, botón, pinza, brillantito
Ahora es costumbre que te anuncien el nacimiento de un bebé enviándote una fotografía por el móvil, así que ¿Por qué no utilizar esa fotografía para hacer un regalo muy especial?
Todo lo que tienes que hacer es imprimir esa foto, ponerla en un marco y forrar la base con papel decorado. Después, utilizando tu Big Shot, corta el Ornate frame con cartón y cartulina amarilla y las flores con cartón y papel decorado. Entíntalo todo y pégalo en la parte inferior derecha. Después lo adornas todo con cinta, el nombre del bebé y pequeños adornos como tags, brads y pinzas.
Para equilibrar el conjunto, he creado un cluster en la parte superior izquierda con una tira de papel decorado, los restos de los papeles que había troquelado y más adornos pequeños.
¡Y listo! Es un proyecto muy bonito y fácil de hacer, que además les encantará a los padres y a las abuelas, porque seguramente todavía no habrán tenido tiempo de enmarcar ninguna foto del bebé.
¡Feliz lunes!
Elena


enhorabuenaaaaaaaaaaaaaaaaaaaaaaaaaaaaaaaaaa, aqui estaremos
ReplyDelete