Christmas is only a few days away. But I like to make small decorations each year during the month of December. This time I have made a box for an artificial tea light candle.
I used the Thinlits Christmas Phrase Cards 659973, card, vellum and adhesives.
I took a piece of red card that measure 6 x 12".
I started with the smaller of the two outer cards included in the set as a guideline on where to make the score lines, top, bottom and side always on the outside of the die.
then I scored those long horizontal lines.
By placing the same die over I ensured that it was the right size each time. You see that die create a thin border but with the added metal on the side creates a perfect size panel as you can see on the right.
I kept making marks and scoring each panel.
The final one creates a tiny 5th panel which is brilliant to close the box.
Before starting to die cut I made a few marks. Left, you can see the two arrows on the little strip to make sure that I die cut the Phrase cards all in the right direction (as you can see I did the same with the die with a permanent marker after I did a mistake). I also wrote Back on the left panel to make sure I did not die cut it.
Once finished die cutting it should look like this.
I used the same die to die cut a shiny mirri gold card to add more reflection to the light and attached it to the back panel.
I also die cut three vellum cards to attach from the inside so that the light would be more diffused.
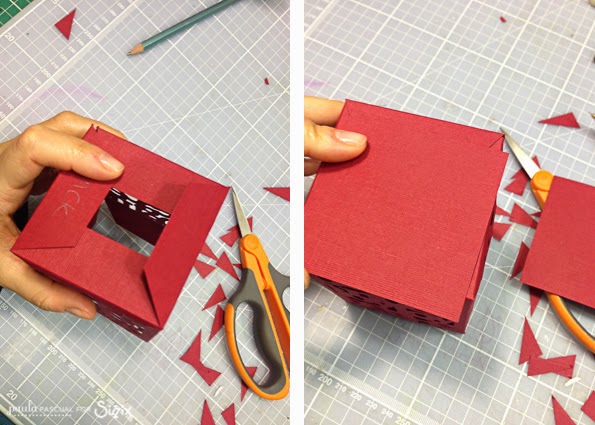
To assemble the box I trimmed the tabs to make the folds better, as well as the bottom to become thinner so that I could place the battery operated tea light. I glue the little 5th panel o the back using wet adhesive for a strong hold.
I then glue the tabs together and place a square card to make it look prettier.
And here it is, lighted and with the lights of the room on.
You can do this one in so many diferent ways, I hope you give it a try.


Paula it's an awesome Christmas Box....xx Merry Christmas & a prosporus New Year......xx❄️⛄️
ReplyDelete