

Supply list:
- 657900 Sizzix Big Shot machine
- 658583 Sizzix Thinlits Die Set 4PK - Dotty & Flowers Edges
- 658613 Sizzix Framelits Die Set 5PK - Wrappers, Circle
- 657902 Sizzix Framelits Die Set 4PK - Frame, Fancy Oval
- A6 Notebook
- Paper and carstock scraps
- Buttons
- Black gel pen
- Liquid glue

I wanted it to be very simple and colorful, so I grabbed an A6 craft notebook and some paper scraps from my stash, my new Big Shot machine (Isn't it cute?) and my dies and in less than a half an hour I had my summer notebook ready.

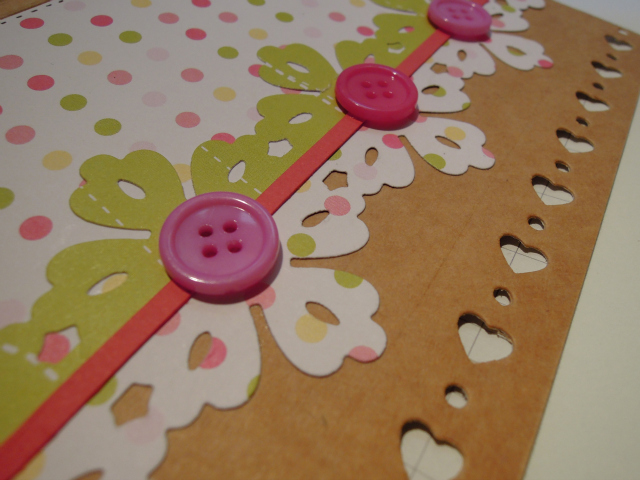
I have used the edge Thinlits directly on the notebook. It is very easy to do, just keep the bulk of the notebook outside the Multipurpose Platform. I have used also the edge Thinlits to create this flower strip. Just die cut it twice and glue the two pieces on the notebook one looking to the right and the other looking to the left. And embellish it with a thin strip of cardstock an some buttons. You can get the most out of your dies by using them in very different ways!
On the back cover I have created a little embellishment with some circles and a heart, just to cover the brand of the notebook.

Happy Monday!
...........................................
Materiales:
- 657900 Sizzix Big Shot machine
- 658583 Sizzix Thinlits Die Set 4PK - Dotty & Flowers Edges
- 658613 Sizzix Framelits Die Set 5PK - Wrappers, Circle
- 657902 Sizzix Framelits Die Set 4PK - Frame, Fancy Oval
- Libreta A6
- Restos de papeles y cartulinas
- Botones
- Rotulador negro
- Pegamento líquido
Quería que mi libreta fuera colorida y sencilla, así que cogí una libreta tamaño A6 y algunos restos de papeles que ya tenía, mi nueva y flamante Big Shot (¡Es monísima!), mis troqueles y en menos de media hora ya tenía mi libreta de verano lista.
He utilizado los Thinlis de bordes directamente en la libreta. Esto es muy fácil de hacer, solo deja el volument de la libreta por fuera de la plataforma multifunción. Y también los he utilizado para crear la tira de flores. Troquela dos veces uno de los bordes y pégalos sobre la libreta a modo de espejo, uno mirando a la derecha y el otro hacia la izquierda y adórnalo con una tira de cartulina y unos botones. ¡Puedes sacarle mucho partido a estos troqueles utilizándolos de muchas formas diferentes!
En la parte de atrás de la libreta solo he creado un pequeño adorno con círculos y un corazón para tapar la marca de la libreta.
¡Y listo! Preparada para no olvidar nada de nada de las vacaciones :)
¡Feliz lunes!
No comments:
Post a Comment