Hello
everyone and welcome back with a new tutorial!!
Today I want to introduce some
features of the new Big Shot Plus. It is fantastic in the new white and gray colors!
The Starter Kit already offers great possibilities to create immediately cards,
invitations, scrapbook pages, home décor, fashion, altered art, quilting and
much more! The much larger plan allows to use sheets of A4!
With this
tutorial I will show you how to easily create a delicious favor box.
I’ve used:
Glue
Sissors
Cardstocks (white, yellow, green, light blue, pink, cardstock Craft Asylum included in Starter Kit.
Glitter (pink)
Ink
Die cut the little box with Tinlits Plus Die Set included in the Sizzix Big Shot Plus Starter Kit (White & Gray) 660515, using Craft Asylum Cardstocks.
Die cut the wavy edge using the white cardstock.
Die cut the flower using the pink cardstock.
Die cut the tag using thle light blue cardstock.
These steps you can do thanks to the Tinlits Plus Die Set included in the Sizzix Big Shot Plus Starter Kit (White & Gray) 660515.
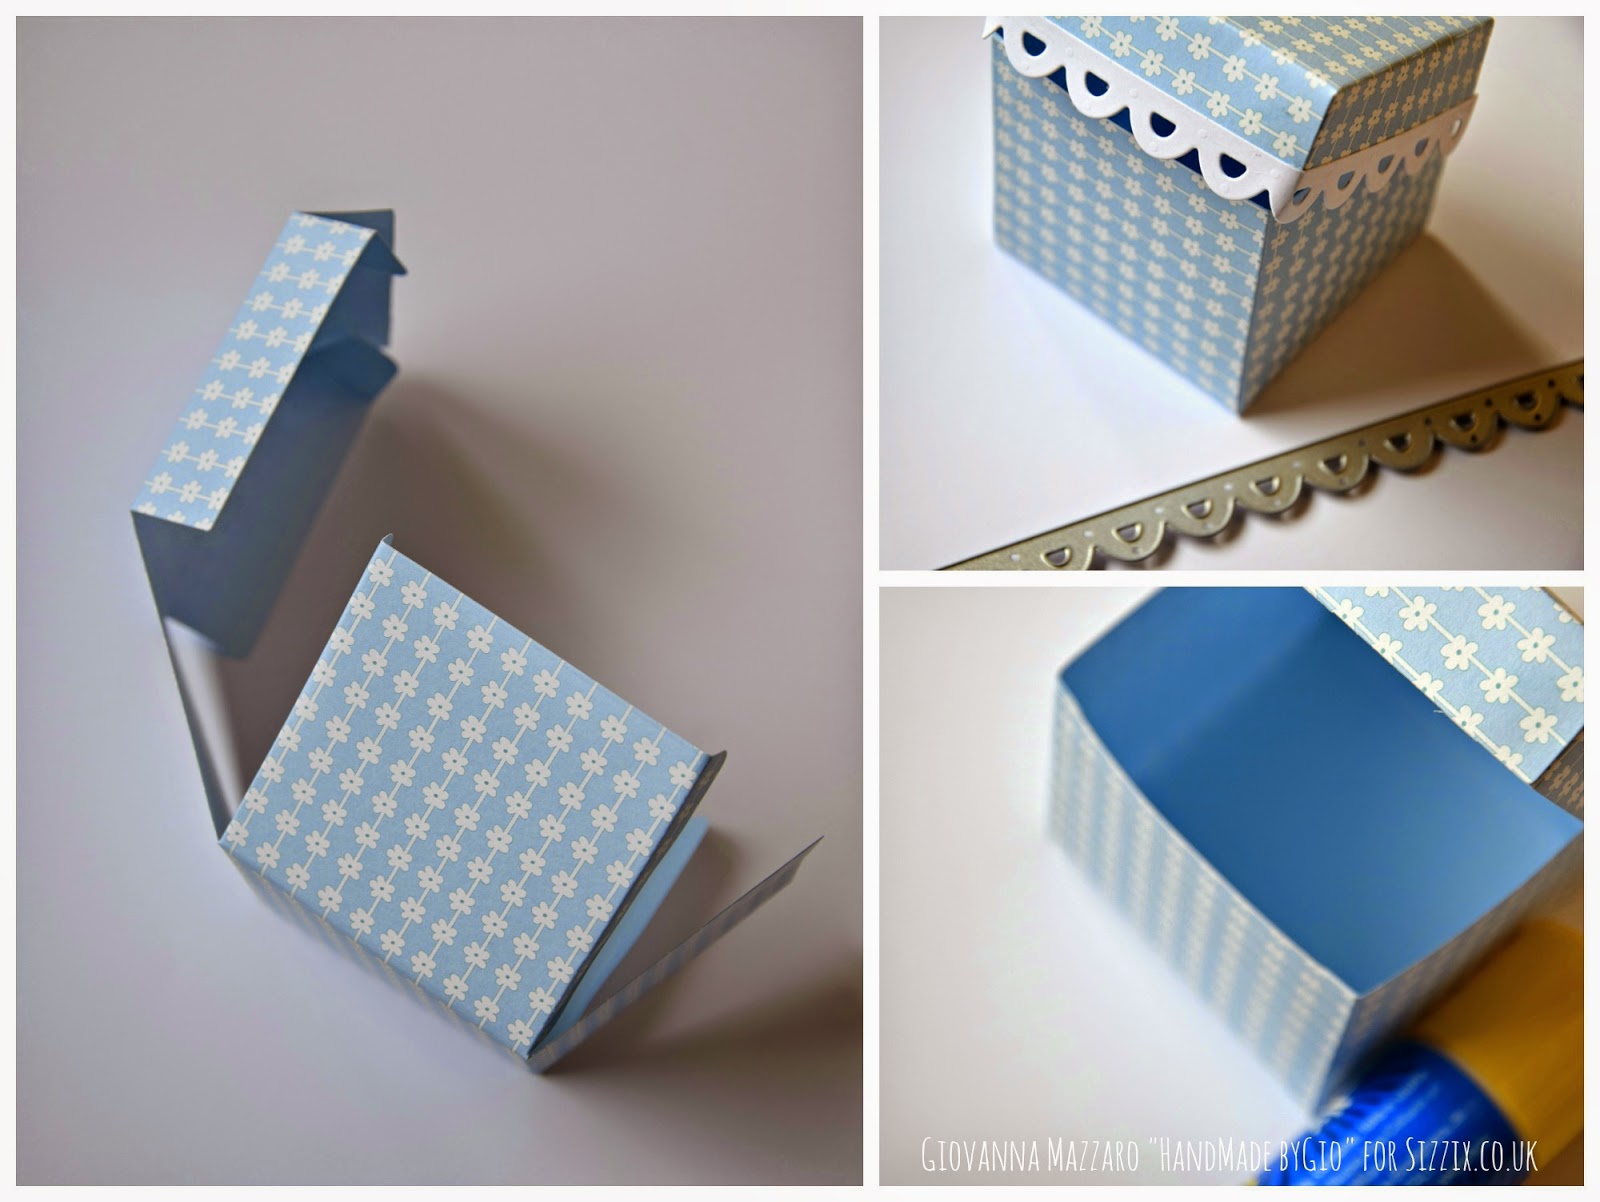
Now you have everything you need to create the favor box.Fold the carstock helping with the marks clearly visible than paste parts.
Paste the white border.
Die cut the other flower with Sizzix Bigz Die - Flourish, Floral w/Leaves 656520, using white yellow and green cardstocks.
Compose the flower following the steps.
Give some color to the flower with ink.
Paste glitter to the center of the flower.
Now the favor box is ready to contain the sweets, with the tags will be perfect!!!
Thanks to all!!
PER LE AMICHE ITALIANE
Ciao a tutte e ben ritrovate con un nuovo tutorial!!
Oggi voglio presentarvi alcune caratteristiche della nuova Big Shot Plus. E' fantastica nei nuovi colori bianco e grigio!
Lo Starter Kit offre già grandi possibilità per creare fin da subito carte, inviti, pagine di album, home decor, altered art, quilting e molto altro ancora! Il piano molto più grande permette di usare fogli di tipo A4!!
Con questo tutorial voglio mostrarvi come creare una deliziosa bomboniera.
Ho usato:
Colla
Forbici
Cartoncini
Glitter
Fustellare la piccola scatola usando il cartoncino Celeste con fiori bianchi della Craft Asylum.
Fustellare il bordino ondulato con il cartoncino bianco, il fiore con il cartoncino rosa, la tag con quello celeste. Tutte queste operazioni le potrete fare usando semplicemente il Tinlits Plus Die Set e i cartoncini Craft asylum, tutti inclusi nel Sizzix Big Shot Plus Starter Kit (White & Gray) 660515!!
Ora fustellare l'altro fiore con Sizzix Bigz Die - Flourish, Floral w/Leaves 656520, usando i cartoncini bianco giallo e verde.
Ora hai tutto per creare la tua scatola porta confetti!!
Piegare il cartoncino della scatola seguendo le pieghe ben visibili, dopo incollare le parti.
Incollare il bordino bianco.
Comporre il fiore sulla scatola seguendo gli steps nelle foto.
Dare un pò di colore al fiore con dell'inchiostro.
Al centro del fiore incollare i glitter.
Ora la tua scatolina è pronta per accogliere i confetti, con la tag sarà perfetta!
Spero vi sia piaciuto questo semplice tutorial.
Grazie a tutti!!!


Bellissima e molto primaverile!
ReplyDelete